Last updated on
Learn how to securely attach a new roof over your deck to your house, providing shade and shelter while enhancing your outdoor space.
Key takeaways:
- Roof over deck provides shade, shelter for outdoor oasis.
- Boosts home’s aesthetic appeal; may reduce energy bills.
- Obtain necessary permits before deck construction begins.
- Ensure deck can support roof; assess posts, ledger board.
- Build roof frame securely; install roofing material carefully.
Reasons to Build a Roof Over a Deck
Shading your deck can turn it from a sizzling skillet into a cool oasis. No more squinting or roasting like a Thanksgiving turkey during summer barbecues.
Rain, rain, go away? With a roof, impromptu showers won’t send your guests running for cover. Your deck parties can go on, rain or shine.
Furnishings on the deck will last longer when they’re not constantly exposed to the elements. Those cushy chairs will stay cushy. Those wood tables won’t warp.
It’s got the curb appeal. A well-designed roof over your deck can boost the overall aesthetic of your home, making your house the envy of the block.
Energy bills might shrink. Adding shade can reduce the heat that filters into your home, meaning your air conditioner isn’t working overtime.
Need a morning coffee nook without the glare? Covered decks are perfect spots for quiet moments with your favorite brew.
Obtaining the Required Permits
First things first: No one wants the deck police knocking. Trust us, it’s a thing. Before hammer meets nail, you’ll need the proper permits.
Check with your local building authority. They’ll provide a list of what’s required and possibly some eye rolls if you ask about decking drama. Building codes vary by location, so don’t assume one size fits all.
What might you need? Likely, a site plan showing the layout of your deck and roof. Structural details could come in handy too, proving your new outdoor haven won’t take a tumble in the next big wind.
Sometimes a neighbor consultation is on the checklist, because who knew a simple roof could spark the next suburban scandal?
Submit the paperwork, and patiently await approval. Patience is key, so distract yourself by picking out the perfect deck chair.
When approval comes through, do a little dance and save those documents. You never know when you’ll need to show off your compliance cred.
Preparing the Deck
First things first, ensure your existing deck can support a roof. Otherwise, you’ll be doing some impromptu construction gymnastics. Check those deck posts. They need to be sturdy and, ideally, extend to the frost line to prevent the deck— and anything on it— from shifting like a tipsy uncle at a summer BBQ.
Next, assess the ledger board attached to your house. This board essentially acts as the right-hand man to the support posts. It needs to be in prime condition because it’s going to bear a lot of weight. Secure it with galvanized bolts, the trusty superheroes of the construction world.
Lastly, if your deck is a veteran in the war against weather, give it some TLC. Replace any rotten boards, tighten those squeaky screws, and maybe even add some joist hangers for extra support. Your deck should be the Hercules of outdoor flooring before you even think about adding a roof over it.
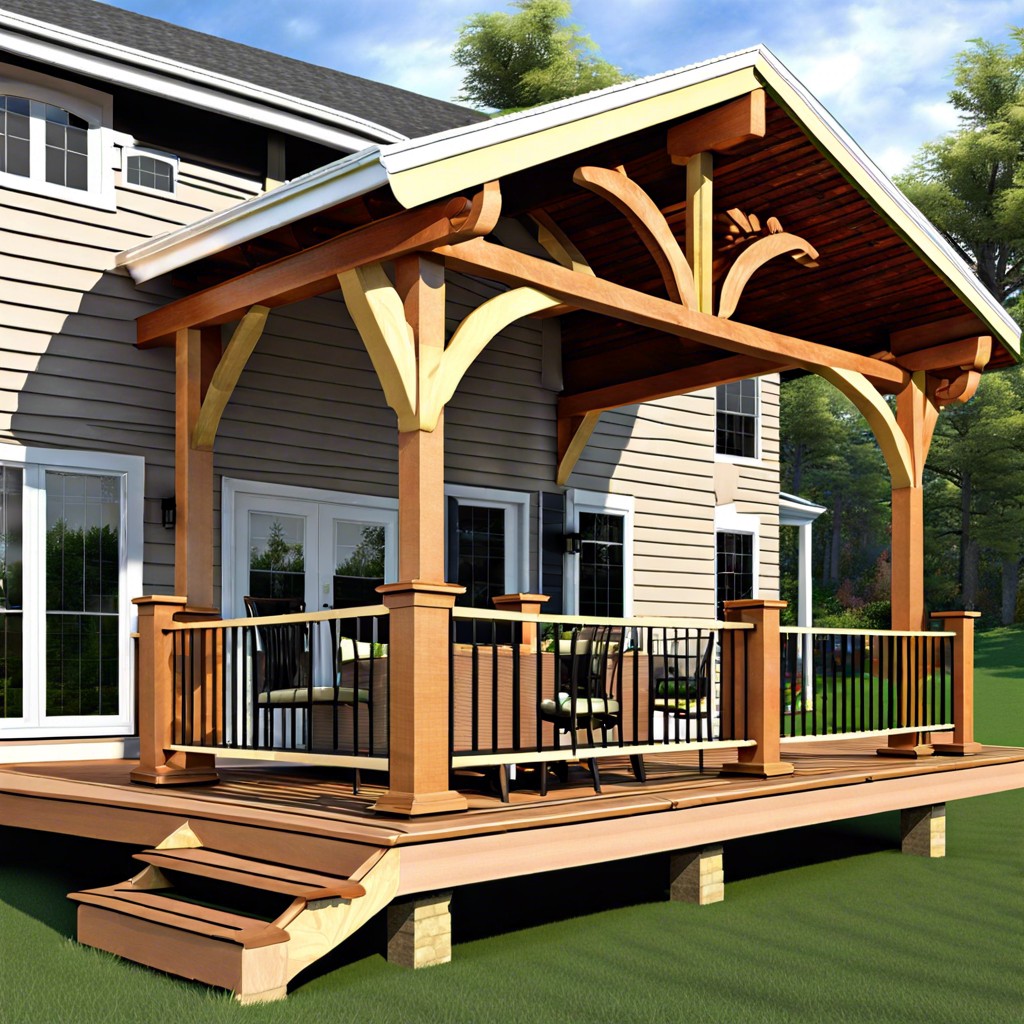
Building the Roof Frame
Begin by securing ledger boards to the house’s exterior wall. These provide a solid foundation to anchor the roof frame. Ensure they’re level; nobody likes a crooked roof, unless you’re going for a Picasso look.
Next, install posts at the outer corners of the deck. These are usually 4x4s or 6x6s, depending on your design. Connect the posts with beams to create a sturdy perimeter. Think of it as assembling a giant Lincoln Log structure, without the help of your dog.
With the perimeter set, attach rafters from the ledger board to the beams. Rafters should be evenly spaced; usually 16 inches apart works like a charm. Use joist hangers for added strength. These little brackets might seem insignificant, but they’re like the unsung heroes of roofing.
For stability, add collar ties midway up the rafters. These horizontal supports help prevent the roof from sagging like an old couch. Secure everything tightly because, let’s face it, no one enjoys an unexpected skylight.
Now, cover the rafters with plywood or roofing panels. Fasten them securely with screws or nails. This decking forms the base of your roof. Think of it as giving your deck a cozy hat.
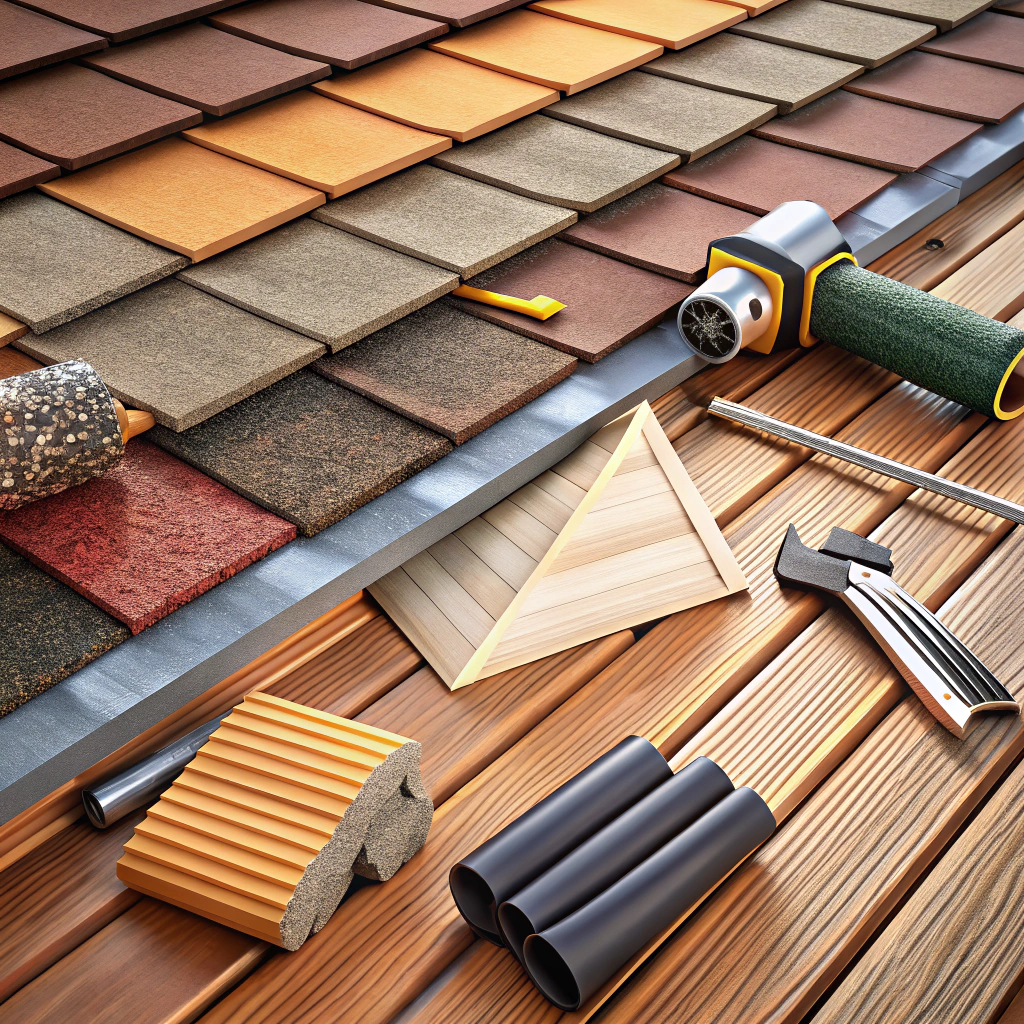
Installing the Roofing Material
Now that the frame is ready, it’s time to don your roof capes and consider the material to flap above your heads. The options are many, yet the rules simple.
Start with tar paper or an underlayment. This acts like your roof’s secret shield against water. Lay it out carefully, ensuring there are no wrinkles—it shouldn’t look like your grandma’s quilt.
Next, onto the main act: the shingles, metal panels, or perhaps those fancy tiles you’ve been eyeing. Install from the bottom up. It’s like walking up stairs—they overlap nicely, guiding water downwards.
Nail or screw down the material securely. Tip: don’t overdo it. Nails sticking up are like porcupine quills. Nobody wants those surprises.
Seal edges and joints properly. No one likes a leaky roof, just like nobody likes a soggy sandwich.
And finally, step back, marvel at your masterpiece, and silently gloat over your newfound roofing prowess.