Last updated on
Learn how to properly install chimney flashing to prevent leaks and keep your home dry.
Tired of water leaking around your chimney? Fear not, future flashing expert! If you’re ready to ditch the drips and secure a snug, watertight seal, you’ve stumbled upon the ultimate guide. We cover everything from the tools and materials needed to sealing with caulk—plus a little humor to keep you entertained while you’re elbow-deep in roofing goo. Ready to make your chimney proud? Dive in and let’s fix that flashing!
Key takeaways:
- Proper tools ensure a snug, watertight seal.
- Inspect for rust, stains, or missing shingles.
- Cap and step flashing direct water away effectively.
- Secure all edges with masonry nails or screws.
- Use high-quality caulk for ultimate sealing.
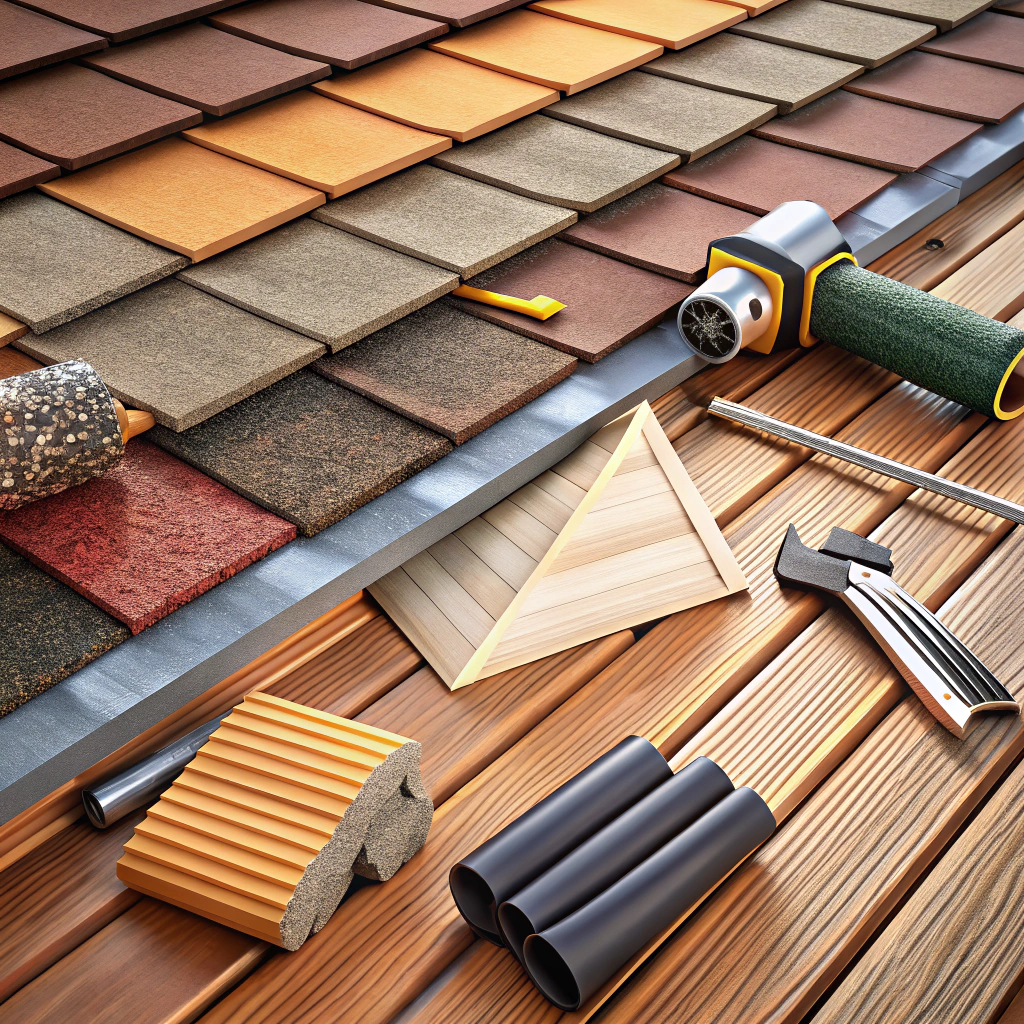
Tools Required
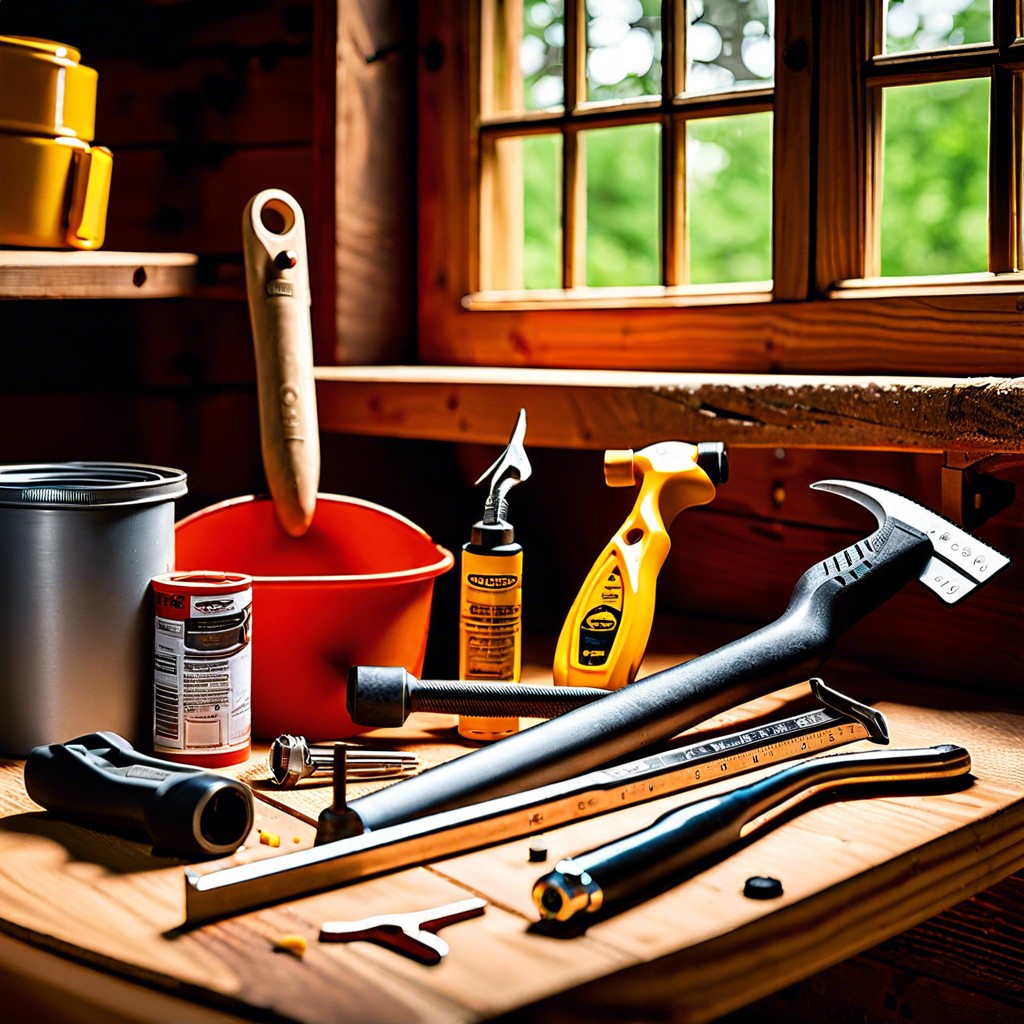
When tackling chimney flashing, you’ll want to have the right tools to ensure a snug fit and a watertight seal. A hammer and nails are your basic staples, but don’t forget a sturdy chisel for prying out old stubborn flashing. Roofing cement might sound fancy, but it’s just the sticky stuff that keeps everything in place—consider it the glue of the roofing world.
For precision, a utility knife will help you cut the flashing to size. Pliers are essential for bending metal flashing without shredding your fingers. And trust me, your fingers will thank you for bringing along heavy-duty gloves.
Don’t skip the caulking gun. This little gem helps you apply sealant in a neat, even bead, preventing future leaks. It’s like frosting on a cake, but way less delicious.
Finally, a ladder makes the whole operation a lot more reachable. And, if you’re feeling extravagant, a roofing hatchet combines the hammer and cutting edge in one nifty tool. So you can feel like a roofing ninja, slicing and nailing in seamless moves.
Materials Required
Let’s talk supplies. You’ll need a roll of flashing tape. This sticky wonder keeps things watertight. Next, grab some step flashing pieces. These L-shaped metal bits will be your new best friends. Make sure you have some sturdy base flashing too. It’s like the foundation of a cake, but less delicious.
Don’t forget the cap flashing. It’s the trench coat for your chimney—keeps everything undercover. Galvanized steel or aluminum are popular choices. Oh, and roofing nails. You definitely can’t nail this project without them.
Lastly, caulk—get a tube of high-quality, weather-resistant stuff. Think of it as the frosting. It seals everything beautifully, but in a non-edible way.
You’ll be armed and ready to keep your chimney safe and dry.
Identifying Chimney Flashing Problems
Is your chimney turning into a leaky villain? Let’s spot the signs before it causes chaos.
Dark stains on your ceiling or walls? Yikes, that’s a red flag. This might mean water is sneaking where it doesn’t belong.
Notice damaged or missing shingles around the chimney? It’s a not-so-subtle hint that your flashing is not doing its job.
Look for rust on flashing. Rust doesn’t just fit the antique aesthetic—it’s a mischief-maker causing gaps for water to waltz right in.
And if you spot cracks in the masonry, your chimney’s not just aging gracefully. It’s begging for a flashing fix.
Pay attention to mold or mildew near the fireplace. It’s not just there for decoration; it’s there because water is probably making itself at home thanks to faulty flashing. Keep an eye out, stay alert, and save yourself from future headaches.
Removing Old Flashing
Grab your crowbar and chisel – we’re diving into dismantling the old guard. Before you unleash your inner demolition expert, ensure you’ve got gloves and some patience. Here’s the game plan:
- Identify and Pry: Locate the edges of the old flashing. Insert the crowbar and gently pry it away from the chimney. Think of it as coaxing a toddler away from candy – gentle but firm.
- Roof Surface Protection: Slide a thin piece of wood under the crowbar to avoid damaging the shingles. Shingles are sensitive souls – handle with care.
- Remove Nails and Attachments: Use a hammer or screwdriver to extract any nails or screws holding the flashing. Sometimes, these fasteners will fight back; persistence pays off!
- Clean the Area: After removing the old flashing, clean the area around the chimney. This isn’t extreme cleaning, just a quick scrub to remove debris and old adhesive.
That’s it. Tools down, muscles stretched, and you’re ready for the next step!
Installing Base Flashing
You’ll need to start by cutting the base flashing to the right size—it should extend at least 4 to 6 inches up the chimney and 4 to 6 inches out onto the roof. Think of it as the superhero cape for your chimney. It’s there to protect and look cool.
Gently bend the base flashing to fit snugly around the chimney. Love the chimney, don’t fight it. It should sit comfortably against the surface without any gaps.
Nail the base flashing into place using roofing nails, but be careful not to bang up your chimney—no one likes unnecessary bruises.
Overlap each subsequent piece of base flashing by at least 3 inches to ensure you’re creating a watertight seal. Water should feel unwelcome, like it’s trying to crash a really exclusive party.
Lastly, as you’re working, keep checking to ensure the flashing lays flat against the roof. No bumps allowed, it’s not a bumpy road.
Adding Step Flashing and Chimney Saddle
This is where the magic happens. Step flashing is like a protective ninja for your chimney. Each piece overlaps the one below, creating an impenetrable barrier against sneaky water.
Here’s how to do it:
- Start at the bottom corner of your chimney.
- Place a piece of step flashing overlapping the base flashing.
- Nail it to the roof deck, but not the chimney, let’s keep it freely floating.
- Lay a course of shingles over this first step.
- Repeat until you reach the top, alternating shingles and flashing.
Oh, and don’t forget the chimney saddle. It’s basically a mini-roof above your chimney that diverts water away like a boss. Fit it snugly at the back of the chimney to prevent water from pooling and throwing a soggy party.
With each layer, you’re building a fortress of dryness. Keep it neat, and you’ll be a step flashing legend in no time.
Installing Cap Flashing
Slide the cap flashing over the step flashing, ensuring it fits snugly against the chimney. The cap flashing’s purpose is to direct water away, acting like a slick raincoat for your chimney’s joints.
Make sure the edges extend slightly over the base and step flashing to create a water-tight seal. Use roofing nails to secure it every 12 inches or so.
When cutting the cap flashing, leave a bit of extra material; better to trim excess later than to come up short. Also, create a small drip edge to keep water from sneaking behind the flashing.
Remember, think of this process like fitting a puzzle piece—only this puzzle keeps water out and your home dry.
Securing the Flashing
Tightening up that flashing is crucial to keeping water from sneaking into your chimney. Use masonry nails or screws with lead anchors to snugly secure everything. Focus on the edges and corners, as these spots are the usual suspects for leaks.
Drive nails or screws about every 4-6 inches. Use steady pressure to avoid denting the flashing.
Stick to galvanized or stainless steel fasteners. Rust is not invited to this party.
Apply pressure evenly. Too tight, and you risk damaging the flashing; too loose, and you let the elements in.
Remember to double-check everything. Now you’re one step closer to leak-proof peace of mind!
Sealing With Caulk
Now that you’ve got the flashing securely in place, it’s time to seal the deal—literally. Time to grab that caulk gun like it’s your best mate. Here’s what you need to keep in mind:
Ensure you’re using high-quality, weather-resistant caulk. You don’t want Mr. Rain and Ms. Snow to crash the roof party.
Apply a generous bead of caulk around the edges of the flashing, where it meets the chimney and the roof. Think of it as icing a cake, but without the licking your fingers part.
Don’t skimp on the coverage. Make sure all seams and joints are meticulously sealed to keep water from sneaking in like an uninvited guest.
After you’ve generously applied the caulk, smooth it out with a caulking tool or, if you’re feeling brave, your finger. Either way, aim for a consistent, watertight seal.
And voila, your chimney flashing isn’t just looking good, it’s also ready to withstand whatever Mother Nature throws at it—or at least, most of it.
Safety Precautions
Now, before you grab your tool belt, let’s talk safety. Working on the roof is not a trip to the beach. Gravity is a strict enforcer!
Firstly, invest in a sturdy ladder. Borrowing your neighbor’s rickety one won’t do. Ensure it’s on stable ground and have someone hold it steady.
Roof harnesses aren’t just for the pros. They might feel like overkill, but you’d rather be Spider-Man than Humpty Dumpty, right?
Wear non-slip shoes. This isn’t the time to break in those new loafers.
Be cautious around electrical wires. You don’t want to be the reason for an impromptu light show.
Lastly, monitor the weather. Windy or rainy days turn your roof into a skating rink. Wait for clear skies.
Stay safe, keep all your limbs, and respect the heights!