Last updated on
Learn how to properly install a drip edge on your roof for effective water shedding and structural protection.
Key takeaways:
- Drip edges protect your home from water damage.
- Aluminum, galvanized steel, copper, and vinyl are common materials.
- Install drip edges tightly and overlap at corners for effective protection.
- Correct installation is crucial for preventing water infiltration.
- Choose a drip edge based on your climate and weather conditions.
What’s the Purpose of Roof Drip Edges?
Drip edges, those metal strips affixed along the margins of a roof, play a pivotal role in safeguarding your home from the elements. Guiding rainwater away from the fascia and into the gutter, they’re your home’s unsung heroes in maintaining a dry and damage-free structure.
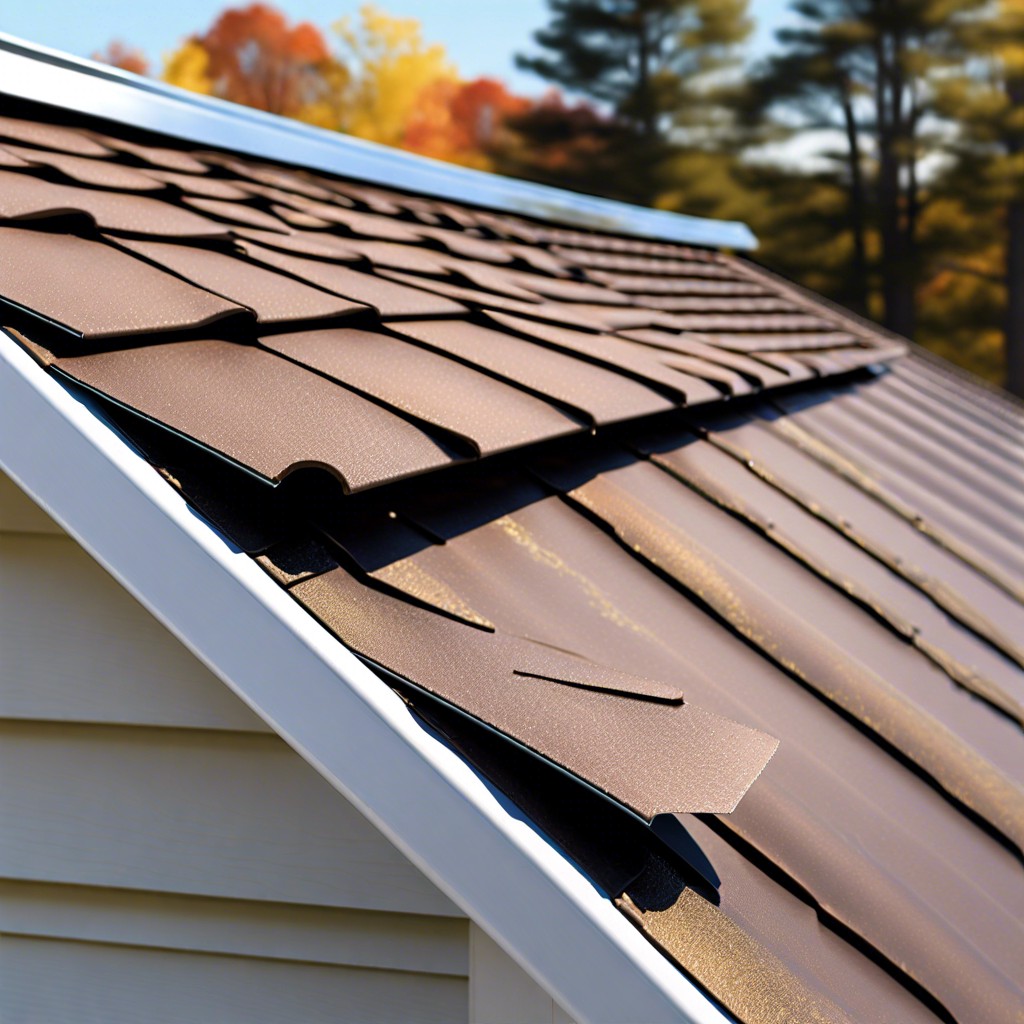
Their importance cannot be overstated: a well-fitted drip edge prevents the wood deck at the eaves from absorbing water, which can lead to a whole host of problems, including rot, mold, and the unwelcome critters seeking refuge in these damp conditions.
Moreover, these strips are not just a barrier against water; they also serve as a brace for your shingles. Without drip edges, shingles at the edge can sag or flap in the wind, leading to premature wear and tear.
It’s clear that incorporating a drip edge into your roofing project isn’t just playing it safe—think of it as investing in an insurance policy for the longevity of your roof’s edge.
Drip Edge Material Types
Aluminum, a popular choice for its resistance to corrosion and lightweight nature, is both cost-effective and simple to work with. It’s often chosen for its flexible nature, easily bending to fit snugly along the contours of your roof.
Galvanized steel brings the heft, standing up to severe weather with a sturdiness that’s hard to match. It receives a coating of zinc to fend off rust, making it a reliable option for those living in areas with heavy rain or snowfall.
Copper, the aristocrat of drip edges, offers an aesthetic edge with its natural luster. It’s more than just a pretty face, though,as it boasts impressive durability and resistance to rust, albeit with a higher price tag.
Vinyl drip edges are like the new kid on the block: cost-effective and a cinch to install. While not as tough as their metal counterparts, they do offer flexibility and are a solid choice in climates that aren’t particularly harsh.
Each material brings its own set of advantages to your roof’s edge, playing a pivotal role in keeping the elements at bay. Your local climate, budget, and personal style preference should guide your material choice. After all, a drip edge isn’t just a necessary addition; it’s the finishing touch that can save you from headaches down the road.
How to Install a Drip Edge
Installing a drip edge is like giving your roof a shield against water intrusion. Begin at the bottom of your roof’s edge. Overlap lengths, securing each with roofing nails spaced about 8 to 10 inches apart. Picture the metal lip catching rainwater like a gutter, directing it away from the fascia and into the gutters.
Next, at the corners where the drip edges meet, ensure a tight fit — think of it like snugly wrapping a present. Any gap could invite trouble. As you approach the roof’s peak, let the metal strips overlap by a couple of inches for that continuous protection.
If you’ve got underlayment, it’s a “chicken or the egg” situation. But here’s the pecking order: lay the drip edge first along the eaves, then place the underlayment over, and finally, apply the drip edge on the rakes. This sequence acts like a one-way street for water — it can get out, but it can’t come back in.
Remember, don’t skimp on the sealant. Add a bead along the top edge of the drip edge for a water-tight finish. When done just right, it’s as satisfying as hearing the ‘click’ of the last piece of a jigsaw puzzle.
Effective Protection Against Water Damage
Drip edges serve as a shield, channeling water away from the fascia and protecting the underlying roof components. Without this essential component, water can seep underneath roofing materials, causing rot and deterioration in the wood. It’s a bit like an umbrella for your home’s vulnerable edges, ensuring that water is ushered safely into gutters and away from areas that could be damaged.
The effectiveness of a drip edge in guarding against water infiltration hinges on correct installation. If placed too close to the fascia, water can still penetrate, creeping behind the gutter and wreaking havoc. Conversely, too far away and the water misses the gutter altogether, spilling onto the ground and potentially compromising the foundation.
Moreover, it’s not just the horizontal flow that this nifty piece of metal guards against; it also prevents capillary action. That’s the sneaky way water defies gravity, climbing up and over the drip edge only to drop down onto the vulnerable decking below.
In essence, think of a drip edge as your roof’s first line of defense in the battle against moisture. It’s a small, but mighty ally in the quest to keep your home dry and your rafters in tip-top shape.
Climate and Weather Conditions Impact On Drip Edge Selection
Selecting the correct drip edge for your home isn’t something you’d leave to chance, weather-wise. Mother Nature plays her cards, and it’s smart to play along.
In areas ripe with hurricanes and heavy storms, a metal drip edge is a knight in shining armor. Its sturdy build withstands strong winds and driving rain, keeping the underbelly of your roof snug as a bug.
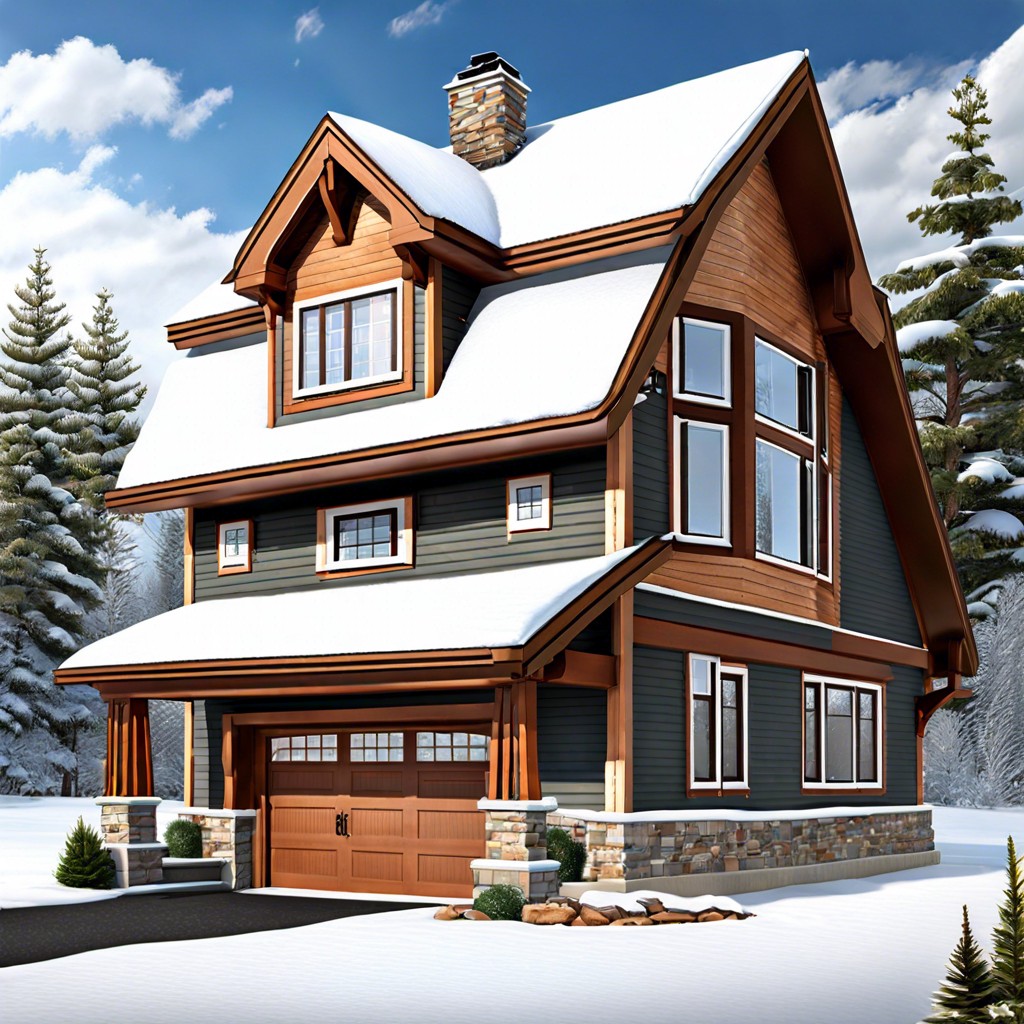
Conversely, in regions where snow and ice are the main guests, a drip edge with a slight overhang keeps icicles and ice dams at bay. It allows the frigid mix to slip off rather than forcing a frosty invasion under shingles.
Desert climates throw a curveball with their scorching sun and minimal rain. Here, a drip edge with excellent corrosion resistance makes sure the sun’s fierce gaze doesn’t lead to premature wear and tear.
Altitude can throw a spanner in the works as well. High elevations demand a drip edge that’s not only tough against moisture but can also stand up to the occasional ballet of wildlife across the roof.
Let’s nail it down: climate dictates the drip edge. So, listen to the skies—they have quite the story to tell about what your roof needs to wear!
