Last updated on
Learn everything you need to know about installing a drip edge on your roof to prevent water damage and keep your home safe.
Got a roof that could use a little more love? Installing a drip edge might just be your new best friend. This unsung hero of the roofing world essentially prevents water damage and keeps your roof looking sharp. In this guide, you’ll find everything from the essential tools and materials needed, to foolproof step-by-step instructions, common pitfalls, and even maintenance tips. So, grab your tool belt and let’s get that roof drip-edge ready!
Key takeaways:
- Drip edges prevent water damage and enhance roof appearance.
- Essential tools: tin snips, hammer, tape measure, safety gear.
- Overlap drip edges by two inches for optimal sealing.
- Regularly inspect for rust, damage, and debris buildup.
- Replace sagging or rusty edges to maintain roof integrity.
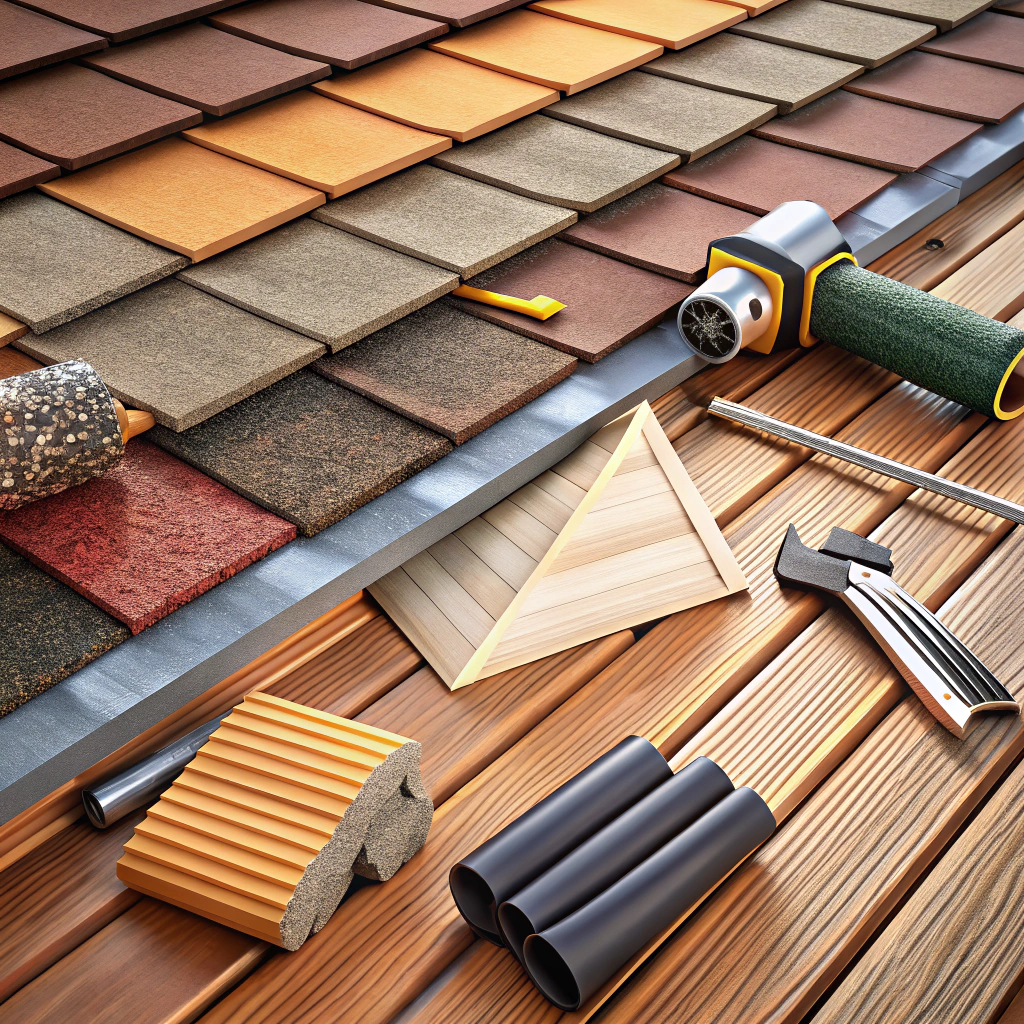
Essential Tools and Materials for Installing a Drip Edge

To install drip edge like a pro, you’ll need a few trusty sidekicks. Let’s talk essentials.
First, grab yourself some tin snips. These bad boys will help you cut through the metal like a hot knife through butter.
A hammer and roofing nails are next on the list. Your drip edge isn’t going to secure itself, after all!
You can’t forget a tape measure. Accuracy here is key–unless you want an edge that’s too short or too long. Trust me, you don’t.
A chalk line will keep everything straight. Drip edges aren’t a game of connect-the-dots.
Rubber gloves are a good idea. Seriously, these metal edges can turn you into a human paper cut if you’re not careful.
Lastly, safety goggles. Because it’s tough being the home-improvement hero when you’ve got a piece of metal in your eye.
Preparing Your Roof for Drip Edge Installation
First things first, ensure the roof edge is clean and free of debris. Check for any existing damage that might throw a wrench in your installation plans.
Start by removing any old drip edges, nails, or fasteners. It’s like a spring cleaning, but for your roof.
Inspect the fascia boards. Make sure they’re in good condition and properly aligned. Nobody wants a wobbly foundation.
If there’s any rot or damage, replace the affected sections. You wouldn’t want to put a shiny new drip edge on a decaying fascia, right?
Measure twice, cut once. Check the roof edge dimensions so your new drip edge fits like a glove.
Lastly, ensure you have easy access to the roof. Safety first – secure that ladder and strap on that harness.
Remember, preparation sets the stage for a smooth installation.
Positioning the Drip Edge
It’s like playing a giant game of Tetris, except instead of fitting oddly-shaped blocks, you’re aligning metal strips that guard your roof. Precision is key here.
First and foremost, ensure the drip edge extends approximately half an inch past the edge of the roof. This minor extension keeps water from sneaking behind your gutters and causing pesky damage.
For the corners, overlap the pieces by at least two inches. This little overlap moves moisture away from the roof edge, ensuring nothing seeps in to ruin your day (and your house).
When working along the eaves, place the drip edge under the felt paper. For the rake edges, it goes above. This isn’t some ancient roofers’ secret; it just keeps the water flow one-directional and under control.
Last but not least, check alignment with a quick eyeball. A wavy drip edge might look whimsical, but it’s not winning any awards for functionality. Keep it straight, keep it simple, and your roof will be happily drip-free.
Securing the Drip Edge
Next, grab your hammer or nail gun because it’s time to make that drip edge snug and secure like a cozy blanket in a winter storm.
Use roofing nails to fasten the drip edge in place. Aim to space them about 12 inches apart for optimal security. Think of it as giving it a gentle yet firm hug—no one likes a loose hug.
Always ensure the nails go into the fascia board or the roof deck. Anywhere else, and you’re just playing pin the tail on the donkey.
Remember to overlap the edges by about 2 inches. This isn’t a fashion show, but you still want those edges to fit together nicely.
If you’re dealing with corners, cut and bend the drip edge to fit snugly around them. It’s all about getting those corners to feel sharp and tailored, like the lapels on a snazzy suit.
Trust me, properly secured drip edges will stand the test of time and weather, and leave you feeling as accomplished as finally solving that tricky crossword puzzle.
Installing Drip Edge With Roofing Felt
First, lay your roofing felt. Ensure it smoothly anchors to the roof deck like it’s giving a bear hug. You want no bubbles or wrinkles—trust me, nothing good comes from a wobbly roof hugger.
Next, position your drip edge. Slide it underneath the felt along the eaves, but over the felt at the rakes. This sounds tricky, but think of it as tucking in a shirt. Under the felt where water starts and over where it’s endgame.
Secure the drip edge with roofing nails, spacing them about every foot. It’s the Goldilocks of spacing—not too sparse, not too crowded. Just right.
Double-check alignment. Precision here saves headaches later. An off-kilter drip edge is like mismatched socks—uncomfortable and awkward.
That’s it. With practice, this will become second nature, maybe even enjoyable. Or at least bearable.
Common Mistakes To Avoid During Installation
Ah, the joys of home improvement—where a single misstep can lead to a cascade of water-induced woes. Let’s avoid those rookie errors, shall we?
First, never fail to extend the drip edge past the roof’s edge. It needs to go just a wee bit past to really do its job. Think of it as giving your roof a stylish hat with a little brim.
Second, don’t skimp on securing the drip edge. Use enough nails to prevent it from lifting in strong winds. Wind can be pretty persuasive, and your drip edge shouldn’t be swayed.
Third, make sure the drip edge overlaps properly. Overlapping by at least 2 inches prevents sneaky water from slipping through any gaps. You wouldn’t want those water ninjas finding their way in.
Finally, don’t place the drip edge directly on top of the roofing felt. It should go under it along the eaves and over it along the rakes. Think of it as layering for the unpredictable weather—fashionable and functional!
Troubleshooting Drip Edge Issues
Water dripping where it shouldn’t? Double-check that your drip edge extends past the roof decking. Sometimes, architects love playing “hide the edge.”
If the metal is waving at you, the drip edge might not be nailed down securely. Each section should be fastened with roofing nails every few feet. Think of it as preventing a flap that only a seagull would admire.
Notice condensation or rust? Your drip edge material might not be up to snuff. Opt for aluminum or galvanized steel for a corrosion-resistant relationship.
Gaps between sections? They must snugly overlap. Think of them as roof puzzle pieces: they should interlock. If not, you’ve got gaps bigger than your plumber’s butt crack.
Leaks despite having installed a drip edge? Inspect the angle. It must direct water away, not give it a scenic route down under. Adjust if necessary. An edge doing its job right performs like a bouncer at a nightclub—no unwanted guests.
Remember, a drip edge out of position is about as useful as a screen door on a submarine.
Maintaining Your Drip Edge
Inspect your drip edge regularly for damage or wear. Look for signs of rust, dents, or loose nails. A damaged drip edge can lead to water seeping under shingles and causing leaks. Think of it as giving your roof a quick mini-physical.
If you see rust, grab a wire brush and some rust-resistant paint. This quick touch-up can add years to your drip edge’s life. Dents? A little gentle hammering should do the trick. Just imagine you’re a drip edge blacksmith on a noble quest against roof leaks.
Debris buildup can be another pesky issue. Leaves and twigs love to cozy up against your drip edge. Say no to their freeloading ways by regularly clearing out these squatters with a broom or leaf blower. Your drip edge likes to breathe, too.
Finally, if any sections have loosened over time, re-secure them with nails or screws. It’s like putting the lid back on your jar of cookies—you don’t want a crumb thief (like rainwater) sneaking in.
When To Replace Your Drip Edge
A saggy, rusty, or falling-apart drip edge is like trying to stop a tidal wave with a paper towel. If you notice discoloration, rust, or holes, it’s time to gear up for a replacement. Sagging sections? They’re waving a red flag at you.
Water stains or streaks on your fascia are also an SOS signal from your roof. Check out the underside—if it’s looking like a scene from a disaster movie with water damage, your drip edge has thrown in the towel.
Wind damage can leave your drip edge flapping in the breeze. If it’s bent or detached partially, don’t wait for it to take flight. Clip it out and put in the new.
Visible wear and tear is the universe telling you to take action. If you spot splits or cracks, know that a failure is looming. In such cases, the time to replace is now, before things really get out of hand.
Step-by-Step Guide To Installing a Drip Edge
First, start at the lower edge of the roof, ideally at a corner. Slide the drip edge under the shingles but over the underlayment (unless installing new material—then it goes below the underlayment at the eaves).
Next, align the drip edge so that it extends about half an inch beyond the roof decking. This provides an overhang to ensure water drips clear.
Now, nail the drip edge in place. Use roofing nails placed about every 12 inches. Don’t skimp on the nails or it’ll end up flapping like a bird in a windstorm.
When you reach a corner or need to join two pieces, overlap the drip edges by at least 2 inches. This prevents any sneaky water from slipping through.
For the gable ends, follow a similar process but slide the drip edge under the underlayment here.
Got to cut around an obstacle or fit a tricky angle? Tin snips are your go-to tool. Cut carefully to maintain clean edges—no jagged protrusions, thank you.
Finally, check the alignment one last time, making sure everything runs straight and true along the roofline. Voilà! Drip edge installation done right. Fun, isn’t it?