Last updated on
Mastering the skill of cutting rafters—an integral component of any roofing project—is made simple in this comprehensive how-to guide.
Key takeaways:
- Rafter design depends on pitch, length, birdsmouth cuts, and overhangs.
- Tools needed: tape measure, framing square, circular saw, etc.
- Calculate rafter length, mark and cut with precision.
- Test fit and make adjustments to ensure proper fit.
- Safety precautions: wear protective gear, maintain tools, work carefully.
Understanding Rafter Design
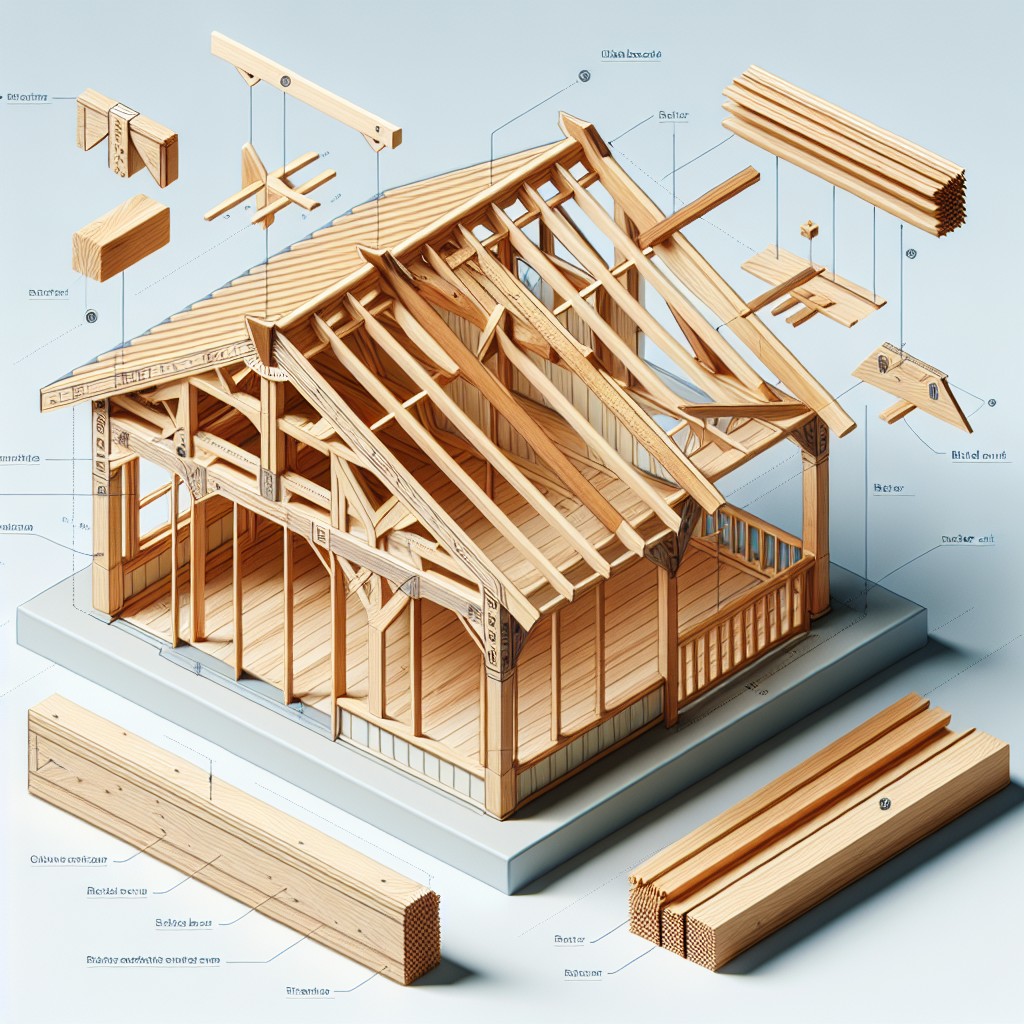
Rafters form the skeleton of a roof, their design tailored to the architectural style and structural requirements of a building. The common rafter, the most basic type, runs perpendicularly from the peak of the roof down to the eaves. Variations include hip and valley rafters, which accommodate more complex roof shapes.
Key elements in rafter design include the pitch, or angle of the roof, and the length of the rafter, which depend on the width of the building and desired height of the roof. Birdsmouth cuts, notches where rafters rest on wall plates, provide stability and must be calculated with precision to ensure structural integrity. Overhangs, the extension of the rafter beyond the wall line, protect siding and foundations from water run-off and lend aesthetic appeal to the structure.
Understanding load distribution is crucial; rafters must be designed to withstand the weight of the roof covering and any additional loads, like snow or maintenance workers. Utilizing the correct size and spacing of rafters as dictated by local building codes ensures a safe and sound roof framework.
Tools and Materials Required
To successfully cut rafters, you will need the following tools and materials:
- Tape Measure: For precise measurements of wood and rafters.
- Framing Square: Essential for marking cut lines on rafters.
- Carpenter’s Pencil: For marking wood before cutting.
- Circular Saw: For making the cuts on the rafters.
- Chalk Line: To snap long, straight cut lines across rafter boards.
- Saw Horses: For supporting the wood while you make the cuts.
- Lumber: The wood from which you’ll cut the rafters, typically 2x4s or 2x6s.
- Safety Equipment: Safety glasses to protect your eyes, and gloves to protect your hands.
- Calculator: To precisely calculate lengths and angles.
Ensure you have a stable work surface and keep your tools in good condition to achieve accurate cuts for your rafters. Proper measurements and markings are crucial for the integrity of the roof structure.
Calculating Rafter Length and Making Cuts
To determine the length of your rafters, you’ll need to know the span of the building and the pitch of the roof. Use this simple formula: (Span ÷ 2) / Cos(Pitch) = Rafter Length, taking into account the total span (the horizontal distance from wall to wall), not just the building width. Remember to factor in the overhang, if desired, by adding this length to the calculated rafter length.
For cutting, transfer your measurements to the lumber using a carpenter’s square and pencil. Mark both the birdsmouth cut—that seats the rafter on the top plate of the wall—and the plumb cut, which shapes the rafter’s peak. Double-check these marks before making any cuts.
Utilize a circular saw for precision and control when cutting along your marked lines. Finish any partial or angled cuts with a handsaw to avoid over-cutting. Always ensure the power tools are set to the correct depth to match the thickness of the rafter material.
After completing the cuts, dry-fit the first rafter to check for proper fit against the ridge board and wall plate. Any discrepancies can be traced back to measurement and angle errors. Correct the template rafter before proceeding to cut the rest to guarantee uniformity.
Checking the Fit and Making Adjustments
Once rafters are cut according to the calculated dimensions, it’s crucial to test their fit before securing them into place. Place a cut rafter on the roof structure to ensure it sits correctly against the ridge board and wall plate. Check for any gaps and confirm that the birdsmouth cut snugly meets the wall plate. If discrepancies are found, slight adjustments can be made using a hand plane or saw for a better fit.
Remember, small inaccuracies can add up over the span of the roof, leading to significant misalignment. Using a rafter that fits perfectly as a template can help maintain consistency. Double-check the rafter angles against the design specs to confirm accuracy. If multiple adjustments are required, it could indicate an issue with the initial calculations, necessitating a review of the rafter design and measurements.
Safety Precautions and Warnings
Prioritize personal protective equipment, such as safety glasses, gloves, and hearing protection, to shield against flying debris and loud power tools.
Always ensure your working area is clean and well-lit to prevent trips and falls.
To maintain balance and prevent injury, use stable scaffolding or ladders when working at heights.
Keep tools in good condition, regularly checking for wear or damage, particularly the sharpness and integrity of blades.
Remember to cut in a direction away from your body to minimize risk, and never rush through measurements or cuts, as precision promotes both accuracy and safety.
Employ helpers or stabilizing devices when maneuvering large or unwieldy rafters, reducing strain and the potential for accidents.
Always follow manufacturer guidelines for power tools and disconnect any electrical equipment before changing blades or making adjustments.
Lastly, stay aware of your surroundings, especially if working in an inhabited or busy area where others may unintentionally enter your workspace.
FAQ
How do you cut a rafter?
Cutting a rafter involves making three separate cuts: the ridge cut at the top, the birdsmouth cut where the rafter meets the wall, and the tail cut at the base.
What angle do you cut rafters for a 6 12 pitch?
For a 6/12 pitch, rafters need to be cut at an angle of approximately 26.57 degrees.
What tools are typically needed for cutting roof rafters?
The typical tools needed for cutting roof rafters are a circular saw, measuring tape, carpenter’s square, and a pencil for marking.
How does roof pitch affect the cut angles for rafters?
Roof pitch directly influences the cut angles for rafters, with a steeper pitch requiring greater cut angles.
What steps should one follow to ensure precise rafter cuts?
To ensure precise rafter cuts, one should measure and mark the rafter length on the board, cut along the marked line using a circular saw or a handsaw, and check the accuracy of the cut with a carpenter’s square.


