Last updated on
Discover practical steps to pinpoint and fix a leak in your roof, ensuring your home stays dry and protected.
Key takeaways:
- Finding and repairing leaks quickly prevents costly damage.
- Look for signs of a roof leak, such as water stains or musty odors.
- Start the search for the leak in the attic or on the rooftop.
- Water can enter through worn shingles or damaged flashing.
- Enlist the help of a professional for efficient and durable repairs.
The Importance of Finding and Repairing Leaks Quickly
Catching a leak early can save your roof—and your wallet—from much bigger problems down the line. Think of a small leak as a warning bell. If ignored, it can lead to extensive water damage, which can weaken structural components, promote mold growth, and damage interior finishes. Tackling leaks promptly helps maintain the health of your roof and prevent the need for costlier repairs or even a complete replacement. It’s a bit like fixing a chip in your windshield before it spiderwebs. Quick action prevents a trickle from becoming a flood, protecting your home from the inside out. Remember, water travels—so damage can show up far from the original leak, making detective work a key part of home maintenance. Keep an eye on the sky’s mirror, your roof, to ensure your home stays snug and dry.
Signs of a Roof Leak
Discolored spots on walls and ceilings often betray a roof leak as they suggest water damage from above. These unsightly blemishes are usually brownish or yellow and grow larger over time.
Drips and moisture on interior surfaces after a heavy rain spell trouble. Water finding its way inside is a clear red flag, and it’s essential to take note of when and where these droplets appear.
Mold and mildew, particularly in attics or on ceilings, can indicate that water has been invading your space, creating a damp environment ripe for fungal growth.
A sudden spike in your water bill could suggest that water is escaping from its intended path, potentially through a vulnerable spot in your roof.
While less obvious, a musty odor in certain areas of the home can also be a telltale sign of a hidden leak slowly wreaking havoc.
Cracked, curled, or missing shingles are visual cues from the outside that can pinpoint where the integrity of the roof has been compromised, allowing water intrusion.
Remember, where there’s smoke, there’s fire – and where there’s water damage, there’s very likely a breach in your roof’s defense. Keep these points in mind as you survey your home for the telltale signs of a leak.
Locating the Source of the Leak
To pinpoint the origin of a leak, start in the attic—if you have access—armed with a flashlight. The most opportune time to search is during the day when sunlight might help reveal the leak. Look for rays of light piercing through the roof boards. Additionally, search for water stains, dark spots, or mold, as these are telltale signs of moisture problems.
If attic access isn’t an option or the leak’s entry point isn’t obvious, you’ll need to head to the rooftop. But don’t be hasty; your safety is paramount. Make sure the roof is dry and wear appropriate footwear to prevent slipping.
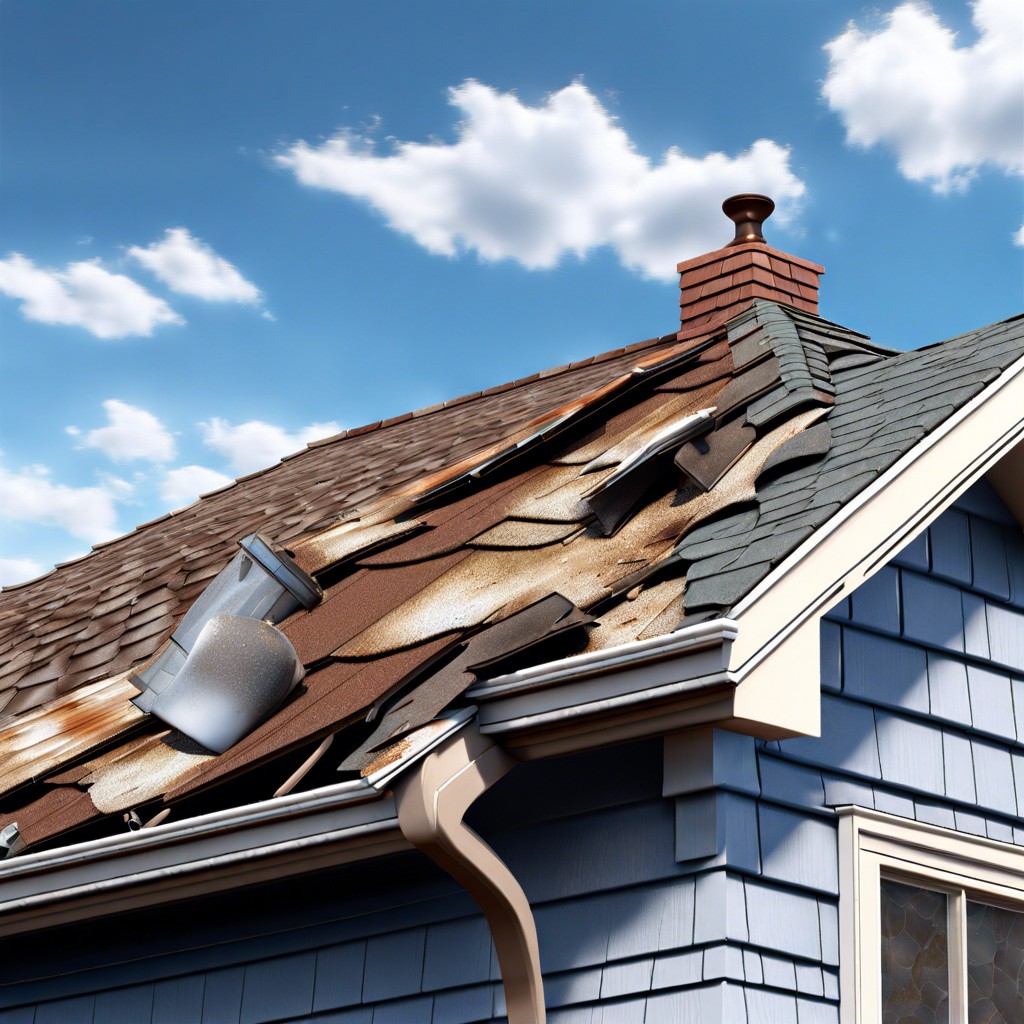
Begin your rooftop examination by checking roof penetrations, as these are often culprits for leaks. Items that penetrate the roof, like chimneys, vents, or dormers, have seams that can deteriorate over time. Inspect the shingles nearby; look for any that are missing, damaged, or curled.
Water typically enters through worn, broken, or missing shingles; where nails have worked loose; or through corroded or poorly sealed roof flashing around vents, skylights, or chimneys. When shingles are the issue, it’s usually straightforward. If the flashing is to blame, finding the exact entry point can be trickier.
Remember, water can travel sideways or even upwards before dripping down, so the location of the damage might not align directly with the leak. Trace the water damage inside your home and aim to draw a trajectory. This process aids in narrowing down potential entry points on the roof itself.
Enlisting a partner can expediently resolve this conundrum. One person stays inside while the other showers the roof with water from a hose. Start from the bottom, working up the roof slowly, section by section, until a drip becomes noticeable inside; this tactic can reveal the leak’s location. If patience is your virtue, this method, albeit time-consuming, usually pays off.
Professional Roof Leak Repair
Enlisting the help of a seasoned roofing professional can save time and prevent minor issues from escalating. Experts bring with them a suite of diagnostic tools and the know-how to swiftly pinpoint and fix leaks. They can spot telltale signs that untrained eyes might miss, such as subtle differences in shingle wear or minor deformations in roofing materials.
A professional will typically begin with an indoor inspection, looking for water trails, spots, or mold that indicate the path water is taking. From there, they’ll carefully examine the roof’s exterior, paying special attention to areas prone to leaks like chimneys, vents, and gutters.
Once the culprit is found, a pro can decide on the best course of action—be it a simple patch, shingle replacement, or a more extensive repair. Pros also provide warranties on their work, offering peace of mind that the fix is not just quick, but durable.
Remember, what may seem like a hefty investment upfront can fend off costlier repairs down the line, not to mention the priceless comfort of a leak-free home regardless of the weather’s whims.
Preventing Future Roof Leaks
Vigilance is key to averting the headache of repeat leaks. Regular roof inspections, ideally bi-annually or after severe weather, can catch small issues before they turn into major waterworks. A key point during these inspections is to clear gutters and downspouts; clogged drainage can lead to water pooling and seepage.
Quality roofing materials make a world of difference. Opting for shingles with a proven track record against the elements could save you from frequent repairs. Sealants should also be on your checklist; apply them around roof fixtures, as these are common leak culprits.
Trimming overhanging branches not only reduces leaf debris but also minimizes the risk of branches puncturing your roof during storms. And don’t forget insulation and ventilation – these help control attic temperatures and moisture levels, reducing the potential for leaks caused by ice dams or condensation.
To cement your defenses, consider scheduled maintenance by seasoned professionals. This proactive measure can keep your roof watertight and let you rest easy during even the most torrential downpours.


