Last updated on
In this step-by-step guide, you’ll learn an effective and manageable way to repair a hole in your roof.
Key takeaways:
- Gather necessary tools & materials for roof repair.
- Inspect the roof to locate and assess the hole.
- Remove damaged area and prepare for repair.
- Install new materials to cover the hole.
- Follow safety precautions when attempting DIY roof repair.
Tools & Materials

To embark on repairing a hole in your roof, ensure you have gathered all the necessary tools and materials prior to starting the job. You’ll need:
- Ladder: To safely access your rooftop.
- Protective gloves: To guard against cuts from sharp edges.
- Hammer: For removing nails and securing new roofing materials.
- Pry bar: For prying up damaged shingles or roofing panels.
- Utility knife: For cutting roofing materials with precision.
- Tape measure: For accurate measurement of the repair area and new materials.
- Roofing tar or sealant: To create a waterproof bond around the repaired section.
- Roofing nails or screws: To fasten new materials securely in place.
- Patching material: Either roofing cement for small holes or new shingles/panels that match the existing roof material for larger repairs.
- Caulk gun: For the application of roofing tar or sealant.
Selecting the correct materials that are compatible with your existing roof is essential for a long-lasting repair. If unsure, consult with a professional or a home improvement store for advice on the best match for your roofing type.
Locate and Assess the Hole On the Roof
Begin by inspecting the attic space under the roof, as daylight visible through the decking indicates a hole. For safety, only walk on the joists or lay down plywood to distribute your weight.
If attic access isn’t possible, use a ladder to assess the exterior roof surface. Look for missing shingles, gaps in flashing, or punctures. It’s essential to gauge the size of the hole; smaller holes can often be patched, while larger ones may require more extensive repairs, including possibly replacing sections of roofing materials.
Consider weather conditions too; recent storms could mean there may be more damage than just the visible hole. Surrounding shingles or tiles might have sustained damage, so scrutinize the area for cracks, loose materials, and signs of water penetration which could indicate a bigger issue.
Clear away any debris to get a full view and take notes or photographs – these can be helpful if you need to discuss the repair with a professional or for insurance purposes.
Remove the Damaged Area and Prepare for Repair
Once you’ve identified the damaged section, it’s essential to proceed with care. Wearing gloves, use a utility knife or roofing saw to cut through the shingles around the compromised area, ensuring the cut extends to the center of a rafter below for solid backing.
Pry up the damaged shingles and remove them along with any nails or debris, being careful to not cause further damage. Clear away any loose roofing cement.
Before moving forward, ensure that the surrounding area is dry and clean to allow for the best adhesion and integration of new materials. Remember, a clean work environment is key for a seamless and durable repair.
Install New Materials to Cover the Hole
After preparing the surface, measure the area needing coverage carefully. Cut a piece of roofing material that extends past the hole by at least 6 inches on all sides. For shingle repair, slide the new shingle under the row above, ensuring it aligns with adjacent shingles. Nail the shingle into place with roofing nails, and seal nail heads with roofing cement to prevent leaks.
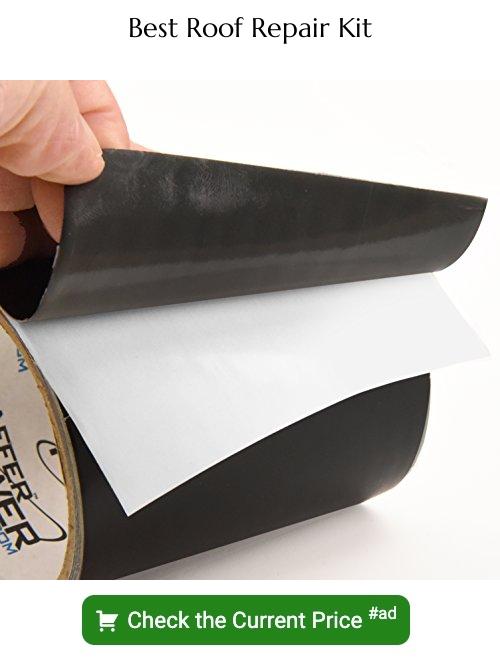
In the case of larger holes, install a roofing patch or new decking material, then cover with underlayment before adding shingles or other roofing materials. Ensure all layers are flat and secure to avoid future water intrusion. Seal seams with roofing cement and, if necessary, use a roofing patch kit which includes a patching fabric to reinforce the area. Trim any excess material for a clean finish.
Safety Considerations for DIY Roof Repair: Protecting Yourself and Your Home
When undertaking DIY roof repair, safeguarding against potential hazards is paramount. Ensure stability by using a sturdy, well-placed ladder for roof access. Always wear non-slip footwear to minimize the risk of falls.
For heightened protection, consider a safety harness attached to a secure anchor point. Gloves and safety glasses are essential to protect hands and eyes from sharp objects and debris.
Additionally, select a calm, dry day for repairs since wet or windy conditions significantly increase the risk of injury. Be conscious of roof pitch; steeper slopes demand specialized equipment and techniques.
Finally, keep a clean workspace, regularly removing tools and materials to prevent tripping hazards.
FAQ
Can you fix a small hole in a roof from the inside?
Yes, it is possible to fix a small hole in a roof from the inside, particularly from the attic, as long as the leakage has not worsened due to neglect or heavy rainfall.
Is it possible to patch a roof?
Yes, it is possible to patch a roof, especially when dealing with minor damage or isolated issues.
Can you repair part of a roof?
Yes, a part of a roof can be repaired, but this approach is generally not recommended by roofing experts due to its potential drawbacks.
What materials are best to use for patching a hole in a roof?
The best materials for patching a hole in a roof include roofing tar, roofing felt, and a piece of shingle or metal flashing.
How long will a temporarily patched roof hale last before needing a more permanent fix?
A temporarily patched roof typically lasts between one to three months before requiring a more permanent solution.
What steps should be taken to prevent further damage when a hole in the roof is discovered?
Once a hole in the roof is discovered, immediate steps should be taken to cover the hole with a waterproof tarpaulin or patching material, followed by contacting professional roofers to assess the damage and perform necessary repairs.


