Last updated on
Discover the perfect way to hang Christmas lights on metal roofs, transforming your home into a dazzling winter wonderland with ease and safety.
The holiday season is here, and it’s time to start thinking about decorating your home with festive lights. But if you have a metal roof, you may be wondering how to safely hang your Christmas lights without damaging the roof or putting yourself at risk.
Don’t worry – with a few tips and tricks, you can easily hang your lights on a metal roof and create a beautiful display that will make your home shine bright this holiday season. In this article, we’ll share some helpful advice on how to hang Christmas lights on a metal roof safely and effectively.
So grab some hot cocoa, turn up the holiday tunes, and let’s get started!
Safety Precautions for Hanging Lights

Before you start hanging your Christmas lights on a metal roof, it’s important to take some safety precautions. First and foremost, make sure you have someone with you to help hold the ladder steady while you climb up onto the roof.
It’s also essential that your ladder is secure and placed on level ground before climbing up.
When working at heights, always wear slip-resistant shoes or boots with good traction to prevent slipping or falling off the roof. Use a sturdy extension cord rated for outdoor use and ensure that all electrical connections are dry before plugging in any lights.
Another crucial safety tip is never to staple or nail into your metal roofing as this can cause damage leading to leaks in future seasons. Instead of using nails or staples directly on the roofing material itself consider using light clips designed specifically for metal roofs which will not penetrate through them.
Required Tools and Materials
This will ensure that you have everything you need to complete the job safely and efficiently. Here are some of the essential items that you’ll need:
1. Ladder: A sturdy ladder is crucial for reaching high areas of your roof.
2. Measuring tape: You’ll want to measure out how much string or wire is needed for each section of lights.
3. Light clips: These come in various types such as magnetic clips, plastic clips, or command strips depending on what works best with your metal roofing material.
4. Extension cords: Make sure they’re rated for outdoor use and long enough to reach an electrical outlet from where you plan on hanging your lights.
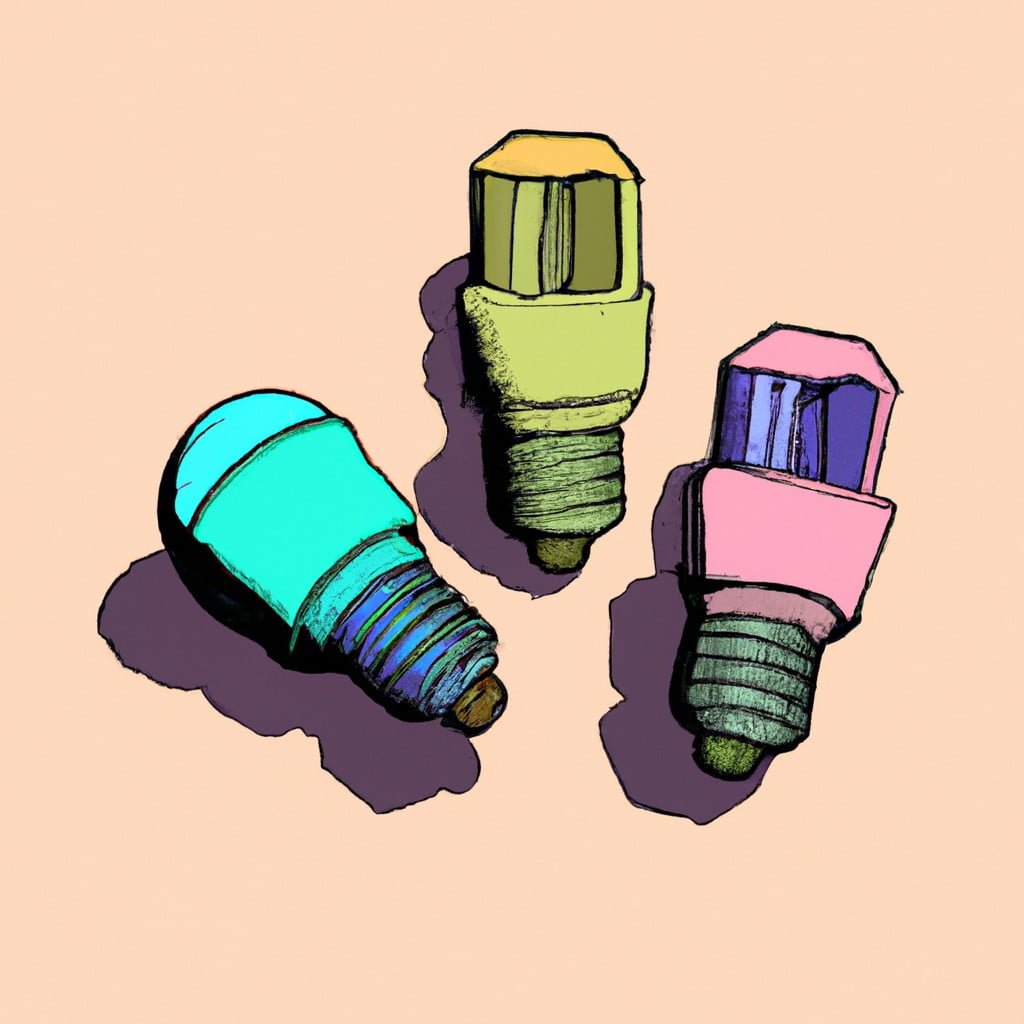
5. Christmas Lights – LED bulbs are recommended because they last longer than traditional incandescent bulbs while using less energy.
6. Timers- If possible install timers so that there’s no risk of leaving them running overnight when everyone has gone off to bed.
Types of Metal Roofing
Different types of metal roofs require different methods for attaching lights safely and securely. The most common types of metal roofing include standing seam, corrugated, and ribbed panels.
Standing seam roofs are characterized by raised seams that run vertically along the roof surface. These seams provide a flat surface for attaching light clips or magnetic hooks without damaging the roof.
Corrugated panels have ridges that run horizontally across the panel’s width with valleys between them. Attaching light clips directly onto these ridges can cause damage to your roof over time due to expansion and contraction caused by temperature changes.
Ribbed panels are similar in appearance but feature smaller ribs than corrugated ones; they also pose challenges when installing Christmas lights as they don’t offer much space for clip attachment points.
Choosing the Right Christmas Lights
First and foremost, make sure that the lights you choose are rated for outdoor use. This will ensure that they can withstand harsh weather conditions such as rain, snow or wind.
Next, think about the color and style of your lights. Do you want classic white bulbs or colorful ones? Would you prefer traditional string lights or something more unique like icicle strands? Consider what will complement your home’s exterior decor best.
Pay attention to the length of each strand of lights and how many strands you’ll need in total. Measure out where on your roofline (or other features) that require lighting so as not to run short on light strings mid-installation.
Measuring and Spacing Your Lights
This step is crucial in ensuring that your display looks neat and evenly distributed across the roof. Start by measuring the length of your roofline where you want to hang lights, then divide that number by the spacing distance between each light bulb on a strand of Christmas lights.
For example, if you have a 20-foot section of roofline with bulbs spaced six inches apart on a strand of Christmas lights, you’ll need 40 bulbs (20 feet x 12 inches =240 inches /6-inch bulb spacing=40 bulbs).
It’s important to note that different types of Christmas light strands may have varying distances between each bulb or even come in different lengths altogether. Be sure to check this before purchasing any strands so as not to end up with too few or too many for your desired look.
Once you’ve determined how many bulbs are needed for one section, repeat this process for other sections along the same plane until all areas are covered adequately without overcrowding or leaving gaps.
Preparing the Metal Roof
This will ensure that your lights stay securely in place and don’t cause any damage to the roof. First, clean the area where you plan to hang your lights with a broom or soft-bristled brush.
Remove any debris or dirt that may be present on the surface of the metal roofing.
Next, inspect for any loose screws or nails and tighten them if necessary. If there are missing fasteners, replace them before installing light clips.
It’s also essential to check for rust spots as they can weaken metal roofs over time; use sandpaper or steel wool pads gently scrubbing away rust stains until they disappear completely.
Attaching Light Clips to Metal Roof
The best way to do this is by using light clips specifically designed for metal roofs. These clips are made of durable materials that won’t damage or scratch the surface of your roof.
To attach light clips, start at one end of the roofline and work your way across. Place a clip every 12-18 inches along the edge of the roofline where you want to hang your lights.
Make sure each clip is securely attached before moving on.
There are several types of light clips available for metal roofs, including magnetic clips, command strips, plastic hooks/clips among others which we will discuss in detail later in this article.
Magnetic Clips
These clips use strong magnets to attach to the roof, eliminating the need for screws or other hardware that could damage your roof. To use magnetic clips, simply place them where you want your lights to go and attach them securely to the metal surface of your roof.
One thing to keep in mind when using magnetic clips is that they may not work well with all types of metal roofing. Some metals are not magnetic and will not hold onto these types of fasteners properly.
Before purchasing any type of clip or fastener, be sure it is compatible with your specific type of roofing material.
When using magnetic clips, it’s important to ensure they are placed securely on the roof so they don’t fall off due to wind or other weather conditions. It’s also essential that you do not overload each clip with too many strands of lights as this can cause them to detach from their position.
Command Strips
These adhesive strips are easy to use and won’t damage your roof or leave any residue behind when it’s time to take down the lights. To use command strips, start by cleaning the area where you want to attach them with rubbing alcohol and letting it dry completely.
Then, apply the strip to both the light string and your metal roof surface, pressing firmly for 30 seconds.
One of the benefits of using command strips is that they come in different sizes and strengths depending on how heavy your light strands are. They also have outdoor options that can withstand harsh weather conditions like rain or snow.
When removing command strips after holiday season ends, pull gently on one end of each strip while holding onto its base until it releases from both surfaces cleanly without leaving any residue behind.
Magnetic Lights
These lights come with strong magnets that can easily attach to the metal surface of your roof, making installation quick and easy.
To use magnetic lights, simply place them where you want them on your roof and let the magnets do the rest. You don’t need any additional tools or materials – just make sure that each light is securely attached before moving onto the next one.
One thing to keep in mind when using magnetic lights is that they may not be as secure as other attachment methods, especially if you live in an area with high winds or heavy snowfall. If this is a concern for you, it’s best to use additional support such as plastic clips or adhesive strips along with your magnetic lights.
Magnetic Lights are an excellent choice for those who want a hassle-free way of hanging Christmas lights on their metal roofs while avoiding damage from adhesives and clips.
Plastic Clips
These clips are made of durable plastic and come in various sizes to fit different types of roofing materials. They work by clipping onto the edge of the metal roof, providing a secure hold for your light strands.
To use plastic clips, start by measuring and spacing out where you want your lights to go. Then, attach the clip onto the edge of your metal roof using screws or adhesive tape if it’s available with them.
Once you have all your clips in place, simply slide each light strand into its corresponding clip until they’re securely held in place along the length of your roofline.
One advantage that plastic clips offer is their affordability compared to other options like magnetic or command strips. However, keep in mind that they may not be as strong as other methods and could potentially damage some types of roofing material if not installed correctly.
Installing Lights On Ridge Caps
To do this, start at one end of the ridge and attach light clips to the metal roofing using screws or adhesive strips. Then, carefully string your lights along the length of the ridge cap, securing them with additional clips as needed.
When attaching light clips to a metal roof’s ridge cap, it’s important to use caution and follow safety guidelines. Consider enlisting help from another person who can hold onto you while you work on top of your home for added stability.
Stringing Lights Along Gutters
To do this, you’ll need gutter clips that are designed specifically for hanging Christmas lights. These clips attach directly onto the lip of your gutters and provide a secure hold for your light strands.
To begin, measure the length of your gutter and determine how many light strands you will need. Next, attach the gutter clips evenly spaced along the entire length of the gutter using either magnetic or plastic clips depending on what works best with your metal roof type.
Once all of the clips are in place, carefully string each strand through them making sure they’re securely attached before moving on to another section. Be sure not to overload any one clip as it could cause damage or even fall off during high winds.
Wrapping Lights Around Roof Features
This technique adds depth and dimension to your display while highlighting the architectural details of your home. To wrap lights around roof features on a metal roof safely and effectively, start by measuring the length of each feature that you want to decorate.
Then choose a light strand that is long enough to cover the entire area without leaving any gaps.
To attach the lights securely to these areas on a metal roof surface use plastic clips designed for this purpose as they are easy-to-use and won’t damage or scratch up against it. When wrapping lights around corners or edges of these features ensure there is no tension in between so as not cause any damage when winds blow.
Securing Corners and Peaks
These areas can be tricky to decorate, but with the right tools and techniques, you can create a stunning display that will impress all who see it.
To secure corners and peaks, use plastic clips or magnetic clips designed for metal roofs. These clips are easy to install and won’t damage your roof.
Simply attach them at the corner or peak where you want your lights to go.
Once you have attached the clip, string your lights through it in a zigzag pattern along each side of the corner or peak. This will ensure that there are no gaps in between strands of light.
If you’re using magnetic clips for securing corners and peaks on a metal roof with ridge caps (the raised seams running down either side), consider using magnetic light strands instead of traditional ones as they’ll stick directly onto these ridges without any need for additional hardware like hooks or hangers!.
Electrical Outlet Considerations
You’ll need to have access to an outlet in order to plug in your lights and bring them to life. If there isn’t an outdoor outlet near where you want your lights, don’t worry – there are a few options available.
One option is using extension cords that can reach from indoor outlets outside. However, make sure the cords are rated for outdoor use and avoid running them across walkways or driveways where they could become tripping hazards.
Another option is installing new outdoor electrical outlets specifically for holiday lighting purposes. This may require hiring an electrician if you’re not comfortable doing it yourself.
Connecting Multiple Light Strands
This is a crucial step in creating a cohesive and beautiful display. Before connecting the strands, make sure that they are all compatible with each other and that they are rated for outdoor use.
To connect multiple light strands, start by plugging one end of the first strand into an electrical outlet or extension cord. Then take the second strand and plug it into the first one using its male connector (the prongs sticking out).
Make sure to align them properly before pushing them together firmly.
Continue this process until all of your light strands are connected in series. Be careful not to overload any single circuit or outlet as this can cause damage or even create a fire hazard.
If you’re unsure about how many lights you can safely string together on your metal roof, consult with an electrician beforehand for guidance on proper wattage limits and safety precautions.
Testing Lights Before Installation
This will help ensure that all the bulbs are working correctly and prevent any frustration or disappointment when you’re finished with installation. To test your lights, plug them in and check each bulb individually for any damage or defects.
If there are any issues with the bulbs, replace them before proceeding.
It’s also a good idea to check the wiring of your light strands for fraying or other damage that could cause electrical problems later on. Once you’ve confirmed that everything is in working order, unwind each strand of lights and lay it out flat so they don’t get tangled during installation.
Testing your Christmas lights may seem like an unnecessary step but taking this precaution can save time and effort down the line if something goes wrong during installation.
Installing a Timer for Lights
Leaving them on all night can be a waste of energy and money, not to mention potentially annoying for neighbors. That’s where installing a timer comes in handy.
A timer allows you to set specific times when the lights turn off and on automatically each day. This means that even if you forget or are away from home, your lights will still come alive at the right time without wasting electricity.
To install a timer for your Christmas lights, simply plug it into an electrical outlet near where the light strands start. Then plug in the light strand(s) into the designated outlet(s) provided by the timer device.
There are many different types of timers available depending upon what features suit best with one’s needs such as digital or mechanical timers which allow setting up multiple schedules per day with various options like randomization etc., Wi-Fi enabled smart plugs that can be controlled through mobile apps remotely etc.
Removing and Storing Lights Post-Holiday
Removing lights from a metal roof can be tricky, but with some care and attention, you can do it safely without causing any damage to your roof or gutters.
Start by unplugging all of the light strands and carefully removing each clip or fastener that was used to attach them. Be sure not to pull too hard on the clips as this could cause damage.
Next, gently remove each strand of lights from its location on the roofline. Coil up each strand neatly so that they don’t become tangled during storage.
When storing your Christmas lights for next year, make sure they are completely dry before packing them away in a sealed container or bag. This will prevent moisture buildup which could lead to rusting of metal components if left unchecked for long periods.
By following these simple steps when taking down and storing your Christmas lights post-holiday season you’ll ensure their longevity while keeping yourself safe in doing so!.
FAQ
How do you hook Christmas lights to a metal roof?
To hook Christmas lights to a metal roof, string the lights into an inexpensive C9 clip, turning them into magnetic lights that can easily attach to the metal roof.
Will a magnet stick to metal roof?
Yes, a magnet will stick to a metal roof, making it convenient for attaching things like lights with the use of appropriate magnetic clips.
What is the safest way to install Christmas lights on a roof?
The safest way to install Christmas lights on a roof is by using plastic clips instead of nails or staples, as they are easier and less time-consuming to remove.
How do you attach Christmas lights to a roof without damaging it?
To attach Christmas lights to a roof without damaging it, use Christmas light hanging clips instead of nails and staples, which can be found at local hardware stores.
What are the best types of clips or attachments for hanging Christmas lights on a metal roof?
The best types of clips or attachments for hanging Christmas lights on a metal roof are magnetic clips.
Can gutter guards be used effectively to secure Christmas lights on a metal roof?
Yes, gutter guards can be used effectively to secure Christmas lights on a metal roof.
Are there any specific precautions to take when installing Christmas lights on a corrugated metal roof?
When installing Christmas lights on a corrugated metal roof, ensure to use plastic clips designed for corrugated surfaces and avoid puncturing the metal.


