Last updated on
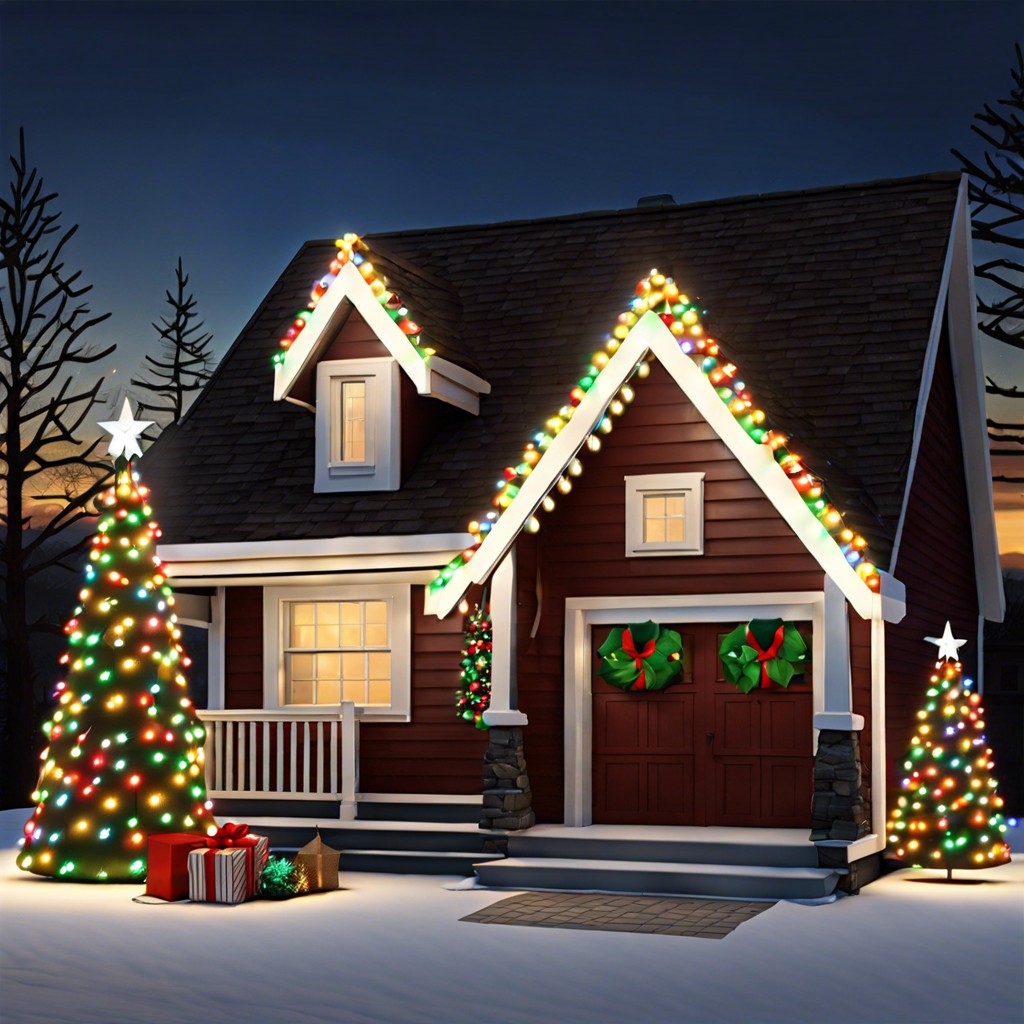
Learn how to safely hang Christmas lights on the peak of your roof without turning into a holiday decoration yourself.
Key takeaways:
- Gather essential tools: ladder, extension cord, light clips, measuring tape, gloves.
- Plan your lights: measure, choose type, decide on power source, plan layout.
- Hang the lights: start at power source, use roof clips, space evenly.
- Attach lights to roof: use roof clips, attach close but not on the edge, secure every 12-18 inches.
- Safety first: wear sturdy shoes, check weather, get help, use quality ladder, be mindful of power lines.
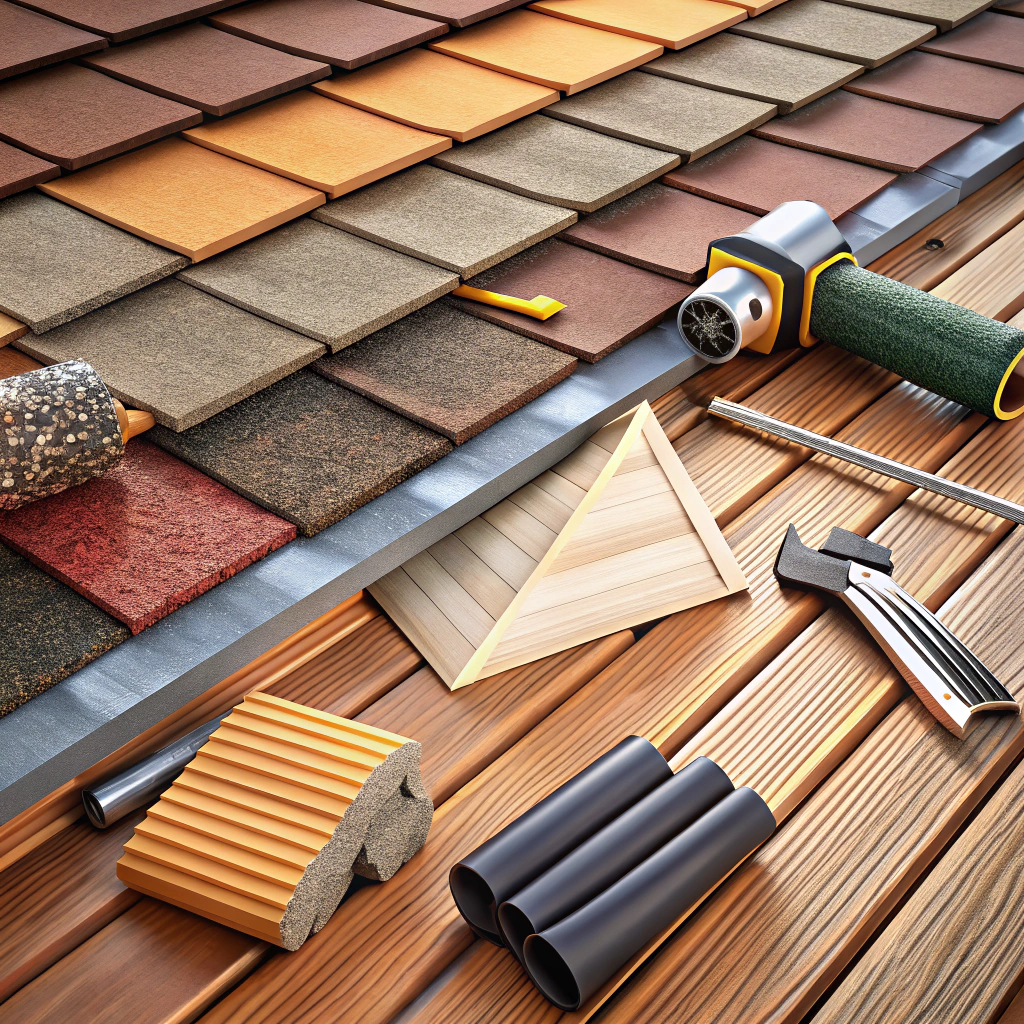
Gather Your Tools
Ready to transform your house into a holiday wonderland? Let’s start by ensuring you’ve got the right tools. Nothing puts a damper on your decorating spirit like halfway up the ladder and realizing you’re missing something important.
Before you even touch that first strand of twinkling lights, gather these essentials:
- Sturdy Ladder – A tippy one is a trip to the ER waiting to happen.
- Outdoor Extension Cord – Unless, of course, your plug is ten feet tall.
- Light Clips – Because nobody likes broken shingles.
- Measuring Tape – Accuracy is key, not just an accessory for someone’s tool belt.
- Gloves – Cold fingers are not a decorator’s friend.
So, check your list twice, just like jolly old Saint Nick, and make sure you have everything on hand.
Make Your Plan
First things first, measure your roofline. This way, you won’t end up with too many or too few lights. Nothing says holiday oops like a half-lit peak.
Choose the type of lights you’ll use. LED or incandescent? Multicolor or classic white? Icicles or twinkling? Decisions, decisions.
Next, decide on the power source. Map out where your extension cords and outlets are. No one enjoys playing “find the nearest socket” in the freezing cold.
Plan your layout. Think about symmetry and how the lights will drape. You want it to look intentional, not like a tangled mess. Ever seen a cat’s cradle gone wrong? Avoid that.
And finally, check the weather forecast. Trust me, hanging lights in the middle of a snowstorm is not the thrill you’re looking for.
How to Hang the Lights
Before you start, plug in your lights to make sure they all work. Nothing ruins holiday cheer faster than a dark patch in your winter wonderland.
Start at the power source. This is typically an outdoor outlet or an extension cord. Work your way up from there to avoid unnecessary tangling. Remember, tangles are like festive knots. Nobody likes them.
Use light clips designed for roofs. They typically grab onto shingles or gutters without damaging them. So, say goodbye to the days of staple guns and useless duct tape battles.
Spacing is critical. Keep your lights evenly spaced for that professional look. No one wants a Christmas light catastrophe featuring clumps of bulbs.
Secure your clips about 6-12 inches apart. Too close, and you’re just wasting clips. Too far, and you might wake up to a light display that’s humbly hanging by a thread, literally.
And hey, don’t forget to step back occasionally. Make sure you’re on track and not turning your roof into a runway for wayward aircraft.
Attaching the Lights to Your Roof
Start by test-hanging a small section of lights. If the Clark Griswold approach (aka hanging them everywhere) isn’t your style, don’t worry. You can keep it simple and effective.
Use clips made for hanging lights on roofs. They are cheap, easy to use, and save your shingles from being perforated like Swiss cheese. Plus, your fingers will thank you.
Attach the lights close to the roof edge but not directly on it. This keeps the lights visible and prevents them from getting tangled or caught up in gusts of wind.
Secure the lights every 12-18 inches to prevent sagging. Sagging lights are sad lights, and nobody likes a sad holiday display. Keep them tight and bright.
Ladder safety is crucial. Move the ladder along the roof rather than stretching. Unless you possess Spider-Man abilities, keep that extra foot on the rung and stay safe.
Test your lights before securing the final end. Nothing’s worse than realizing a whole section is out after you’ve braved those icy heights.
Safety First
Before you channel your inner Clark Griswold, don’t forget to take precautions. Gravity is not your friend here.
Consider sturdy, non-slip shoes. Fashion statements are for the living room.
Check the weather forecast. You might want to avoid the icy villain called “slippery roof.”
Never tackle this solo. It’s not a one-person show; enlist a buddy’s help.
Invest in a quality ladder. Wobbly ladders are like jelly—sweet but unreliable.
For extra points, use a harness. It’s superhero chic and surprisingly practical.
Be mindful of power lines. You don’t want an impromptu hair-raising experience.
And remember, inspect your lights for any damage before plugging them in. Holiday sparks should stay in the fireplace.