Last updated on
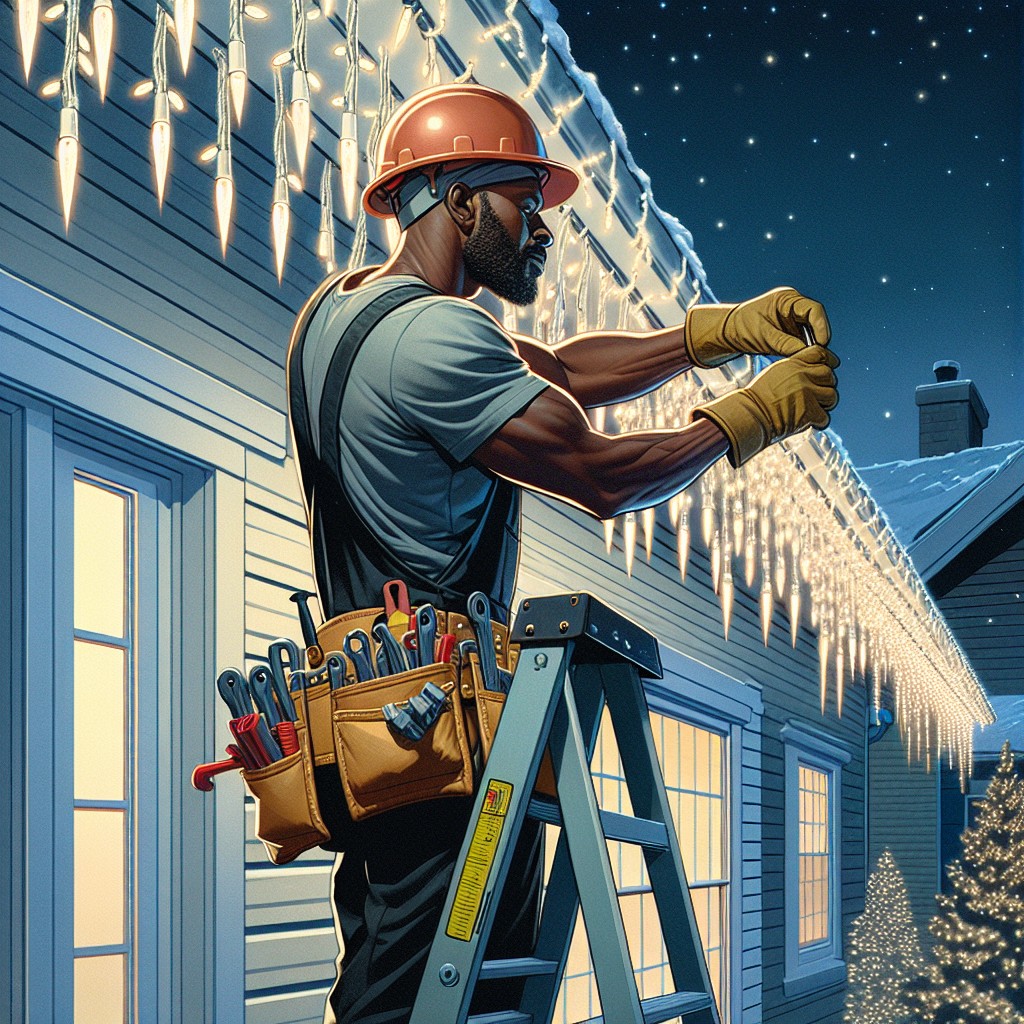
This how-to guide provides practical solutions for hanging icicle lights on a home without gutters, ensuring your seasonal display looks great.
Key takeaways:
- Prioritize safety: Check lights, work during daylight, and have a partner.
- Choose the right attachments: Clips, hooks, or clear ties.
- Select LED icicle lights rated for outdoor use.
- Attach clips or hooks evenly along the roofline.
- Use adhesive hooks for surfaces without gutters, following manufacturer’s instructions.
Safety Check

Before starting your project, it’s essential to prioritize safety. Ensure all light strands are fully functioning and free of damage.
Work during daylight hours for better visibility and if you must use a ladder, position it on stable ground and never overreach—always move the ladder instead.
Have a partner assist you by steadying the ladder and passing the lights as needed.
Keep extension cords and light strings away from any standing water to prevent electrical hazards.
Wear appropriate footwear for better grip and balance, and remember, safety glasses are your friends when working overhead.
Prepare Clips, Hooks or Clear Ties
Selecting the right attachment method is crucial for a secure icicle light installation. Clips and hooks designed for outdoor light displays offer a reliable grip and simplicity of use. They come in various shapes and sizes, tailored to fit different parts of a home’s exterior.
Adhesive-backed hooks provide a solid hold without damaging surfaces and are ideal for attaching lights directly to the home’s siding or trim. For a less permanent solution, consider clear zip ties, which are discreet and can fasten lights to railings or posts. Ensure these materials are rated for outdoor use and can withstand the weight of the lights and environmental conditions.
It’s also important to have enough clips or ties to maintain even spacing between lights, ensuring a tidy and professional appearance.
Pick the Lights
Selecting the proper lighting is crucial for achieving an optimal display. Opt for LED icicle lights, which are energy-efficient and have a longer lifespan than traditional bulbs.
Ensure that the lights are rated for outdoor use to withstand weather conditions. Measure the length of the area where you plan to hang the lights to determine how many strands you’ll need.
Consider the bulb spacing and drop lengths for a uniform look, and verify that the strands can be connected end-to-end to cover the desired area without requiring multiple power sources.
Always check that the lights are fully functional before installation to avoid the inconvenience of removing and replacing faulty strands.
Attach the Clips and the Lights
Ensure the clips or hooks are designed for outdoor use to prevent damage from the elements. For adhesive clips, clean the surface where they will be affixed to guarantee a strong bond. When positioning the clips, space them about 12 inches apart along the roofline or wherever you plan to hang the lights for even distribution.
If using hooks or ties, secure them tightly to prevent slippage. Clip the string of icicle lights carefully into each clip or hook, confirming that they dangle evenly and the wires are not overly tense to avoid damage. Connect the lights to an outdoor-rated extension cord if necessary, routing the cord safely and unobtrusively.
Option 1: Using Adhesive Hooks
Adhesive hooks are a viable solution for hanging icicle lights on surfaces where gutters aren’t available. These hooks stick directly to your home’s siding, trim, or windows, providing a convenient point to drape lights without causing damage.
Before starting, ensure the surface is clean and dry to maximize the adhesive strength. It’s recommended to choose weather-resistant hooks specifically designed for outdoor use to withstand temperature fluctuations and moisture.
When placing hooks, space them according to the string light’s clipping points—typically every 6 to 12 inches—to prevent sagging and create an even, aesthetically pleasing light display.
Following the manufacturer’s instructions for securing the adhesive will ensure a reliable hold throughout the season. Removal is straightforward and usually doesn’t leave a residue, a quick peel-off process will suffice after the holiday period is over.


