Last updated on
Learn how to lay shingles efficiently and protect your home from the elements with this step-by-step guide.

Key takeaways:
- Clear the roof and have necessary tools ready.
- Choose the right shingle type for your needs.
- Prioritize safety by wearing appropriate gear and working in good weather.
- Follow the 5-step process: remove old shingles, install drip edges, lay underlayment, start from the bottom with shingles, and tidy up.
- Dispose of old shingles responsibly and enjoy your new roof.
Prepping for Shingle Installation

First off, it’s time to channel your inner scout—prepare, prepare, prepare! Before diving into shingle-mania, ensuring your workspace is ready will save you from potential headaches (and real head bumps).
Clear the roof of debris, stray nails, and any old shingles. You don’t want your new shingles playing piggyback. Check for any wood damage and repair it. Rotten wood isn’t a solid foundation, unless your goal is to channel your inner sinking ship enthusiast.
Have your tools ready like a pro chef with their mise en place. This includes a sturdy ladder, roofing nails, hammer or nail gun, utility knife, chalk line, and your trusty measuring tape. And sunscreen. Because no one wants a DIY-er that looks like a lobster.
Plan for the weather. Trust us, wrestling shingles in a thunderstorm is not a fun game. Pick a day with clear skies and manageable wind.
Got all that? Great. Now you’re ready to start the real fun.
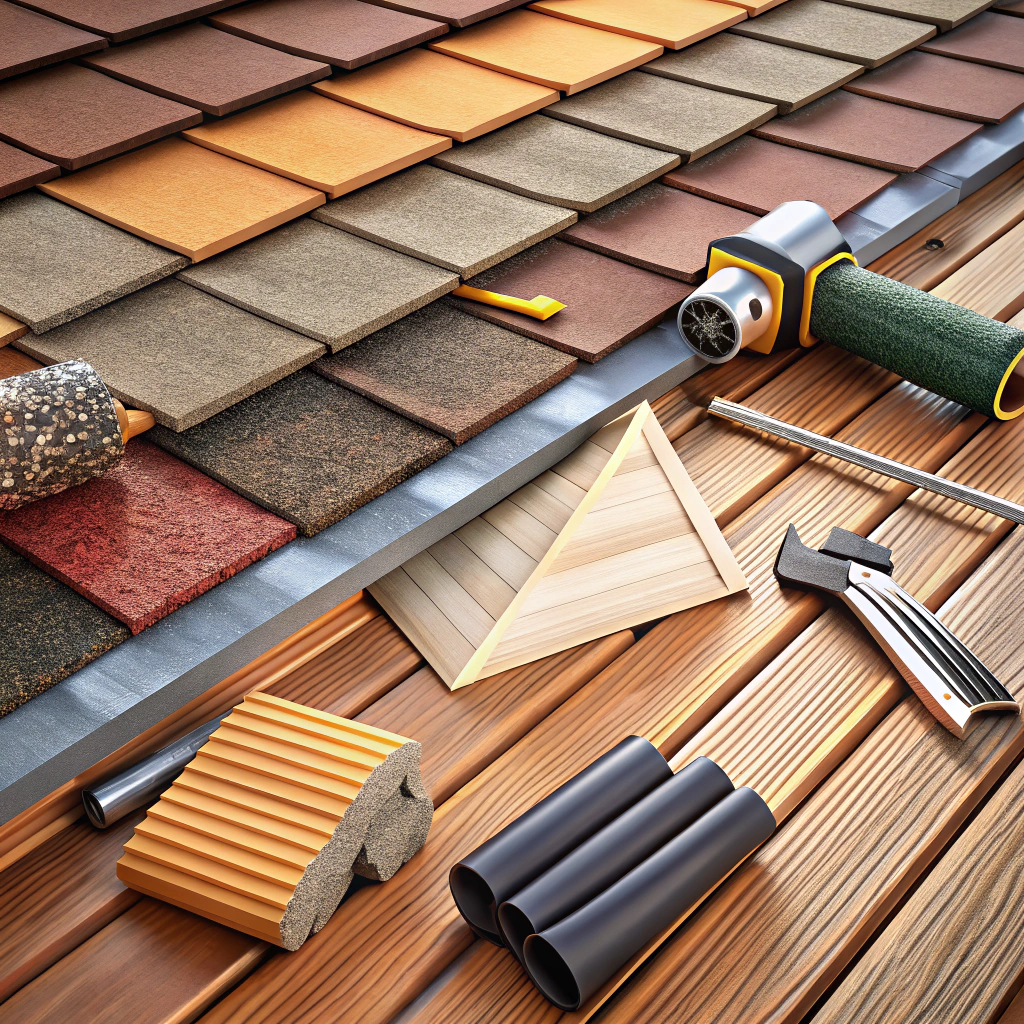
Shingle Materials
There’s a dizzying array of shingles; it’s like a candy store for your roof. Each type has its perks and quirks. Here’s the lowdown:
Asphalt shingles are your reliable best friend, affordable and durable. They come in two flavors: fiberglass and organic. Fiberglass is lighter and more fire-resistant, while organic offers better durability in windy areas.
If you’re feeling ritzy and want curb appeal, consider architectural shingles. They’re thicker and add a dimensional look but can be a bit pricier.
Fancy a classic vibe? Wood shingles bring a rustic charm. Cedar offers natural rot resistance but does need more maintenance.
For a knight-in-shining-armor option, think of metal shingles. They’re long-lasting, resistant to extreme weather, and eco-friendly. Did we mention they can look like wood or slate?
Slate shingles are the luxury sports car of roofing. They’re stunning and can last a century, but they require a hefty wallet and a strong roof structure.
And don’t forget about rubber and composite shingles. They’re eco-friendly, made from recycled materials, and pretty much mimic any other shingle type.
Choose wisely, young roofer, for the right shingle can change the game.
Safety Prep
Before you start, let’s talk safety. Nobody wants to take a tumble while roofing, right?
First, grab yourself some sturdy non-slip shoes. This isn’t the time for flip-flops, folks.
Wear a harness. It might feel like something out of a spy movie, but it’s crucial. Secure it to a stable anchor point on the roof.
Keep your ladder on solid ground. Ensure it’s angled just right—too steep or too shallow, and you might end up starring in a slapstick comedy.
Helmet and gloves are your friends. Sure, you might think you look like a construction worker action figure, but protecting your noggin and hands is worth it.
Work when the weather’s good. Avoid windy or rainy days. Slippery roofs are just asking for trouble.
Have a buddy system. An extra pair of hands (or eyes) can be invaluable, not to mention it makes the job more fun!
How to Shingle a Roof in 5 Steps
First, pry off the old shingles. Yep, all of them. This isn’t the time to get sentimental about that one good tile that’s still holding on. Clear the deck—or rather, the roof deck.
Next, slap on those drip edges. Think of them as your roof’s new kicks, keeping everything sleek and weather-tight. They go on the eaves and rakes, like the sharp dress shoes of the roofing world.
Then, it’s underlayment time. Roll it out like your red carpet, ensuring it’s wrinkle-free because lumps are for oatmeal, not roofs. Staple or nail it down to keep things smooth and snug. You’re aiming for a weather barrier, not a crumpled mess.
When laying shingles, start from the bottom and work your way up. It’s basically shingle 101. Each row should overlap the one below it, like roof scales. Hammer them in with enough nails to make sure they don’t decide to fly south for the winter.
Finally, tidy up. Roofing is messy work—nails, shingle bits, your pride from all that hammering. Gather everything up and dispose of it properly. Stand back, admire your handiwork, and maybe give yourself a high-five for a job well done. Now you’ve got a roof that’s both stylish and functional.
Remove the Current Shingles
Grab your pry bar and hammer, it’s demo time! Removing old shingles might sound like a chore, but think of it as a workout with a purpose.
Start at the roof ridge and work your way down. Don’t just yank the shingles off; peel them like you’re delicately unfolding a love letter from the roof. This helps preserve the wood sheathing underneath.
Watch out for stray nails. Those little guys hide everywhere. Safety first – you don’t want to leave your roof looking like Pinhead from a classic horror flick.
Dispose of the old shingles responsibly. They might have served their purpose, but now they belong in shingle heaven – or the local recycling center, whichever is closer.
You’re not just removing shingles; you’re making way for a sleek, new roof. Embrace the transformation!