Last updated on
Learn to accurately measure a roof with practical steps and essential tips for a precise evaluation of your roofing area.
Key takeaways:
- Accurately measure roof square footage by breaking down into shapes.
- Determine roof pitch to understand total surface area.
- Use proper tools like tape measure and calculator for precise measurements.
- Prioritize safety by wearing protective gear and being cautious on the roof.
- Follow step-by-step process to measure each plane and calculate the total area.
Measure Roof Square Footage
To assess your roof’s area, begin by breaking down the surface into geometric shapes — typically rectangles and triangles. For a single rectangle, multiply its length by its width. If your roof has multiple sections, calculate the area for each and then add them together for the total footprint.
Account for every plane of the roof, including dormers and extensions. Don’t overlook details like overhangs, as they contribute to the overall square footage.
A nifty tip: measure from the ground if you can. It’s a safe alternative that only requires knowledge of your home’s exterior dimensions. If your roof is a simple shape, you can avoid a trek up the ladder by utilizing this ground-level method.
Jot down these figures in a notepad or use a smartphone app to keep track, preventing any mix-ups or forgotten measurements as you go along. Remember, precision is key – a few inches off could skew material estimates and could end in either surplus or shortage.
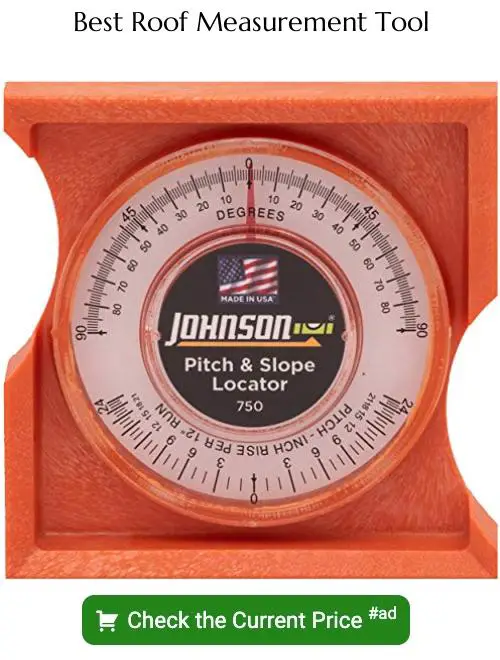
Determine Roof Pitch Factor
Understanding the pitch of your roof is vital because it affects the total square footage. Imagine the pitch as the steepness or angle of your roof. It’s measured by the number of inches it rises vertically for every 12 inches it extends horizontally.
Here’s a simple way to pinpoint this crucial detail: From the edge of the roof, measure 12 inches in. Then, vertically upwards, from the roof’s surface measure how many inches it takes to level with the 12-inch mark on your level. This figure is your pitch.
For example, if the vertical measurement is 6 inches, you have a 6/12 pitch, which is pretty common in residential roofing. As this slope increases, the roof becomes steeper. This factor comes into play because steeper roofs have more surface area than flat ones.
Each roof pitch correlates to a multiplier that is used to convert the flat area measurement to the actual surface area. These multipliers are provided in roofing calculators or pitch factor charts, easily found online or in roofing manuals. Accurate measurement ensures you account for extra materials needed due to the pitch of the roof.
Remember, while accuracy matters, safety comes first. Never compromise your well-being for the sake of a few measurements. If the pitch is steep or the roof conditions are challenging, consider seeking professional assistance.
Tools Required
Before you embark on your rooftop expedition, arm yourself with the proper tools to get precise measurements. A trusty tape measure is indispensable for finding the length and width of your roof surface. Opt for one long enough to span broad areas in a single go; this cuts back on the number of measurements needed.
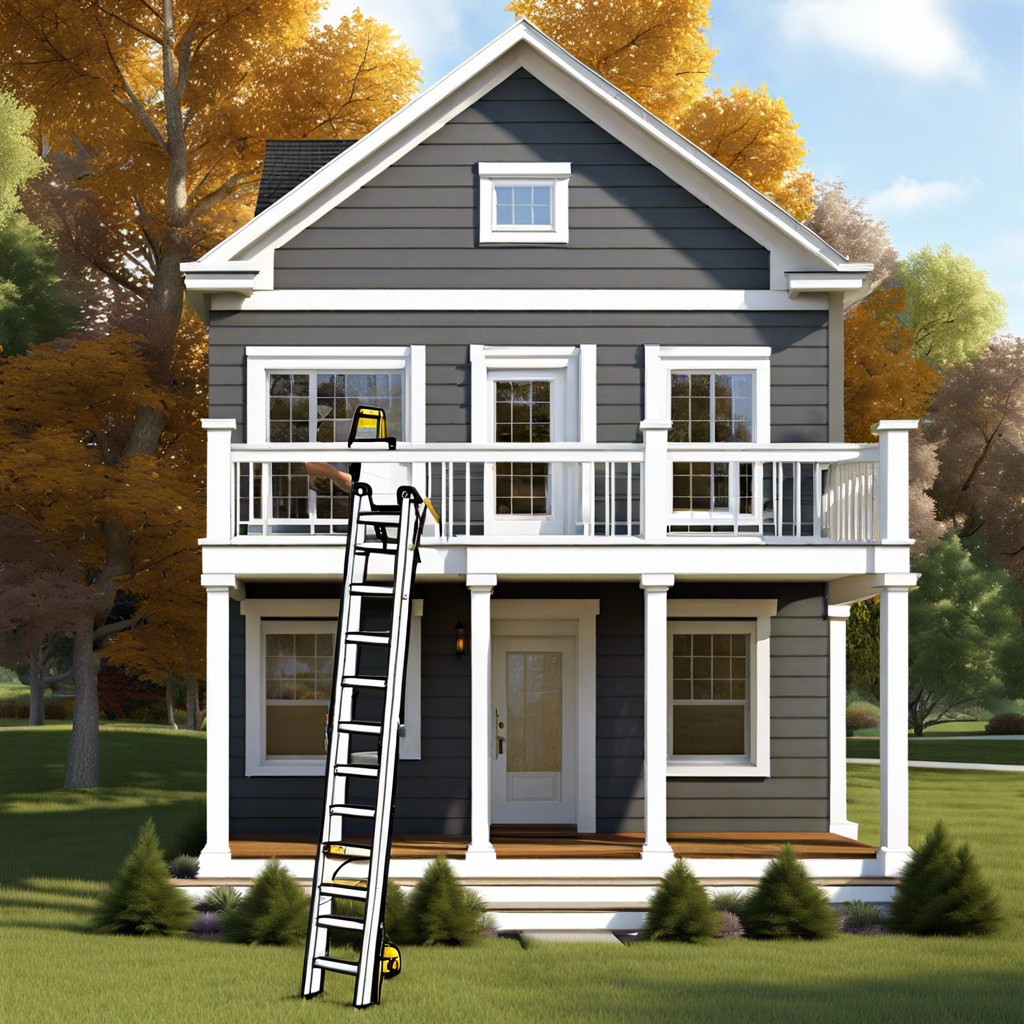
A notepad and pen, or a smartphone, will come in handy to jot down numbers as they come—nobody wants to scale a ladder with a head full of figures. A ladder ensures you can comfortably and safely reach your roof, assuming it’s not a single-story home. If that’s the case, much of this can be done with both feet on terra firma.
Lastly, make sure to have a calculator or smartphone app standing by. This will be crucial when crunching numbers to convert your measurements into square footage or when applying the pitch factor. Simple but effective, these instruments will lead you to an accurate assessment of your roof’s dimensions.
Safety Considerations
Before you set foot on a ladder, remember that heights and home maintenance are a partnership that require respect. Safety glasses and slip-resistant shoes are your best pals for this playdate with altitude. Make sure your ladder is in good shape and tall enough for the task, because nothing spoils the day like playing catch with your balance at the roof’s edge.
Check the weather forecast; your roof prefers a dry day as much as you do. Wet surfaces can turn into impromptu slip-and-slides. A harness may seem over the top for a quick measure, but consider it a trusty sidekick, there to save the day should your footing falter.
When scaling the roof, move with purpose and caution, keeping your center of gravity low. Your measuring tape isn’t going anywhere, so no need to rush the rendezvous. Lastly, a buddy system isn’t only for field trips; having a friend on hand ensures that help is at the ready and good company makes any chore more enjoyable.
Step-by-Step Measurement Process
First, gather your tape measure, ladder, writing materials, and calculator before you ascend the roof. Begin by measuring the length and width of each plane on the roof (including dormers). Record these dimensions. For irregularly shaped areas, break them down into geometric shapes and measure each separately.
To calculate the area of each plane, multiply the length by the width. Add the sum of each area to get the total square footage. Remember, safety first—work with a buddy and use a harness if possible.
For a gabled roof, measure the triangular area separately. Use the formula for the area of a triangle (base times height divided by two), then add it to the sum of the other planes.
In the case of a hipped roof, focus on measuring one triangle or trapezoid at a time, applying the relevant geometric formula. Then, add these figures to your running total.
Jot everything down meticulously. Double-check your figures to catch any potential errors. After all, accuracy is your golden ticket here.
Finally, if you’re measuring from the ground, calculate the building’s perimeter. Then, factor in the roof’s pitch using the pitch factor to find the approximate roof area. This method is a solid way to avoid a risky climb, but it’s less precise.
Keep in mind, your measurements provide the knowledge to converse confidently with contractors or determine the materials needed for DIY projects. With your newfound figures, you’re ready to tackle the project head-on, like a pro.


