Last updated on
Learn the step-by-step process of re-roofing a house to secure your home against the elements and rejuvenate its exterior appearance.
Key takeaways:
- Safety considerations: Prioritize safety when re-roofing, including proper gear and precautions.
- Tools and materials: Gather the necessary tools and materials before starting the project.
- Consider DIY or hiring professionals: Assess your skills, time availability, and local codes to decide if DIY is feasible.
- Step-by-step instructions: Follow the process of stripping the old roof, inspecting the deck, installing underlayment, applying shingles, and more.
- Know when to call a professional: Hand over the project if there are multiple layers, steep slopes, significant damage, or time constraints.
Safety Considerations
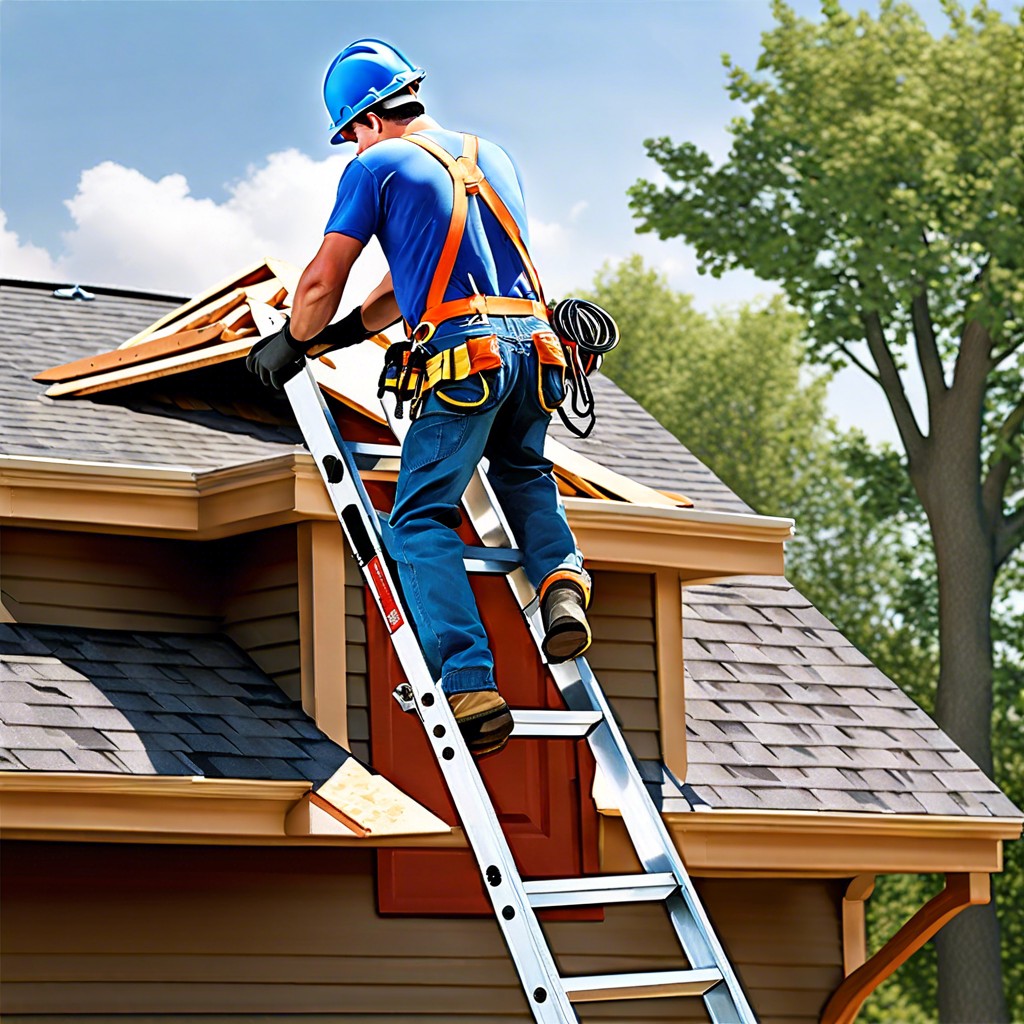
Before stepping foot on your ladder, equip yourself with the right gear: a sturdy helmet, non-slip boots, and gloves for a good grip. Remember, gravity isn’t forgiving and rooftops are its playground. Always keep a first aid kit nearby—you never know when you might need a quick patch-up. When it comes to ladders, set them on solid ground and lock them into place to avoid any wobbly surprises. Work with a buddy system; not only does it make for a good company, but having someone spot you can prevent accidents. Clear the roof of debris and tools; they’re not just tripping hazards, they’re potential gravity missiles for unsuspecting bystanders below. Lastly, respect the weather. Rain or high winds can transform a roof into a slippery slide to injury in no time flat. Safety isn’t a bonus—it’s the bedrock of a job well done.
Tools and Materials Required
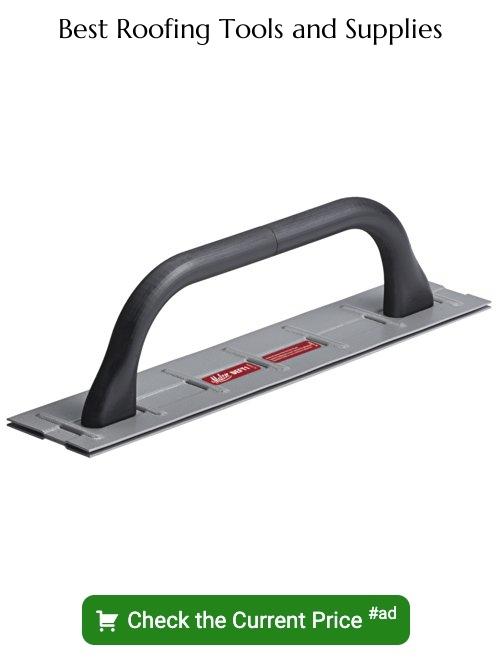
Before diving headfirst into re-roofing, stock up on the right tools and materials. Hammer home the importance of a sturdy ladder – it’s your vertical lifeline. Quality roofing nails and a nail gun are non-negotiables; they’re the bread and butter of securing shingles in place. Speaking of which, zero in on the right type of shingles. Don’t forget a sturdy roofing hammer and a utility knife sharp enough to cut through tough materials with the precision of a surgeon.
Underlayment is also key; think of it as an unsung hero, quietly safeguarding against moisture. Drip edges, meanwhile, should be on your radar to ensure water doesn’t play peek-a-boo with your home’s walls. And flashing? It’s the trusty sidekick protecting vulnerable areas like chimneys and valleys from water’s sneaky ways.
Safety harnesses and roofing gloves are your personal bodyguards, prioritizing your well-being above all. And sealant – akin to a secret weapon – comes into play to defend against leaks with the tenacity of a steadfast guard.
Investing time in gathering these essentials beforehand will smooth out the bumpy road of re-roofing, leaving less room for mid-project supply runs and the frustrations they invite.
Can You Roof a House Yourself?
Tackling a roofing project solo can seem like a steep climb. It demands not only technical know-how but also a clear understanding of safety protocols. Before embarking on this journey, assess your own skills. Here’s the scoop:
- DIY Experience: ** Previous experience in DIY projects, particularly those involving home improvement, will give you a leg-up. Roofing demands precision and comfort with using tools on a high surface.
- Physical Fitness: ** Roof work requires good balance, strength, and stamina. You’ll be lifting heavy materials and spending hours under the sun. If you’re not in shipshape, it might not be the job for you.
- Time Availability: ** This isn’t a weekend endeavor. You need a significant chunk of time — depending on the size of your roof, it could take several days.
- Local Codes and Permits: ** Some regions have strict regulations and require permits for roofing. It’s essential to check with your local building authority.
- Assistance: ** Even if you’re going it alone, you’ll need a buddy system for hoisting materials and in case of emergencies. Nobody should roof solo. Period.
- Cost vs. Quality: ** While DIY can be cost-saving, remember that professional roofers bring experience and warranties. Sometimes, cutting costs upfront can lead to pricey repairs down the line.
Consider these points carefully. If you’re not as nimble as a cat on a hot tin roof or if your tool belt isn’t well-worn, enlisting professional help might be the best path to a sturdy and leak-free roof.
Step-by-Step Roofing Instructions
Stripping the Old Roof: Begin by removing shingles, starting from the peak and working your way down. Use a roofing fork or shingle remover to pry up and remove old materials. This is a laborious but necessary step to prepare for a fresh installation.
Roof Deck Inspection: Once bare, inspect the wood decking for damage. Look for signs of rot or holes. Any compromised sections need replacing to provide a solid foundation for your new shingles.
Install Underlayment: Apply roofing felt or a synthetic underlayment over the clean deck. This layer acts as a secondary barrier against water penetration. Secure it with cap roofing nails, ensuring it lays flat to prevent wrinkles that could interfere with shingle placement.
Drip Edge Installation: Affix metal drip edges along the eaves, then over the underlayment along the rakes of the roof. This protects the edges from water intrusion, directing runoff into the gutters.
Flashing: Check the valley flashing and around vents, chimneys, and other roof protrusions. Replace any damaged flashing to prevent leaks in these vulnerable areas.
Shingle Application: Starting from the bottom, begin applying shingles, moving in a staggered, brick-like pattern up the roof. Always nail shingles according to manufacturer guidelines to achieve optimal hold and warranty compliance.
Ridge Vent and Cap: Install a ridge vent to allow for proper attic ventilation and cap it with ridge shingles. This helps regulate temperature and moisture levels in the attic, extending the life of the roof.
Site Cleanup: Collect all waste materials, including old shingles and nails, ensuring a clean work site. Proper cleanup prevents injury and keeps your yard looking presentable.
When to Call a Pro
Certain situations signal it’s time to hand over the reins to a seasoned professional. Consider making the call if your roof has multiple layers, as removing them adds complexity. Steep slopes also increase risks and difficulty, suggesting a need for specialized equipment and expertise. If you spot significant structural damage, like sagging or cracks, these red flags require expert intervention. Skilled roofers also bring quick, efficient problem-solving to unexpected issues, like discovering extensive water damage mid-project. Lastly, if your time is as precious as a Sunday roast during game day, a professional can expedite the process, sparing you from the labyrinth of time-consuming labor. Remember, cutting corners can cost you more than a pretty penny in the long run.


