Last updated on
Learn how to replace roof shingles with this straightforward step-by-step guide.
Key takeaways:
- Identify damaged shingles early to prevent further damage.
- Gather necessary tools and materials before starting the replacement.
- Remove damaged shingles carefully, avoiding excessive force.
- Install new shingles with precise alignment and proper nail placement.
- Seal and weatherproof the new shingles for long-lasting protection.
Identifying Damaged Shingles
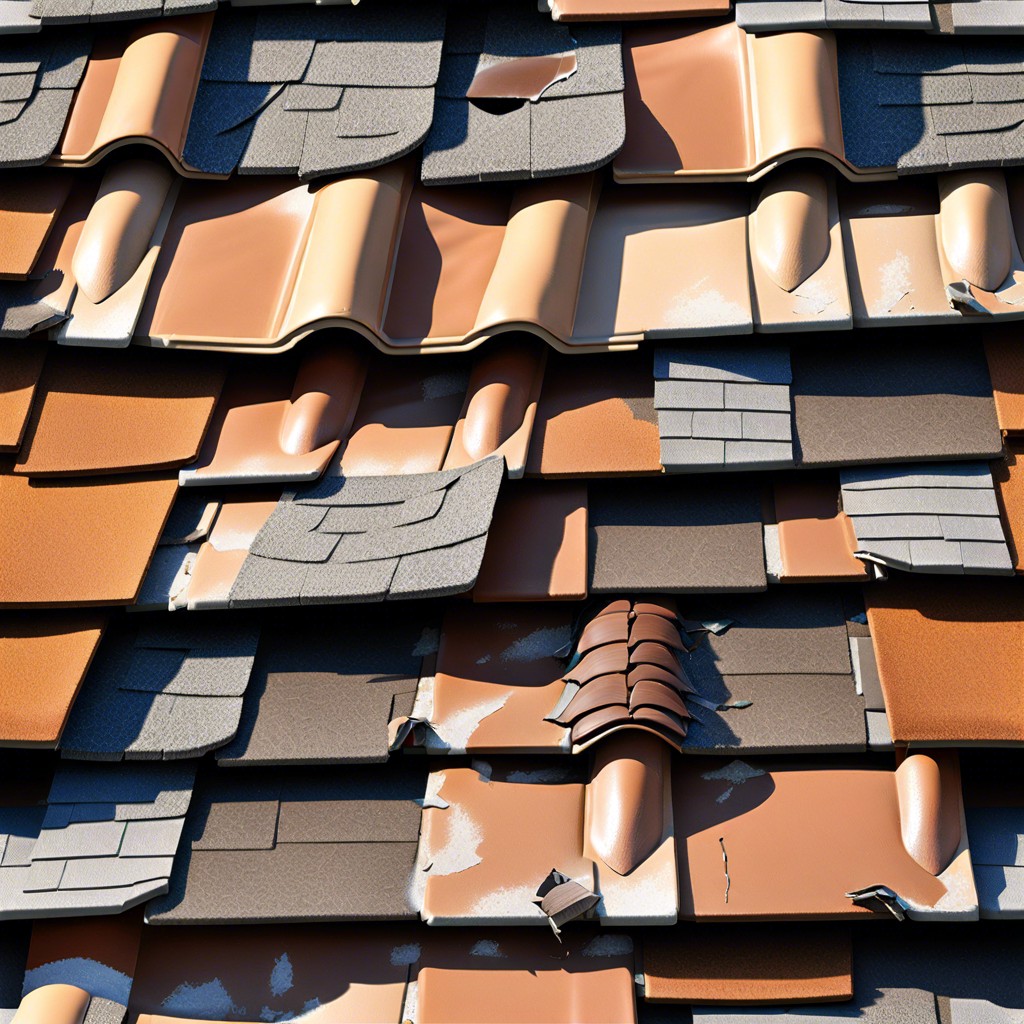
Spotting damage early can save you a headache later on. Look for shingles that are missing granules, as these are more susceptible to water damage. Also, check for any that are cracked, bent, or missing entirely — these are clear signs that they need replacing. Pay special attention to shingles around chimneys, skylights, and vents, as these areas are prone to leaks. During your inspection, a pair of binoculars can be a handy tool, allowing you to get a close look without climbing onto the roof.
Gathering Necessary Tools and Materials
Before starting your shingle replacement, ensure you have all the right tools and materials on hand. First, you’ll need a pry bar for removing the old shingles. A hammer or roofing nailer will be essential for securing the new shingles in place. Don’t forget roofing nails, which should ideally be the same size or slightly larger than those you’re replacing.
A utility knife comes in handy for trimming shingles to fit. Safety should be a priority, so make sure you have gloves to protect your hands and a sturdy ladder to safely reach your roof. Depending on your roof’s material and the weather conditions, consider acquiring roofing cement or a sealant to apply under the edges of the new shingles for enhanced weather resistance.
Lastly, purchase the replacement shingles. Match them as closely as possible to your existing roof to maintain a consistent appearance. Keep in mind that buying a few extra shingles can save you time and trouble in case of mistakes or future repairs.
Removing Damaged Shingles
Start by gently lifting the edges of the surrounding shingles to free the damaged one. Use a pry bar to carefully remove the nails. This might require a bit of elbow grease, but keep at it—patience is key here. Once the nails are out, the shingle should slide out relatively easily.
If the shingle does not come loose, avoid using excessive force which could damage surrounding materials. Instead, apply a bit more leverage with the pry bar, always acting with precision to avoid harming the integrity of the roof.
Be mindful of the weather conditions; a cooler day can make shingles more brittle and prone to cracking, so tackle this job when the temperatures are moderate.
Installing New Shingles
Begin by sliding the new shingle into place where the old one was removed. Make sure it aligns seamlessly with its neighbors on each side. This precise alignment is crucial for the overall effectiveness and aesthetic of your roof.
Next, secure the shingle. You’ll generally need about four nails, spaced evenly at the top of the shingle. Drive each nail just below the tar strip, which helps create a watertight seal preventing future leaks.
Lastly, check that all nails are covered by the row of shingles above to hide them from view and further protect from water infiltration. This step is often overlooked but essential in keeping your installation clean and professional.
Sealing and Weatherproofing
Once your new shingles are securely in place, the final step is ensuring they’re sealed and protected against the elements. This is crucial for extending the lifespan of your roof and keeping your home dry and safe.
Firstly, apply roofing cement under the edges of new shingles to firmly adhere them to the roof. Use a caulking gun for a consistent, even application. This will help prevent wind from lifting the shingles.
Next, check for any gaps between the shingles and seal them. This helps to keep out water and pests.
Lastly, consider using a sealant spray across all shingles. This adds an extra layer of protection against moisture and UV damage. Make sure the sealant you choose is compatible with your shingle material to avoid degradation.
By taking these steps, you’ll effectively shield your roof from weather-related damage, ensuring it stands the test of time.


