Last updated on
Learn the essential steps to installing, maintaining, and repairing your roof for a sturdy and long-lasting cover over your home.
Key takeaways:
- Safety precautions: Wear non-slip shoes, use a harness, check the weather, and keep the work area tidy.
- Tools required: Sturdy ladder, roofing nailer, claw hammer, tear-off shovel, measuring tape, utility knife, chalk lines, and gloves.
- Tear off old shingles: Start at the peak, watch out for nails, work in small sections, and replace damaged underlayment.
- Install drip edge on the eaves: Measure and cut drip edge, secure with roofing nails, ensure proper extension, overlap sections, and maintain alignment.
- Lay roofing felt paper: Roll out horizontally, overlap rows, staple or nail to the deck, trim excess, and respect its importance.
Safety Precautions

Before you even touch a shingle, let’s talk about staying in one piece. Roofs can be treacherous terrain, like a mini mountain with the attitude of a teenager.
First thing’s first, get yourself a sturdy pair of non-slip shoes. Bowling shoes are not the vibe here. Think hiking shoes but for rooftops.
Next, embrace the humble harness. Secure it well, because gravity doesn’t care how brave you are. Anchors are your friends, especially when the roof feels like a vertical slip ‘n slide.
Weather check is a must. Sunny and dry makes your job way easier (and safer). Rain and high winds are just asking for trouble, like bringing a cat to a dog show.
Lastly, keep the work area tidy. Tools lying around are like banana peels in a cartoon. Organize your gear so you don’t end up in a real-life slapstick comedy.
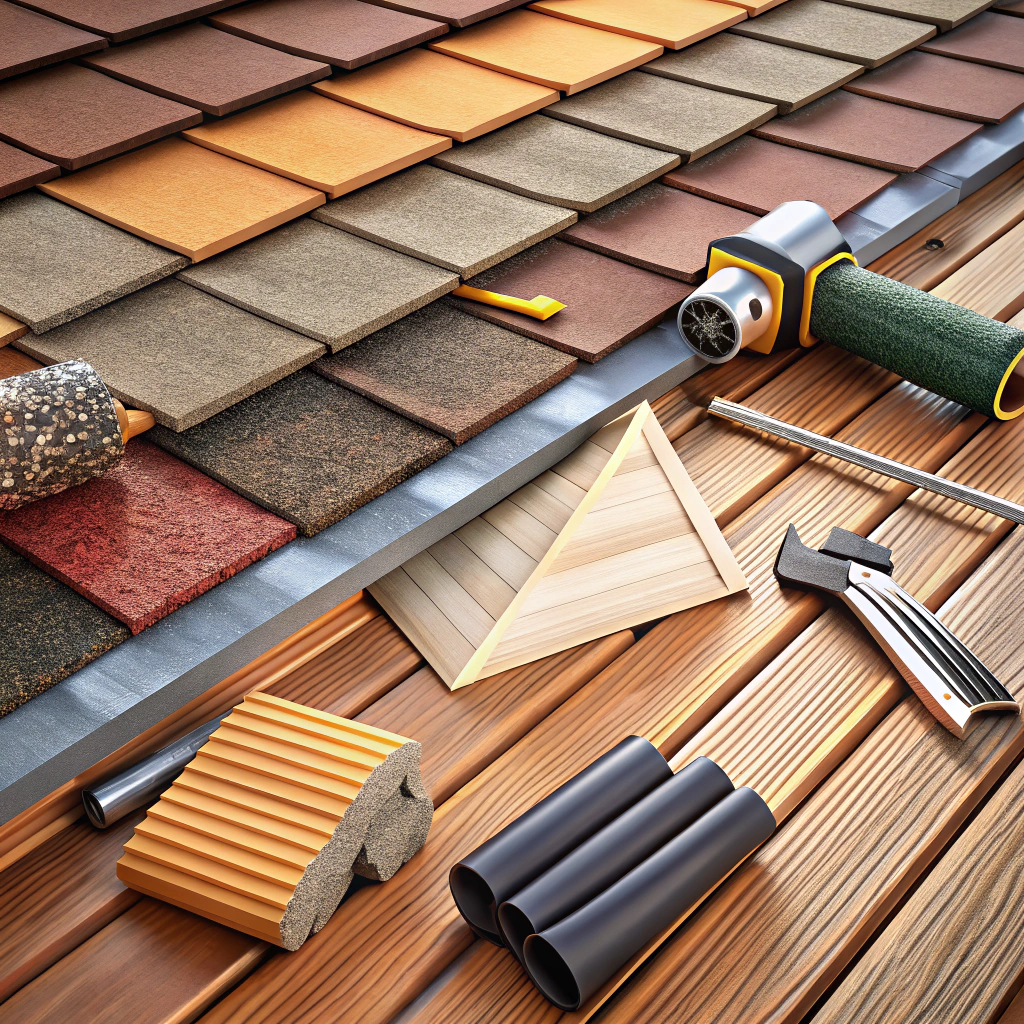
Tools Required
You’re about to embark on a roofing adventure, so arm yourself with the right tools. Let’s start with the basics.
First up, you’ll need a sturdy ladder. Climbing a shaky ladder? Not on my watch. Safety first!
Next, grab yourself a roofing nailer. Think of it as a nail gun for superheroes. It saves you time and gives you a break from your trusty old hammer.
Speaking of hammers, don’t ditch it. A good ol’ claw hammer is still your go-to for prying out stubborn nails.
And don’t forget the tear-off shovel—it’s like a snow shovel but for shingles. It makes ripping off old shingles a breeze.
Measuring tapes aren’t just for tailors. You’ll need one to measure your roof accurately. Don’t eyeball it, no matter how good you think your spatial skills are.
Utility knife? Check. Perfect for cutting roofing felt and shingles to size.
Finally, bring chalk lines to mark straight lines and keep things level. Remember, a crooked roof is only cool if you’re building a house for hobbits.
Oh, and a good pair of gloves. Roofing isn’t kind to delicate hands.
Tear Off the Old Shingles
It’s time to bid adieu to those ancient shingles. First, grab a sturdy roofing shovel or a garden fork – you know, the trusty sidekicks of the roof world.
Start at the peak of the roof and work your way down. This way, gravity does most of the hard work. Score one for laziness, right?
Watch out for nails. Lots of nails. Use a pry bar to lift them up, and keep a magnet handy to ensure none get left behind. Stepping on a nail… let’s just say it’s NOT fun.
Work in small sections to maintain balance and stability. The last thing anyone needs is a surprise slip-and-slide moment.
Don’t forget the underlayment. It’s crucial to replace any damaged elements underneath those shingles. Our motto: If it’s old and ripped, it must be skipped.
Dispose of the old shingles responsibly. They’ve served you well – give them a proper farewell by recycling where possible.
Install Drip Edge On the Eaves
Start by measuring and cutting the drip edge to fit the eaves. Remember, this is not a fashion show; precise cuts matter here!
Secure the drip edge with roofing nails, spacing them about 12 inches apart. No one wants a floppy drip edge.
Ensure that the drip edge extends slightly past the edge of the roof to direct water away properly. Otherwise, you risk an unintentional waterfall feature.
Overlap sections by at least 2 inches to maintain a seamless look and watertight seal. Think of it as making your roof’s edges hold hands.
Keep an eye out for alignment as you go along to avoid any wavy lines. Straight lines = happy roof.
Done correctly, you’ve just added a superhero cape to your roof, ready to ward off water damage.
Lay Roofing Felt Paper
Roll out the roofing felt paper horizontally, starting from the bottom edge of the roof and working your way up. Overlap each row about 2-4 inches to ensure no water sneaks through.
Staple or nail the felt to the deck using roofing nails or staples, ensuring it’s flat and smooth. Avoid bunching or folding, which can create weak points for water intrusion. Think of it as laying down the red carpet for your shingles – it’s got to look smooth and feel secure, channeling water like a pro.
Trim any excess felt along the edges, but leave enough to overlap onto the drip edge. And remember, felt paper may not be glamorous, but it’s the unsung hero protecting your castle from the elements. So give it the respect it deserves!