Last updated on
Safety is paramount when ascending a roof, and securing your ladder correctly is crucial for a stable and secure ascent; this guide will provide step-by-step instructions on how to achieve this.
Key takeaways:
- Use the right ladder: fiberglass, extendable, and Type IA.
- Check ladder and tools for stability and functionality.
- Maintain three points of contact while ascending and descending.
- Use ladder stabilizers like Ladder’s Little Helper for extra security.
- Stabilize ladder on level ground and use accessories for enhanced safety.
Use The Right Ladder
Selecting an appropriate ladder is crucial for both safety and efficiency. Opt for an extendable ladder that reaches at least three feet above the roofline to ensure secure anchorage. Material-wise, fiberglass ladders are preferred due to their durability and non-conductive nature, important when working near power lines. Weight capacity should not be overlooked; choose a ladder that can support your weight plus any tools you plan to carry. For roofing tasks, a Type IA ladder, which supports up to 300 pounds, is generally suitable.
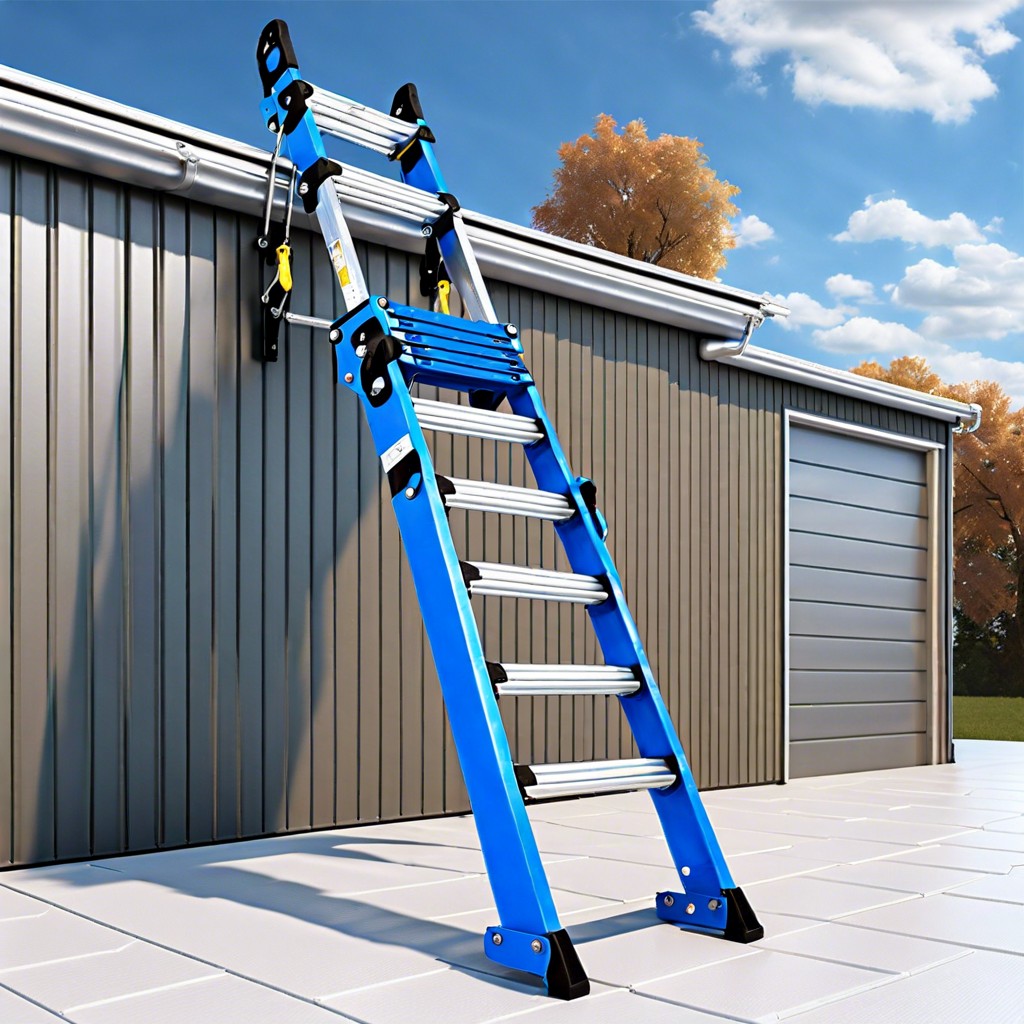
When setting the ladder, aim for a 75-degree angle – a 1:4 ratio of distance from the wall to ladder height is a good rule of thumb. Place the feet of the ladder on a solid, level surface, and if possible, secure the base with a ladder tie-off or stake it into the ground to prevent slipping. On asphalt or a soft surface, use ladder shoes or a plywood base to distribute the weight and enhance stability.
Maintain safe practices by inspecting the ladder before each use, ensuring all locks are engaged and the ladder is free from damage or wear. Remember, incorrect ladder choice and setup can lead to serious injury or damage to the roof. Proper selection and preparation are the first steps towards a safe and successful roofing project.
Check Your Ladder and Tools
Prior to positioning your ladder against the roof, conduct a thorough inspection to ensure it is in good working order. Check for cracks, bends, or loose parts that could compromise stability. Ensure that all locks and safety mechanisms function correctly to prevent unwanted ladder movements during use.
It’s essential to also verify that you have the correct footwear and gloves to maintain a secure grip on the ladder while ascending or descending. Ensure your tools for securing the ladder to the roof, such as a roof hook or straps, are durable and appropriate for the ladder’s material and design.
Clean the ladder’s feet and your shoes’ soles to eliminate any debris that could cause slippage. In damp conditions or on unstable ground, consider using ladder feet with a wider base or anti-slip features to enhance safety. Remember to select tools with tethering options to keep them secure and to free up your hands while climbing.
Three Points of Contact
Maintaining three points of contact is crucial for your safety when ascending or descending a ladder. This rule means you should always have either two hands and one foot, or two feet and one hand, in contact with the ladder at all times. Adhering to this reduces the risk of slippage and falls, ensuring a more stable position as you transition to or from the roof.
Here are some points to consider:
- Move deliberately and cautiously, ensuring each limb is securely positioned before moving the next.
- Avoid carrying tools or materials in your hands while climbing; use a tool belt or a pulley system to hoist items to the rooftop.
- Ensure that your shoes have non-slip soles to provide additional grip.
- If you need to reach out, do so with one hand while the other remains firmly gripping the ladder alongside both feet.
Remember, safety is paramount. By following the three points of contact principle, you reduce the chances of an accident.
Ladder Stabilizers Like Ladder’s Little Helper
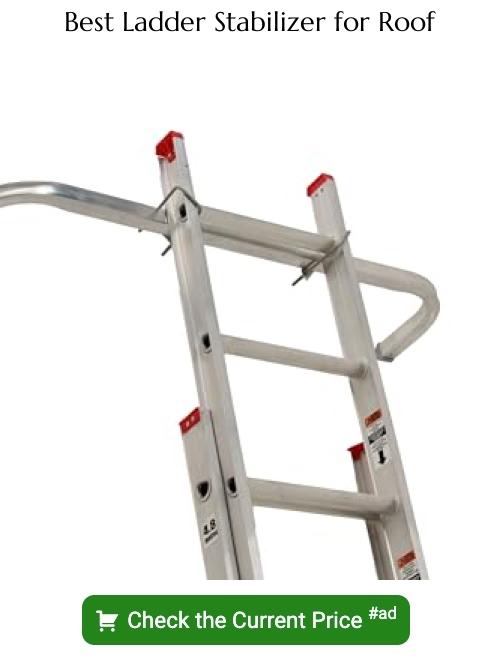
Ladder stabilizers are essential for enhancing safety during the ascent or descent. Devices like Ladder’s Little Helper offer a grip for the ladder on the roof, minimizing the chance of slippage. When utilizing a stabilizer:
- Position it on the roof edge where you plan to secure the ladder. It should fit snugly, covering the area where the ladder will rest.
- Ensure that the stabilizer is made from durable materials to withstand the ladder’s weight and the varying weather conditions.
- Check that it properly aligns with your ladder’s dimensions for a secure fit. An improper match can compromise safety.
- Follow the manufacturer’s instructions for installation to ensure it’s attached correctly.
With these points in mind, using a ladder stabilizer like Ladder’s Little Helper can provide you peace of mind, knowing that you’ve taken steps to secure the ladder firmly to the roof.
Stabilization, Setup and Accessories
To ensure stability, place the ladder on firm, level ground, and avoid soft or uneven surfaces that might cause it to shift or tilt. If necessary, use ladder levelers or leg extenders to achieve a secure foundation on sloping or irregular terrain.
When setting up the ladder, the angle is critical. As a general rule, for every four feet of ladder height, the base should be one foot away from the structure. This 4:1 ratio ensures optimal balance and safety.
Accessories can significantly enhance ladder safety. Attach a ladder stabilizer, which extends the ladder’s contact points, to minimize side-to-side sway and secure the ladder to the eaves or roof edge. An alternative is a roof hook, an accessory that, when attached to the top of the ladder, hooks over the ridge of the roof, providing an anchoring point. Use rubber footing or anti-slip mats under the ladder feet to prevent slipping.
Always secure the ladder at the top, either by tying it to a solid anchor point with a rope or bungee cord, or by deploying an aforementioned roof hook to optimize stability when you’re ascending or descending.
To further safeguard the setup, consider using a gutter guard to prevent damage to the gutter and ensure the ladder will not slip. Remember, investing in proper stabilization and safety accessories is an investment in your well-being.
