Last updated on
Learn the steps to expertly shingle a roof and ensure your home stays leak-free and stylish.
Key takeaways:
- Safety gear – non-slip boots, hard hat, safety harness.
- Prep roof – remove old shingles, check for damage.
- Lay underlayment – snugly secure, overlap, cut precisely.
- Shingle field – start at bottom, nail correctly, align straight.
- Hip & ridge caps – protect peak, overlap shingles, use cement.
Safety Precautions

- First thing’s first: channel your inner superhero and gear up. A good pair of non-slip boots can save your hide.
- Pull out that hard hat. Falling debris won’t ask before it kisses you on the noggin.
- Tie yourself down with a safety harness. Turning your roof into an impromptu bungee jump isn’t advisable.
- Use a sturdy ladder. Flimsy ladders are comedic gold in cartoons, but in real life? Not so much.
- Double-check the weather forecast. Roofing in a windstorm or downpour? A recipe for slapstick disaster.
- Keep the workspace tidy. Stepping on nails or shingles isn’t just painful, it’s like finding a surprise Lego with your foot. Best avoided.
Safety first, DIY comedy later!
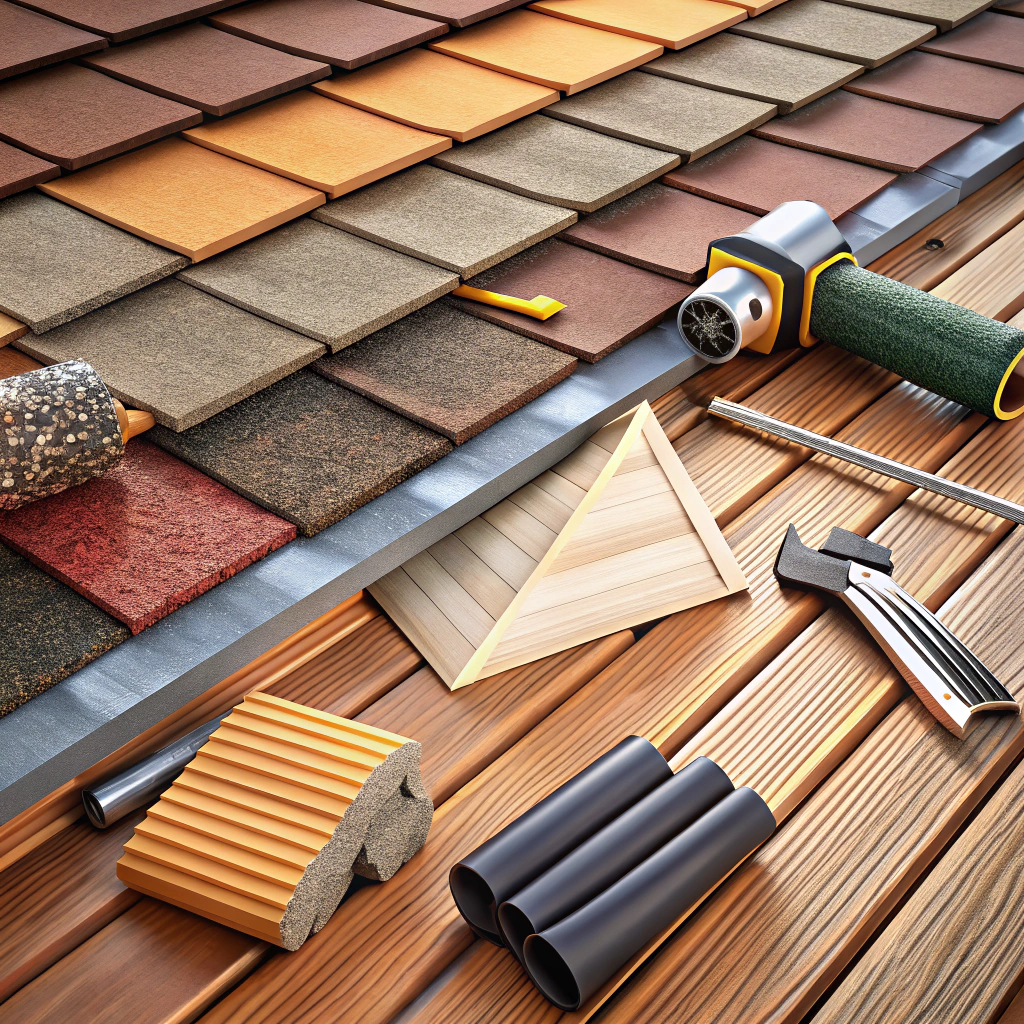
Preparing the Roof Deck
Start by removing old shingles and nails. Think of it as giving your roof a fresh haircut—no loose ends!
Check for any damaged or rotten wood. If you find any, replace it. No one wants a holey roof unless it’s made of Swiss cheese.
Install drip edges along the eaves. This will prevent water from getting under your shingles and throwing a wet house-party.
Sweep the deck clean. Yes, even roofs appreciate a good grooming session.
Position new underlayment and secure it with staples or nails. Smooth and wrinkle-free underlayment is your goal; your roof isn’t aiming for the crinkled paper look.
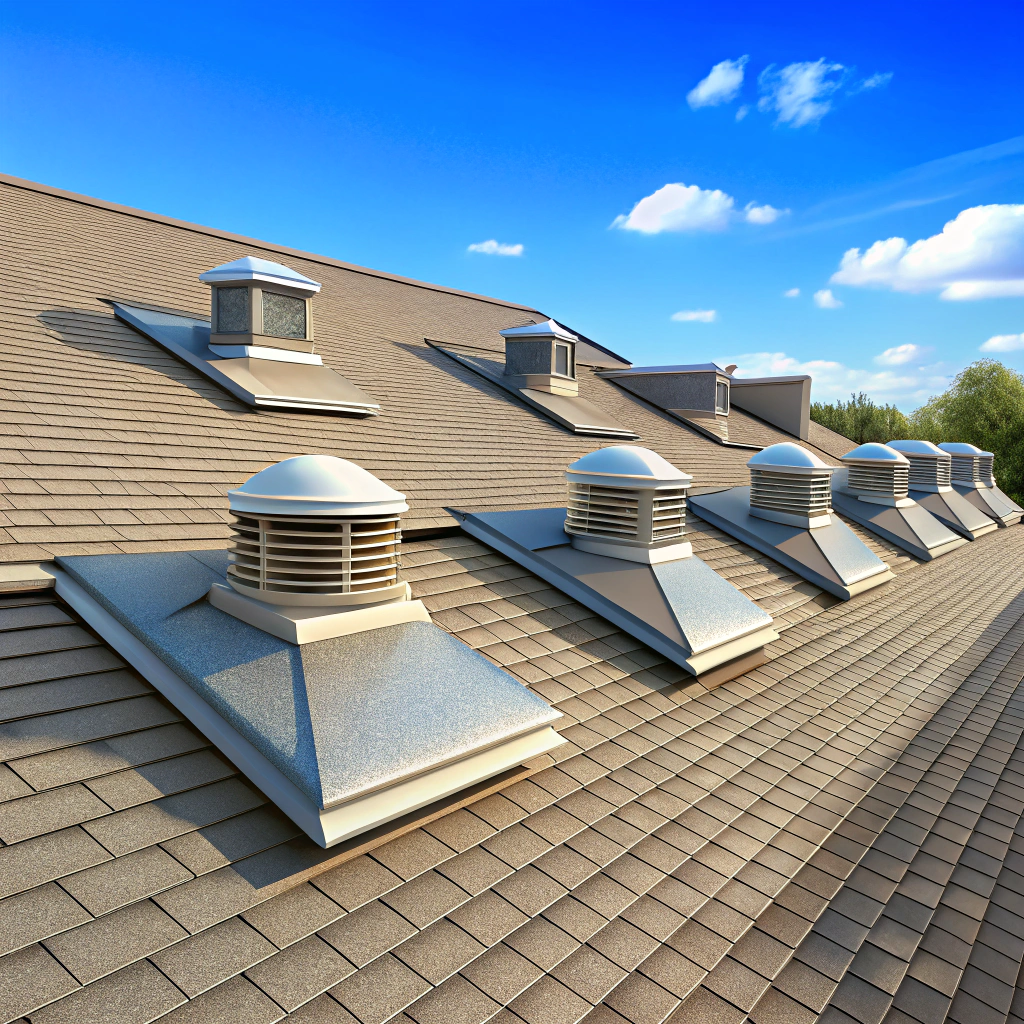
Ensure proper ventilation. This will help your shingles last longer and keep your attic from turning into a sauna.
Applying Underlayment
Roll out the underlayment starting from the eaves and work your way up. Think of it as laying a cozy blanket for your roof.
Secure the underlayment with cap nails or staples, ensuring they are spaced evenly about every 6 to 8 inches. This keeps it snug and prevents it from flapping around like a flag on a windy day.
Overlap each row by about 6 inches to ensure proper coverage. This creates a watertight barrier, kind of like tucking in the corners of a hospital bed.
Cut around vents, chimneys, and other roof penetrations with precision. We don’t want any surprises later.
Finally, avoid wrinkles and bubbles as you go. No one likes a bumpy ride, and neither does your roof!
Laying Shingles in the Main Field
Start at the bottom edge of the roof and work your way up. You know, like life advice but with shingles. Overlap each row so water doesn’t sneak in. Think of it as roofing Tetris—no gaps allowed.
Nail each shingle in the designated nailing zone. That’s the sweet spot to prevent wind from whipping them off. Use four nails per shingle, or six if you’re in hurricane alley.
Stagger the seams in each row. Kind of like stacking bricks, it adds strength. Less chance of leaks, more chance of impressing your neighbors.
Pay attention to the chalk lines for alignment. Crooked shingles are like crooked teeth—fixable but embarrassing. Keep it all straight and neat.
Don’t forget to trim the shingles as needed, especially around vents and chimneys. It’s like giving your roof a haircut—precision matters.
Installing Hip and Ridge Caps
These special shingles add the final touch, protecting the roof’s peak from weather and making it look sleek—like a tailored suit, but for your house. Start by bending the shingle over the ridge so it straddles nicely like a cowboy on horseback.
- Begin at the bottom of the hip or ridge.
- Nail each side securely, making sure to overlap the shingle beneath.
- For extra weather protection, it’s wise to use roofing cement at the overlaps.
- Continue up, ensuring each cap shingle covers the nails of the one below it. This helps avoid the whole ‘water in the attic’ surprise party.
- Cut the final shingle to fit perfectly at the peak and secure it well.
Congratulations, you’ve given your roof a strong, fashionable spine!