Last updated on
This article will provide detailed, step-by-step instructions on how to shingle a shed, equipping you with the knowledge needed to undertake this task successfully.
Key takeaways:
- Assess roof structure: Check for damage, slope, support, and ventilation.
- Select the right shingles: Consider material, weight, weather resistance, warranty, and aesthetics.
- Install drip edge and shingles: Follow proper installation steps for drip edge, underlayment, and shingles.
- Seal roof edges: Apply roofing sealant to prevent water infiltration.
- Practice safety and maintenance: Take precautions when working on the roof, inspect and maintain regularly.
Assessing the Roof Structure
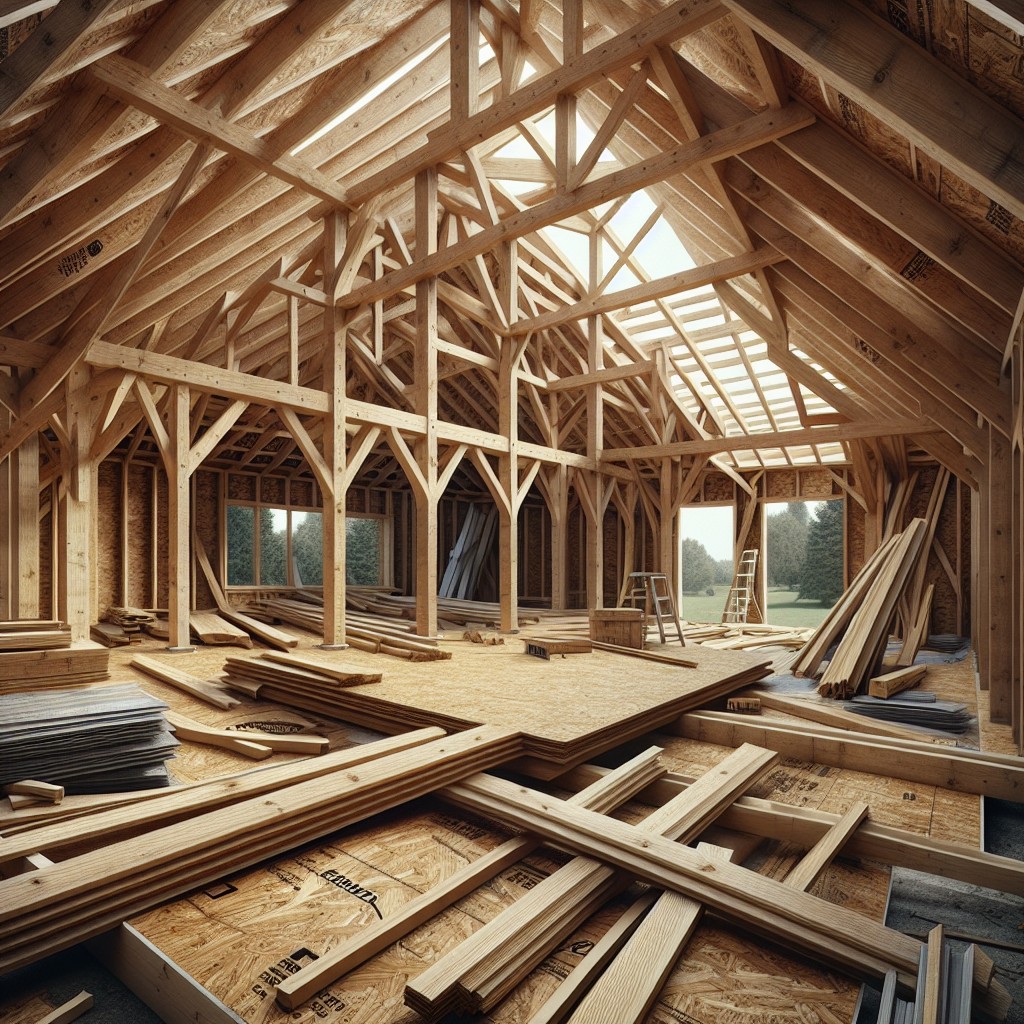
Before undertaking the task of shingling, a thorough evaluation of the shed’s roof is essential to ensure a successful installation. Inspect the roof decking for any signs of decay or damage. Replace compromised wood before proceeding, as a solid foundation is crucial for the longevity of the roof.
Check the slope of the roof to determine the appropriate type of shingle and installation method; most shingles require at least a four-in-twelve slope, which means the roof should rise four inches for every twelve inches in length. For lower slopes, consider using specialized products designed for enhanced water resistance.
Confirm that the shed structure can support the weight of the shingles you plan to install. Heavy architectural shingles may require sturdier framing compared to lightweight options.
Lastly, evaluate the existing ventilation of your shed’s roof. Proper airflow prevents heat and moisture buildup, which can lead to shingle damage and wood rot over time. Ensure that any necessary vents are clear and functional.
Selecting the Right Shingles
When choosing shingles for a shed, consider the following factors:
Material: Asphalt shingles are popular for their balance of cost, durability, and ease of installation. Cedar shingles offer a more natural look but require more upkeep.
Weight: Ensure the shed structure can support the weight of your chosen shingles, especially if opting for heavier materials like clay or slate.
Weather Resistance: Look for shingles that can withstand local climate conditions, such as high winds, heavy rain, or extreme temperatures.
Warranty: Opt for shingles that come with a manufacturer’s warranty for additional protection and peace of mind.
Aesthetic: The color and style should complement the shed and the overall property for increased curb appeal.
Local Building Codes: Verify that the shingles you select comply with any regional building requirements or restrictions.
By considering these points, you’ll enhance the shed’s longevity and performance while also ensuring it visually integrates with its surroundings.
Installing Drip Edge and Shingles
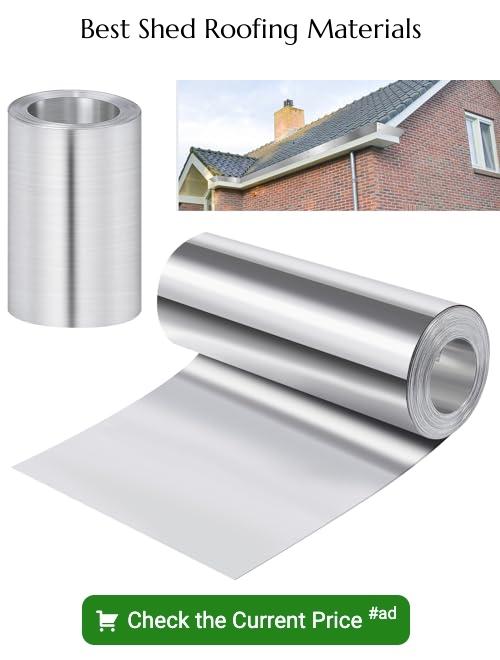
Begin with the drip edge installation along the lower edge of the shed roof. This metal strip guides water away from the fascia and into the gutters, protecting the roof’s underlying wood. Overlap sections by a couple of inches if more than one piece is needed, and nail it down approximately every 12 inches.
Follow the drip edge with a layer of roofing felt or underlayment, which provides an extra barrier against water and weather. Start at the bottom of the roof and work upward, ensuring each new strip overlaps the one below by a few inches. Secure the felt with staples or roofing nails spaced roughly 6 inches apart.
When the underlayment is in place, it’s time to begin shingling:
- Start at the bottom corner of the roof and lay the first shingle, ensuring it overhangs the drip edge by about 1/2 inch.
- Install the first row of shingles across the roof’s edge, using roofing nails. Typically, four nails per shingle suffice — one on each top corner and two more about an inch above the cutouts.
- Stagger the next row so the seams don’t line up directly with the seams of the first row. This helps prevent leaks.
- Continue working up the roof, maintaining staggered seams and consistent overhang.
- When you reach the peak, you may need to cut the shingles to fit. A utility knife works well for this.
- Cap the peak with ridge shingles, which may require trimming to fit the ridge width, and secure with nails.
Ensuring that each shingle slightly overhangs the drip edge is crucial for directing water effectively off the roof and protecting the shed’s structure. Trim any overhanging felt with a utility knife to keep the edges clean and uniform.
Sealing Roof Edges
Apply a bead of roofing sealant along the edges where the shingles meet the drip edge to ensure a watertight barrier. This extra layer of protection helps prevent water infiltration which can lead to roof damage.
When applying sealant, maintain a steady hand to create a smooth, uninterrupted line. For enhanced durability, especially in areas prone to harsh weather conditions, consider using a specialized roof edge sealant designed to resist extreme temperatures and UV exposure.
Always check the manufacturer’s recommendations for the curing time of the sealant to ensure optimal adhesion and effectiveness. Regular inspection of sealed edges for cracks or gaps is vital for long-term roof maintenance.
Safety Precautions and Maintenance Tips
When working on your shed’s roof, safety is paramount. Always use a sturdy ladder, wear non-slip boots, and consider a safety harness when working at height. Keep the workspace clean and free from loose shingles or nails to avoid trips and falls.
For long-lasting results, routinely check your shed’s roof for damaged or missing shingles, particularly after severe weather. Clear debris from the roof surface to prevent moisture accumulation, which can lead to mold and rot. Inspect and clean gutters so water can properly drain, reducing the risk of water damage. Trim overhanging branches to minimize the accumulation of leaves and the potential for scratches caused by branches swaying in the wind. By taking these proactive steps, you’ll extend the life of your shed’s roof and ensure your belongings stay dry and secure.
FAQ
What do you put under shingles on a shed?
Under shingles on a shed, you should install an underlay of felt paper to create a watertight layer, which assists in protecting against any water that might penetrate beneath the shingles.
Do you need a drip edge on shed?
Yes, a drip edge is necessary on a shed roof to protect the roof decking and fascia board from water damage.
What is the best way to roof a shed for cheap?
The most affordable and simplest way to roof a shed involves the use of rolled roofing due to its easy installation and minimal cost.
How can one effectively waterproof a shed roof?
One can effectively waterproof a shed roof by installing a proper underlayment before the final roofing material or applying waterproofing coating or sealant on the outermost layer of the roof.
What types of shingles are most suitable for a shed roof?
Asphalt shingles, cedar shingles, and metal roofing are highly suitable for a shed roof due to their durability, simplicity to install and cost-effectiveness.
Is it necessary to use underlayment on a shed roof?
Yes, using underlayment on a shed roof is necessary as it provides an additional layer of protection against water and wind-driven rain.


