Last updated on
Learn how to tarp your roof effectively to protect your home from the elements with these simple steps.
Roof leaks are like uninvited guests crashing your party—unwanted and, let’s face it, pretty annoying. Whether it’s a rogue tree branch or a tempestuous storm, your first step in damage control is tarping that roof like a pro. Follow along for all the steps from assessing the situation to securing the tarp with 2x4s, and you’ll be snug as a bug in no time.
Key takeaways:
- Assess damage and weather
- Gear up for safety
- Measure area accurately
- Select heavy-duty tarp
- Secure tarp with 2x4s
Assess the Situation
Evaluating the extent of damage is like inspecting a crime scene, minus the yellow tape. Look for missing shingles, cracked tiles, and any leaks screaming for attention. Always check the attic; water stains up there can be more telling than a fictional detective.
Time to play Sherlock Holmes! Consider the weather forecasts, too. A sunny week is your best ally, while incoming storms are your nemesis. Note how accessible the damage is. A two-story mansion with a steep pitch is a bit trickier than a quaint little bungalow.
So, grab a notepad, jot down critical observations, and channel your inner weather guru. And remember, knowing your roof’s material can save you from mixing up tiles with shingles, which is just as embarrassing as mixing socks with sandals.
Safety First: Gear Up
Before you even think about climbing up that ladder, let’s talk gear. Safety isn’t just a good idea; it’s the only idea. Imagine trying to juggle on a tightrope without a net. Yikes.
First, grab a sturdy ladder. Not the wobbly one with a missing step. A solid, well-anchored ladder is key.
Next, slip into some non-slip shoes. Flip-flops belong on the beach, not on a roof.
Wear gloves. Not just for warmth, but to avoid nasty scrapes and cuts.
And don’t forget a safety harness. Feels a bit extreme? Trust me, it’s not. It’s your lifeline.
Finally, helmets aren’t just for cyclists. Your noggin is precious – protect it.
Think of these as your superhero suit. Gear up and you’re ready to take on the rooftop challenge like a pro.
Measure the Damaged Area
Before you even think about climbing that ladder, grab a tape measure and a notepad. You’ll need to jot down some numbers. Here’s what to focus on:
- Measure the length and width of the damaged area. Remember, Mother Nature has no respect for your roofing symmetry.
- Add an extra 3-4 feet on all sides. This way, the tarp can extend beyond the damage, ensuring full coverage. Think of it as giving your roof a big, secure hug.
- Note any nearby features like chimneys or vents that might need special consideration.
Jot everything neatly. Precision is key. These measurements are your roadmap to a well-secured roof tarp.
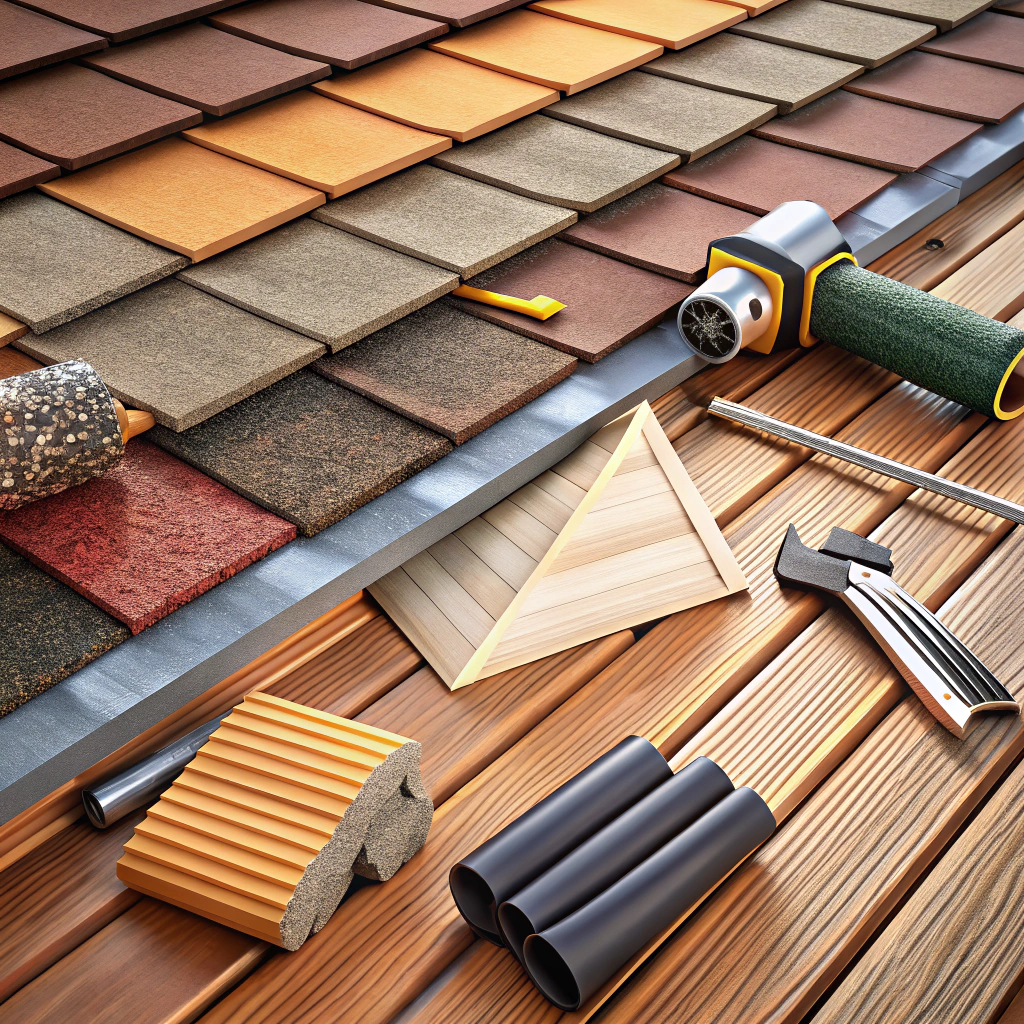
Choose the Right Tarp
Not all tarps are created equal (kind of like your favorite pizza toppings). For the task at hand, a heavy-duty, waterproof tarp is your best bet. This is not the time for the flimsy, backyard BBQ variety.
Consider the size. Your tarp should be large enough to cover the damaged area plus an extra four feet on all sides. This ensures you have enough material to secure it properly.
Color matters too. Blue tarps are popular for a reason. They’re highly visible, durable, and generally designed for outdoor use.
Material is key. Opt for polyethylene or vinyl tarps. These materials offer superior durability and weather resistance, which is crucial when Mother Nature decides to rain on your parade.
Thickness, or mil (short for millimeter), is another consideration. The thicker the tarp, the more protection it provides. Go for at least 10-mil thickness to handle high winds and heavy rains.
And lastly, check the grommets. These little metal rings are where you’ll attach your securing materials. Make sure they’re reinforced and spaced every 18 to 24 inches for the best hold.
Voilà! You’ve got yourself a prime pick.
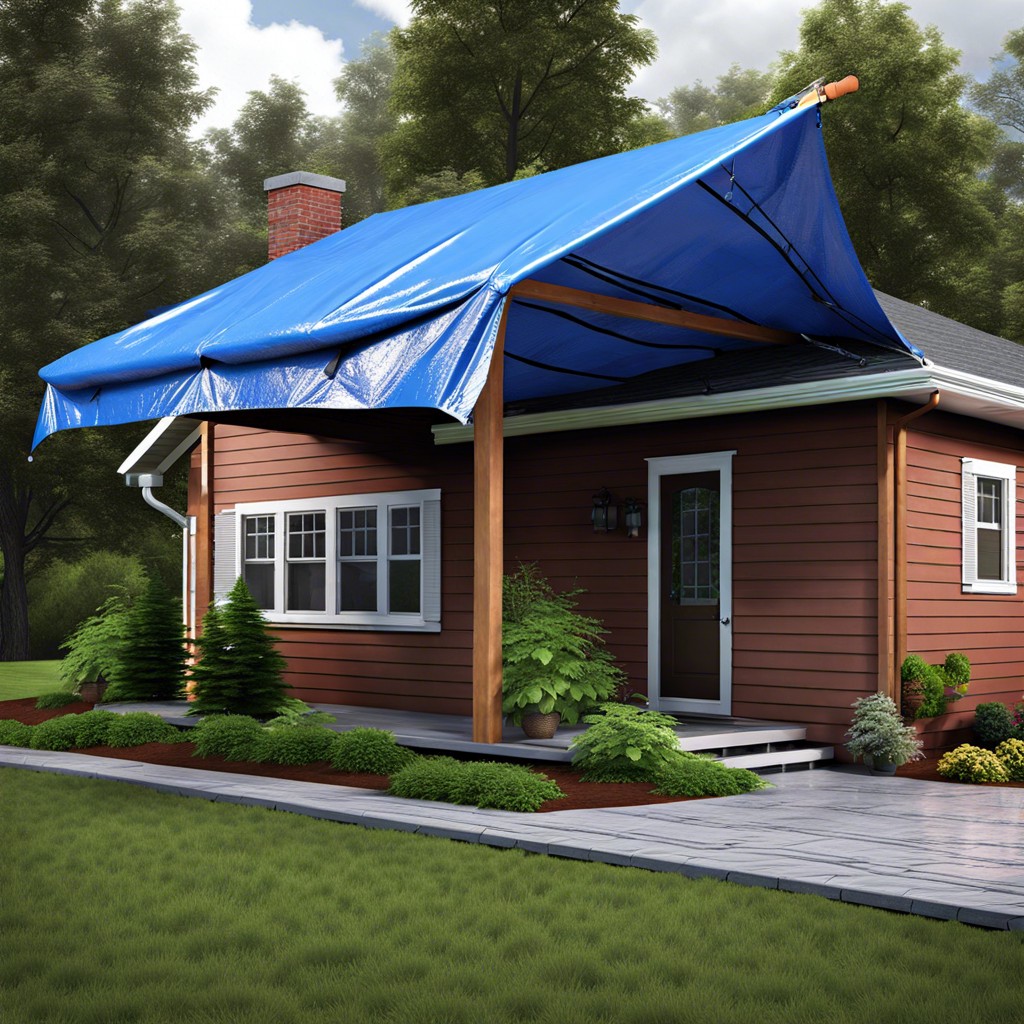
Unroll and Position the Tarp
Once you’ve got your tarp ready, it’s showtime. Start unrolling the tarp at the peak of the roof, allowing it to drape down over the damaged area. Make sure it covers at least four feet of the undamaged section for good measure. It’s like dressing your roof in a waterproof cape – style and function!
Next, smooth out any wrinkles or folds. Think less “crumpled laundry” and more “red carpet.”
Ensure one end extends beyond the eaves. Gravity likes to help with water runoff, so let it.
Remember, the tarp should hang down enough to divert water away safely, but not so much that it’s flapping in the wind like it’s trying out for a kite competition.
Secure the Tarp With 2x4s
Before you start hammering like Thor, strategically place 2x4s along the edges of the tarp. These wooden battens help to secure it firmly against the wind, rain, and whatever else nature throws at you.
- Place the 2x4s beneath the edges of the tarp, sandwiching the tarp between the wood and the roof surface.
- Ensure the 2x4s run parallel to each other and align close to the tarp’s perimeter.
- Once positioned, drive nails or screws through the 2x4s into the roof. For added security, don’t skimp on the fasteners; the more, the merrier.
Make sure the tarp remains taut and smooth, because nobody likes a saggy cover. Besides, it maximizes the protection. And remember, if your tarp starts looking like a wind-swept sail, you need more fasteners!
Nail Down the Tarp
Start by grabbing some galvanized nails or screws. You’re going to want to fasten the tarp securely. Begin at one of the top corners and work your way down the edges. This way, the tarp stays tight and wrinkle-free.
When nailing, place the 2x4s over the tarp along the edges and nail through them. Make sure to sink the nails deep enough to hold everything in place but not so deep you’re creating new holes in the roof.
Space your nails about 12 to 24 inches apart. You’ll need enough nails to keep the tarp from flapping in the wind, but not so many that you start to feel like you’re playing Whac-A-Mole.
Double-check each nail. A loose one could undo your hard work. Secure any flapping sections, and voila, you’re good to go.
Ensure Proper Coverage and Overlap
Ensure the tarp covers the entire damaged section of the roof with some room to spare. Think of it like wrapping a big, awkward Christmas gift – you don’t want any gaps! Aim for at least a 4-foot overlap on each side to prevent any rainwater from sneaking in.
Position the tarp so it starts a few feet above the damaged area and extends well beyond it, all the way down to the eaves if you can. Gravity works in your favor here by directing water away from the problem spot.
If one tarp isn’t enough, feel free to join forces. Overlap two tarps by at least a foot and secure them together with 2x4s or nails; trust us, they’re more reliable than duct tape.
Check and Tighten Regularly
Even the best-secured tarps can shift or loosen over time. Wind, rain, and other weather conditions can cause movement. Regularly inspect the tarp, especially after storms.
Look for areas where the tarp might be flapping or displaced. Listen for any odd noises, like flapping or creaking wood. These auditory clues can be as telling as visual ones.
Focus on the edges and secured points. If you find any loose spots, tighten them up. Reposition the tarp if necessary and re-secure it with additional nails or 2x4s.
Think of it like tucking in a mischievous toddler—you want to make sure everything stays snug and secure! Frequent checks will ensure your tarp remains effective against the elements.