Last updated on
Exploring alternatives to traditional roof ventilation, this article unveils the practical steps to adequately vent a toilet without routing through the roof.
Key takeaways:
- AAVs provide effective venting without roof penetration – install within 6 feet of toilet drain.
- Wet venting connects toilet drain to nearby fixture’s vent – check compatibility and slope.
- Follow local building codes for non-roof venting – AAVs, wet venting, and circuit venting.
- Maintain vent functionality – check AAVs, adhere to local code restrictions, incorporate cleanouts.
- Toilet without proper venting can lead to drainage issues and sewer gas infiltration.
Overview of Drain-Waste-Vent System Functionality

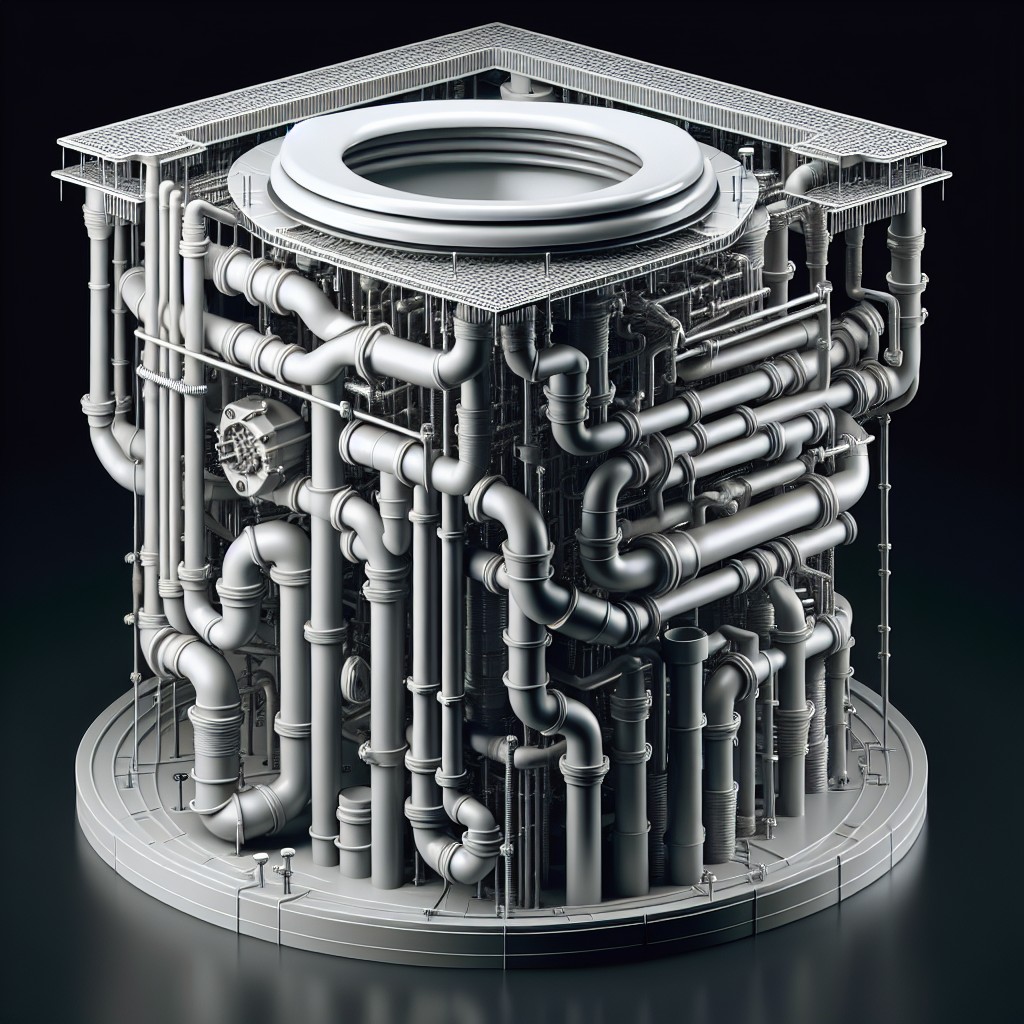
The drain-waste-vent (DWV) system is a crucial component of residential plumbing systems. Its main function is to remove sewage and greywater from your home while equalizing the air pressure in the pipes to prevent harmful gas backflows or siphoning of water traps. The venting component is especially important as it allows sewer gases to safely escape and permits fresh air to enter the system, promoting proper wastewater flow.
Efficient venting is characterized by these vital roles:
- Ensuring water seals in traps don’t get sucked out, which could otherwise allow sewer gases into the home.
- Allowing air to follow the water so that waste moves freely through the drainage pipes.
- Preventing vacuums from forming in the plumbing system which can disrupt water flow and drainage.
Installation of Air Admittance Valves for Toilets
Air admittance valves (AAVs) offer an effective solution for venting a toilet without the need for roof penetration. These one-way mechanical vents only open under negative pressure, allowing air to enter the plumbing system when water flowing through the pipes creates a vacuum.
When the need for airflow ceases, the AAV closes, preventing sewer gases from entering the living space.
Key points to understand when considering the installation of an AAV include:
- Location: Mount the AAV in a position that is within the maximum allowed distance from the fixture according to local code, usually within 4 to 6 feet of the toilet drain.
- Accessibility: Install the valve in an area where it remains accessible for maintenance or replacement, typically within an attic or inside a cabinet.
- Height Requirements: Position the AAV a minimum height above the horizontal branch drain or fixture it is venting; this is usually at least 4 inches above the horizontal branch to which it connects.
- Size: Choose an AAV suitable for the size of the plumbing system being vented. A larger system or one with multiple fixtures may require an AAV capable of handling higher airflow.
- Sealing: Ensure a tight seal during installation, using appropriate pipe threads or adapters. A leaky valve installation can lead to malfunctions and odor issues.
By integrating an AAV into your plumbing system, you enable proper aeration of the pipes, optimizing water flow and preventing the siphoning of traps, which is essential for full sanitary protection.
Wet Venting: Combining Drain Lines
Wet venting provides an efficient solution when it’s impractical to vent a toilet directly through the roof. It involves connecting the drain line of the toilet with the vent line of a nearby fixture, such as a sink or a bathtub. This shared route allows for the proper release of sewer gases through an existing vent and the introduction of fresh air to maintain water seal in traps.
Key points in understanding wet venting include:
- Compatibility: Ensure that the fixture you’re combining with the toilet’s drain has a vent that’s adequately sized to handle additional load.
- Distance: The toilet should be close enough to the wet vented fixture to prevent vacuum conditions that could siphon traps.
- Slope: Maintaining the correct slope is vital to allow waste and water to flow smoothly without clogging.
- Order: Toilets should be installed downstream of other fixtures in a wet vent configuration to avoid disrupting water flow.
- Vent Size: The wet vent must follow specific diameter guidelines, generally a minimum of 2 inches to ensure proper functionality.
Remember, although wet venting is convenient, it’s subject to local codes, so consult a professional to ensure compliance with regulations.
Building and Plumbing Code Requirements for Non-Roof Venting
Compliance with local building and plumbing codes is essential when installing any non-roof venting solution. These regulations ensure that the alternative venting method provides adequate air pressure to prevent sewer gases from entering the home and ensures proper drainage.
Air Admittance Valves (AAVs): Most codes specify when and where AAVs can be used. They often require that AAVs be accessible in case they need to be replaced. Ensure the chosen AAV model is approved by the local code.
Horizontal Wet Venting: This technique might have limitations on the number of fixtures it can serve and the distance a vent can be from the trap it’s venting. Check these details before planning the plumbing layout.
Circuit Venting: Codes may permit this method, which involves connecting multiple fixtures on a looped vent, but there will be stipulations on the loop size and the vent’s connection point to the main stack.
Always verify with local building departments for the most current codes and standards specifically for your area, as these can vary significantly. Adhering strictly to these regulations will not only ensure a safe and functional system but also smooth the way for passing any necessary inspections.
Best Practices for Maintaining Vent Functionality Without Roof Penetration
Regularly check air admittance valves (AAVs) for proper function, ensuring they allow air to enter the plumbing system when negative pressure is present but prevent sewer gases from escaping into the home.
Ensure that wet venting configurations adhere to your local code’s restrictions on the number and type of fixtures that can be connected, as overloading a wet vent can compromise its effectiveness.
Incorporate accessible cleanouts in your design whenever possible, as they facilitate maintenance and can help alleviate blockages within the vent system without needing roof access.
Be mindful of any changes to the plumbing system; adding fixtures or altering layouts can affect the venting requirements and may require adjustments to maintain functionality.
Consider the use of a loop vent for islands or peninsulas where conventional venting is impractical, but validate that this setup meets local code requirements and is implemented with accurate slope and pipe sizing.
FAQ
What happens if a toilet doesn’t have a vent?
A toilet without a vent can experience drainage issues and possible siphoning of the P-trap, leading to the infiltration of sewer gas into the house.
What is the alternative to venting a toilet?
The alternative to venting a toilet is the use of Air Admittance Valves (AAV), which open automatically to admit air into the system when the flowing water causes a reduction in air pressure.
What is the alternative to a vent pipe?
The alternative to a vent pipe is an air-admittance valve (AAV), which eliminates the need for conventional branch vents, functioning as a one-way mechanical vent that admits air into the pipes when a partial vacuum is created by water draining from a fixture.
Can a toilet function effectively without a proper venting system?
No, a toilet cannot function effectively without a proper venting system as it aids in maintaining proper atmospheric pressure necessary for waste drainage.
How does the use of an air admittance valve compare to traditional venting methods?
An air admittance valve (AAV) provides an effective and space-saving alternative to traditional venting methods by allowing air to enter the drain pipe while preventing sewer gases from escaping into the home.
How can one diagnose issues related to toilet venting?
One can diagnose toilet venting issues by looking for common symptoms like slow drainage, unpleasant odors, gurgling sounds, or sewage backups.


