Last updated on
Installing solar panels on your roof can significantly reduce your energy bills and increase your home’s sustainability; this article provides a step-by-step guide on how to accomplish this.
Key takeaways:
- Assess your roof’s structural integrity and choose a sunny, shadow-free spot.
- Obtain necessary permits and follow local building codes for a smooth installation.
- Hire a professional or consult a certified electrician for safety and proper wiring.
- Mount panels securely, align them correctly, and ensure tight connections.
- Consider integrating a solar battery for energy storage and optimize energy independence.
Solar Installation Planning & Safety
Before you start hammering away, consider the structural integrity of your roof. Is it strong enough to support the additional weight of solar panels? A professional assessment saves many headaches down the road.
Choose a spot that isn’t just sunny but also away from trees and chimneys. Shadows cast even for a fraction of the day can significantly hinder your system’s performance.
Aligning your local building codes and obtaining the necessary permits might sound like a snooze fest, but it’s crucial. Skipping this step can lead to costly violations and even make you redo the entire installation.
Safety first! Make sure to use proper fall protection gear and handle all tools and equipment with care. Electrocution is a real risk, so wearing rubber gloves and boots is a smart move. Lastly, when in doubt, hire a professional. Sometimes the smartest DIY is DI-don’t.
Wiring & Electrical
Before laying down any solar panel, getting your electrical setup right is crucial to ensure optimal performance. First, identify your inverter’s location—it acts as the heart of your system, converting DC electricity from the panels into AC power for your home. Preferably, place it near the main power panel to simplify the connection and reduce power loss.
Use appropriate gauge wiring based on your system’s output and the distance to your inverter. This protects against overheating and ensures efficient power transfer. Avoid running wires under the panels directly; instead, route them along the roof frame to shield from environmental damage.
Every connection must be waterproof and tightly secured. Exposed wires are not only unsafe but can also downgrade the system’s overall efficiency. To keep things tidy and manageable, bundle wires together with cable clips or conduits, making future inspections or adjustments easier.
Always consult or hire a certified electrician to handle the more intricate parts of your setup, such as connecting to the grid. A professional will confirm your installation meets local codes and safety standards, making sure your solar journey is bright right from the start.
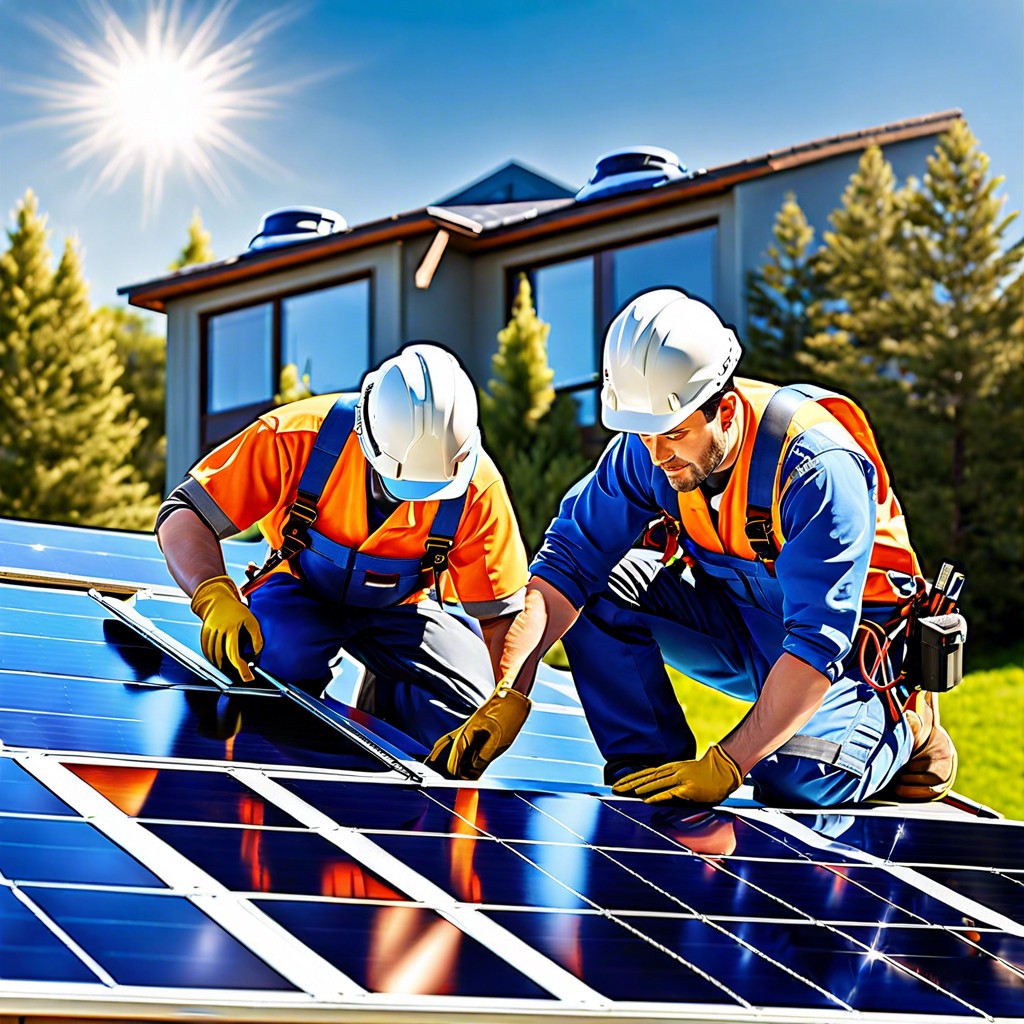
Mounting Your Solar Panels
Once you’ve got your tools and equipment at the ready, give those instructions one more glance before you proceed. Aligning the racking system correctly is crucial; this is the framework that supports your panels. Make sure it’s secured tightly to your roof to hold panels firmly against any weather.
Use a level for precision and avoid any future headaches with uneven installation. No one wants their energy production slanted!
Next, attach the panels to the racks. This step is like fitting puzzle pieces together – satisfying when everything fits right. Employ locking mechanisms as directed in the manual to secure each panel in place. This keeps them from slipping or shifting.
Keep in mind that orientation matters. Face the panels where they can soak up maximum sunlight—usually southward in the northern hemisphere.
Lastly, double-check your work. Ensuring every bolt is tightened and each panel sits flush will fend off future maintenance issues. Taking the time to do it right pays off.
Solar Battery Installation
Integrating a solar battery into your system allows you to store excess energy generated during sunny hours. This energy can be used at night or during overcast days, optimizing your household’s energy independence.
Firstly, choose a battery with adequate capacity for your energy needs. Common types include lithium-ion and lead-acid, each with its own pros and cons in terms of lifespan, maintenance, and cost.
Location is key—a cool, dry, and ventilated area prolongs battery life. Some homeowners opt for indoor installations in a garage or basement to protect the battery from extreme temperatures.
Properly connecting the battery to your solar system is crucial for safety and efficiency. This usually involves configuring the battery inverter, which converts stored DC energy into AC power usable in your home. Always hire a certified electrician for this step to avoid any mishaps.
Regular maintenance checks will ensure your system functions effectively over time. Keeping tabs on battery health and cleaning terminals annually helps prevent failure and extends the lifespan of your investment.
Grounding Your System
Grounding your solar panel system is critical for safety and performance. This step prevents electrical surges or lightning strikes from causing major damage. Here’s how to ensure a secure grounding:
Firstly, connect a copper grounding wire to the grounding system of your house. This wire should run from the solar panels‘ frames to your home’s main electrical panel.
Next, use grounding clamps to attach the wire firmly to each panel. Ensure these are tightly fixed to avoid any disconnection.
Regularly check these connections. Loose grounding can lead to inefficient system performance and higher risks during storms or power surges.
Always adhere to local electrical codes and standards. Professional guidance can be invaluable, particularly if you are new to solar installations.
By grounding your system effectively, you not only safeguard your household but also raise the longevity and efficiency of your solar panels.


