Last updated on
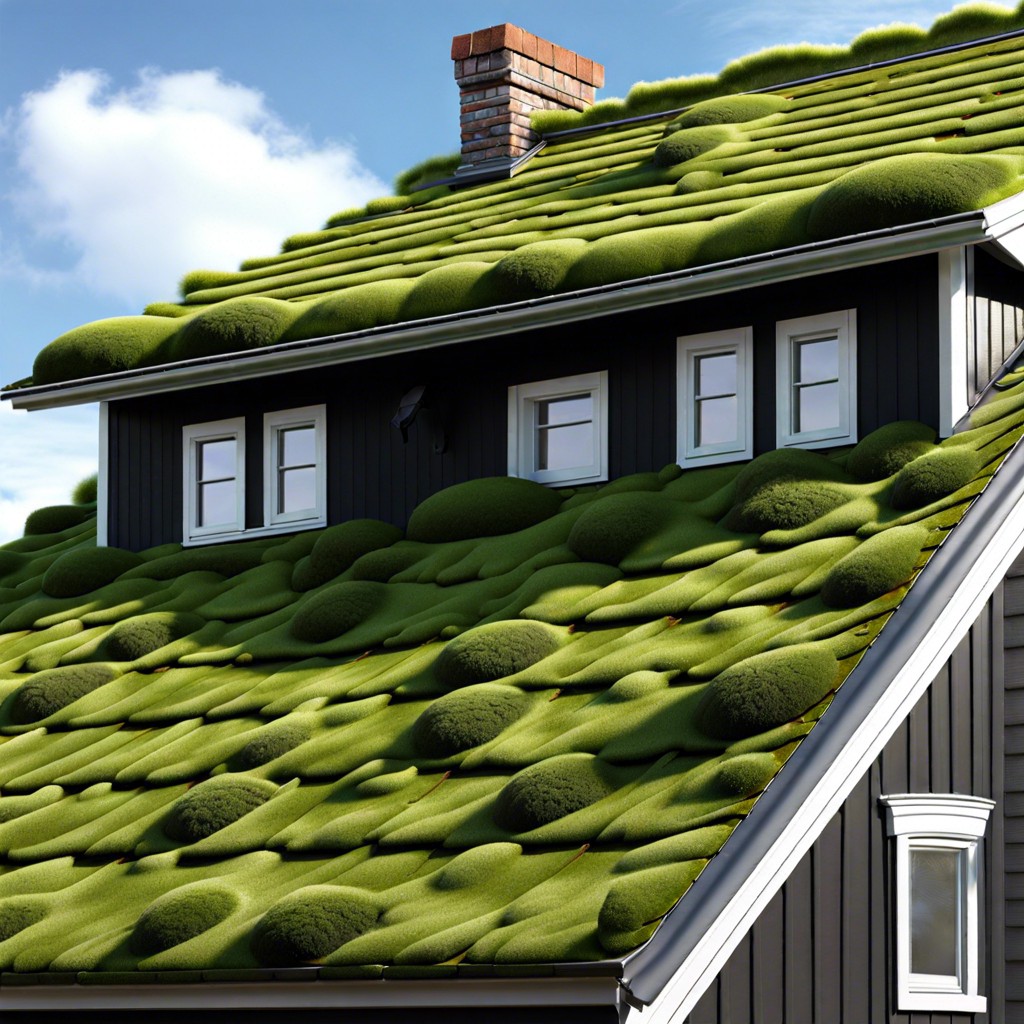
Discover the best methods to eliminate moss from your roof and keep it looking pristine.
Key takeaways:
- Mix a moss-removal potion with household bleach and water.
- Saturate the mossy area and let it sit for 20-45 minutes.
- Gently scrub away the moss with a soft-bristle brush.
- Use safety gear like gloves, non-slip shoes, and safety goggles.
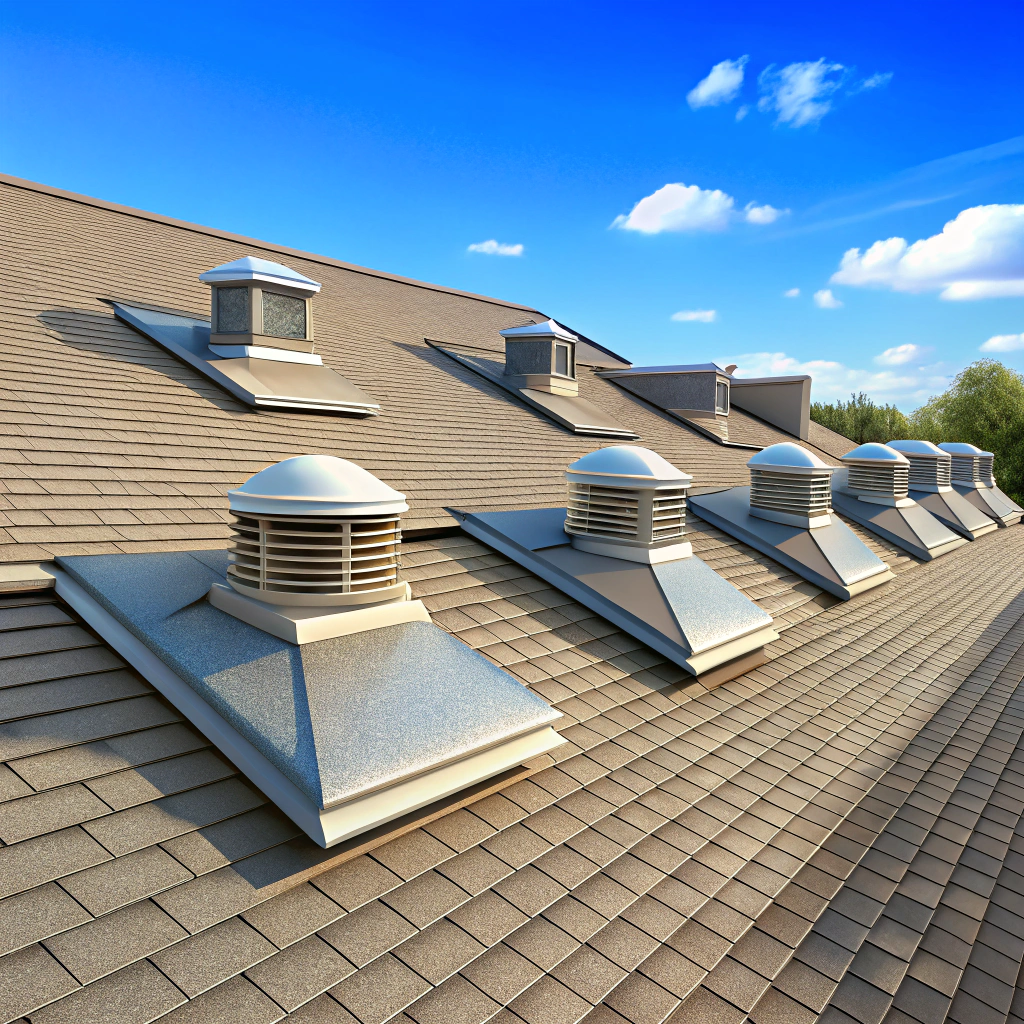
- Ensure your roof is clear of debris to prevent future moss growth.
How To Remove Moss From a Roof
First things first, grab a sturdy ladder. You want to ensure it’s on level ground before climbing. Safety first, no need for rooftop acrobatics.
Next, clear off debris. Leaves, twigs, and whatever’s up there. A broom works, but a leaf blower turns you into a cleaning wizard.
Then, mix your moss-removal potion. A blend of household bleach and water usually does the trick. Just remember, we’re killing moss, not creating a toxic sludge.
Saturate the mossy area with your solution. Try to avoid splashing your prize petunias down below. Let it sit for 20-45 minutes. This is not a good time to take a nap, though.
Scrub gently with a soft-bristle brush. Think of it as brushing your hair, not scraping barnacles off a pirate ship. Rinse with a hose to wash away the moss.
Finally, check your handiwork. Ensure all moss is gone and your roof looks like a million bucks—not literal, just clean and moss-free. Well done!
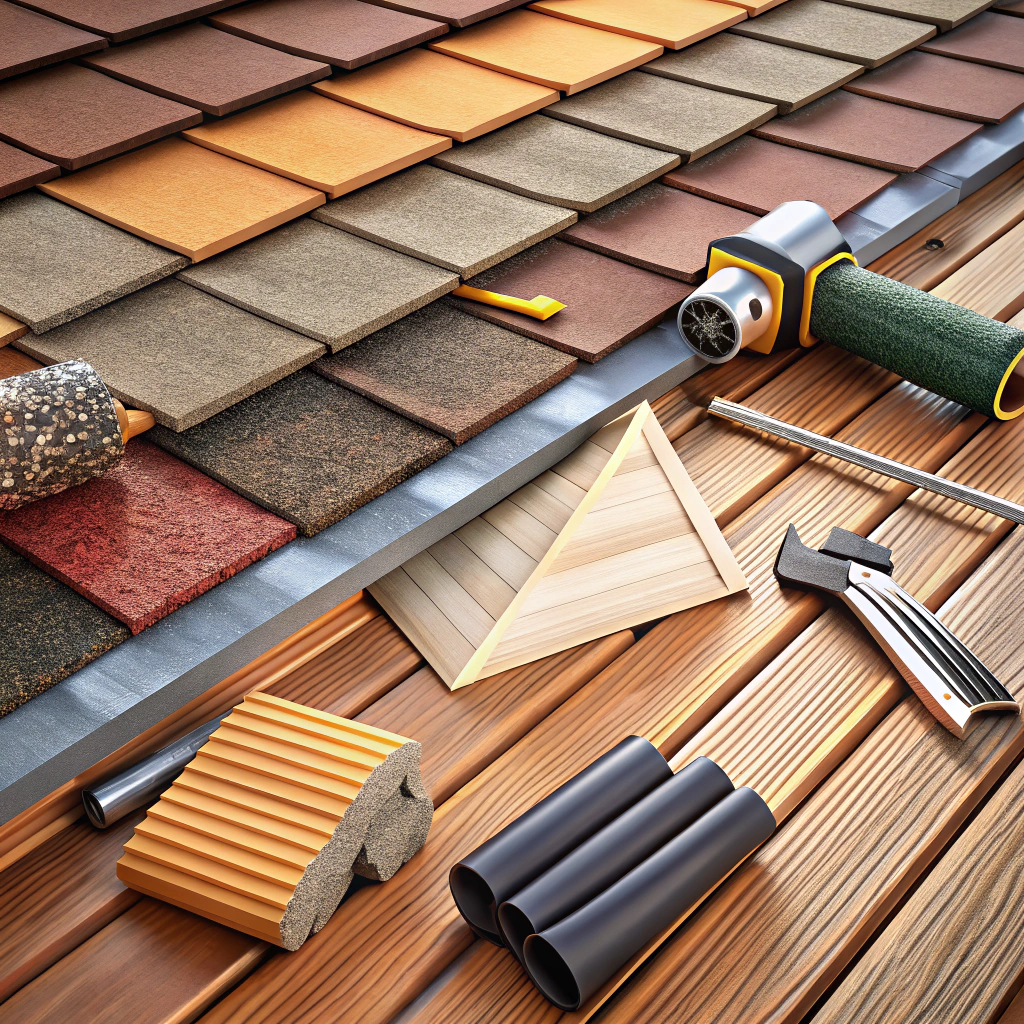
What You’ll Need
Gathering supplies is crucial for a successful moss-eviction mission. You wouldn’t go on a dragon hunt without a sword, right? Here’s what you’ll need:
A sturdy ladder: Your ticket to sky-high adventure. Ensure it’s stable; no one wants an impromptu skydiving lesson.
Safety gear: Think of this as your roof-cleaning armor. Gloves, non-slip shoes, and safety goggles should do the trick.
Water hose with spray nozzle: Your roof’s new personal shower. Adjustable nozzles give you control over pressure, important for delicate shingles.
Moss-removal solution: Whether store-bought or a DIY concoction (like water and bleach), choose your poison. Just be sure it’s roof-friendly.
Soft-bristle brush or broom: Here’s where elbow grease comes into play. Gentle scrubbing will banish those mossy invaders without harming your shingles.
Tarp: Protect your precious plants and lawn decor from chemical runoff. Because nobody wants a garden of withered flowers.
Trash bags: For the aftermath. Moss doesn’t just disappear—capture and dispose of it properly.
Now you’re geared up and ready to wage war on that moss!
Step-by-Step Guide to Removing Moss
Safety first! Before you shimmy up that ladder, don some non-slip shoes, gloves, and protective eyewear. Trust me, the last place you want to end up is halfway down the roof like a runaway sled.
Start with a gentle cleaning. A simple broom or brush will do the trick. Just sweep away loose moss and debris. No need to Hulk-smash it; your roof isn’t a WWE ring!
Next, break out the big guns: your moss removal solution. You can buy one, or make your own with equal parts water and white vinegar. Spray it generously over the mossy areas and let it marinate like a fine steak for 20-30 minutes.
Time to channel your inner zen master and gently scrub away the now-loosened moss. Use a soft brush—nothing too abrasive—so you don’t damage the shingles.
Afterward, give your roof a look-over. Any stubborn moss still clinging for dear life? Repeat the spraying and scrubbing dance as needed. Finally, make sure your roof is clear of debris to prevent future moss from setting up camp.
Safety Measures
Before you climb up for mossy mayhem, let’s talk safety. First and foremost, channel your inner acrobat and grab a sturdy ladder, one that won’t wobble like jelly on a plate. And don’t forget those non-slip shoes, because nobody wants an accidental slip ‘n slide down the roof.
Always use a harness. It may seem a bit dramatic, but rooftops can be deceivingly treacherous. And while you’re at it, a helmet wouldn’t hurt. Give your noggin some love.
Lastly, remember the buddy system. Solo missions are for superheroes, not roof enthusiasts. Make sure someone’s around to spot you, just in case you need a rescue mission.
Initial Cleaning
Start by grabbing your trusty ladder, or better yet, borrow your neighbor’s if it’s shinier. Safety first, helmet optional but recommended for the clumsy among us.
Before tackling the moss, give your roof a good sweep with a broom or a leaf blower. This initial clean-up wipes out loose debris, leaves, and the occasional confused squirrel. It gives you a clearer view of the moss battlefield.
Next, armed with a garden hose, rinse the roof lightly. Think gentle spring rain, not monsoon season. This softens the moss, making it more amenable to eviction. Do note, your roof is not a slip-and-slide, so remain steady.
Make sure to clear out the gutters. Moss loves to use them as moss resorts, leaving no stone unturned. Blocked gutters can lead to water build-up, increasing moss growth like a wild party at a free buffet.