Last updated on
Understanding how to choose the best roof melt product is essential because it can significantly increase the longevity of your roof while preventing potential damage.
Key takeaways:
- Ice dams occur in cold regions with heavy snowfall
- Attic insulation and ventilation are crucial for preventing ice dams
- Roofing materials and color can affect snow melt rates
- Ignoring ice dams can lead to structural damage and costly repairs
- Consider the composition and suitability of roof melt products
Understanding Roof Melt and Ice Dams
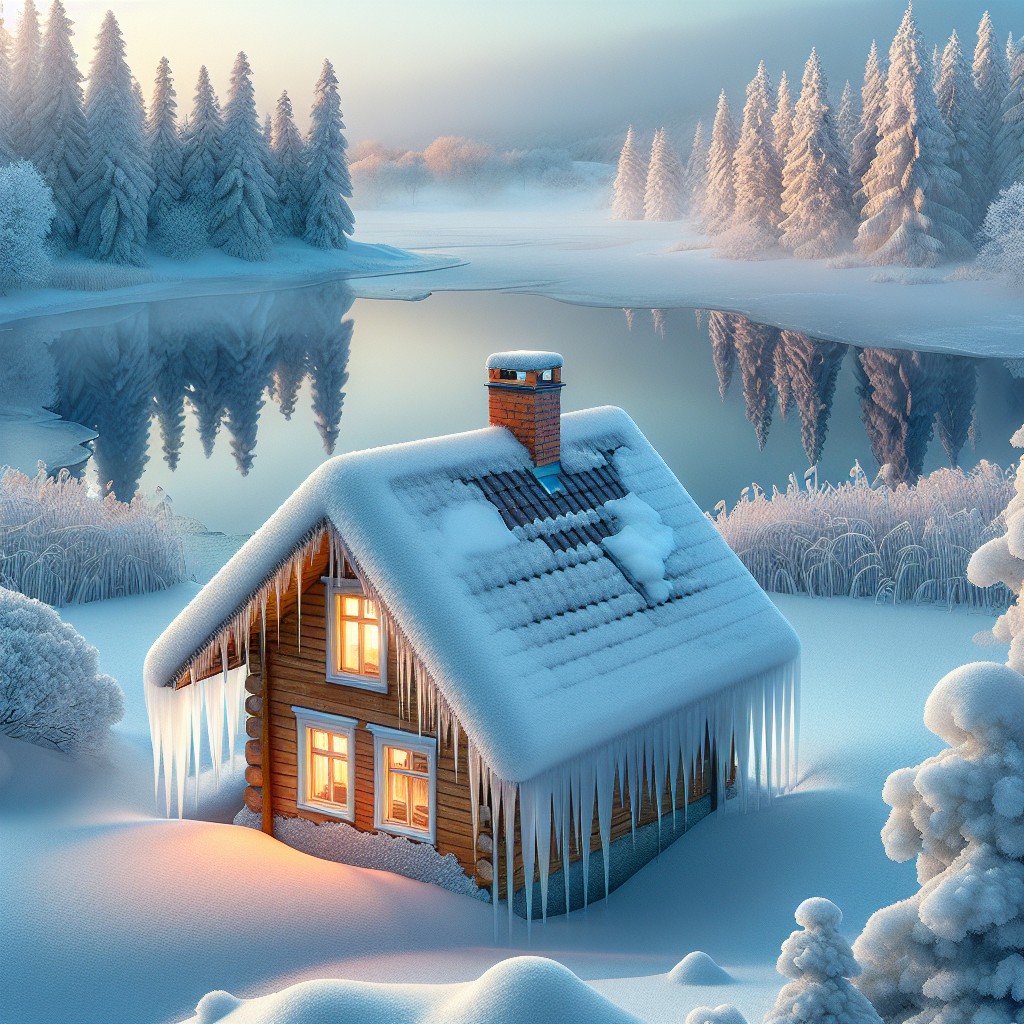
As snow accumulates on a roof, warmer upper sections of the roof can cause the snow to melt. This melted snow flows down the slope until it reaches the lower, colder edge of the roof, where it refreezes into ice, forming a ridge known as an ice dam. The dam grows as more meltwater from above pools behind it, potentially leading to water seeping under shingles and into the structure of the home, causing extensive damage.
Key points to understand about this process include:
- Ice dams predominantly occur in regions with cold winters and heavy snowfall.
- Adequate attic insulation can minimize the uneven roof temperatures that contribute to the melt-and-freeze cycle.
- Ventilation plays a role by allowing cold air to circulate and keep the roof evenly cool.
- Roofing materials and color may also affect snow melt rates. Darker colors tend to absorb more heat, facilitating melting at the roof’s surface.
Understanding the dynamics of heat loss and outdoor temperatures that lead to ice dam formation is crucial for taking preventative measures and selecting appropriate mitigation strategies to protect your roof from damage.
The Science of Ice Dam Formation
Ice dams occur when heat from the attic melts snow on the roof, causing water to trickle down towards the eaves. Due to the lower temperature at the edges, this water refreezes just above the gutters, initiating the formation of an ice dam.
The process is exacerbated by temperature variations on the roof surface, often due to insufficient insulation or poor ventilation in the attic. As subsequent meltwater from the warm roof area encounters this ice build-up, it can back up beneath roof shingles and infiltrate the home’s interior, leading to potential water damage.
Understanding this cycle is crucial for identifying effective prevention and mitigation strategies.
Causes of Ice Damming On Roofs
Inadequate attic insulation allows heat to escape, melting the snow on the roof’s surface. The water trickles down to the edge and refreezes, creating a barrier that traps additional melting snow.
Varying roof temperatures stem from uneven heat distribution in the home, causing snow to melt unevenly and contribute to ice dams.
Blocked ventilation inhibits proper airflow, trapping heat under the roof and fostering conditions conducive to ice dam formation.
Complex roof designs with multiple valleys and junctions can facilitate snow accumulation and ice dam growth, as these areas typically have varying temperatures.
Short daylight hours and low temperatures during winter months slow down the melting process, enabling the formation of ice dams as the water freezes at the colder eaves.
Gutters clogged with debris can impede proper drainage, allowing water to pool and refreeze at the roof’s edge, promoting dam formation. Regular gutter cleaning is essential to prevent this issue.
Understanding these factors is crucial for identifying potential weaknesses in a roof’s design or maintenance routine that may lead to ice damming. Addressing these areas can help in preventing the formation of ice dams and the associated damage they can cause.
The Risks of Ignoring Ice Dams
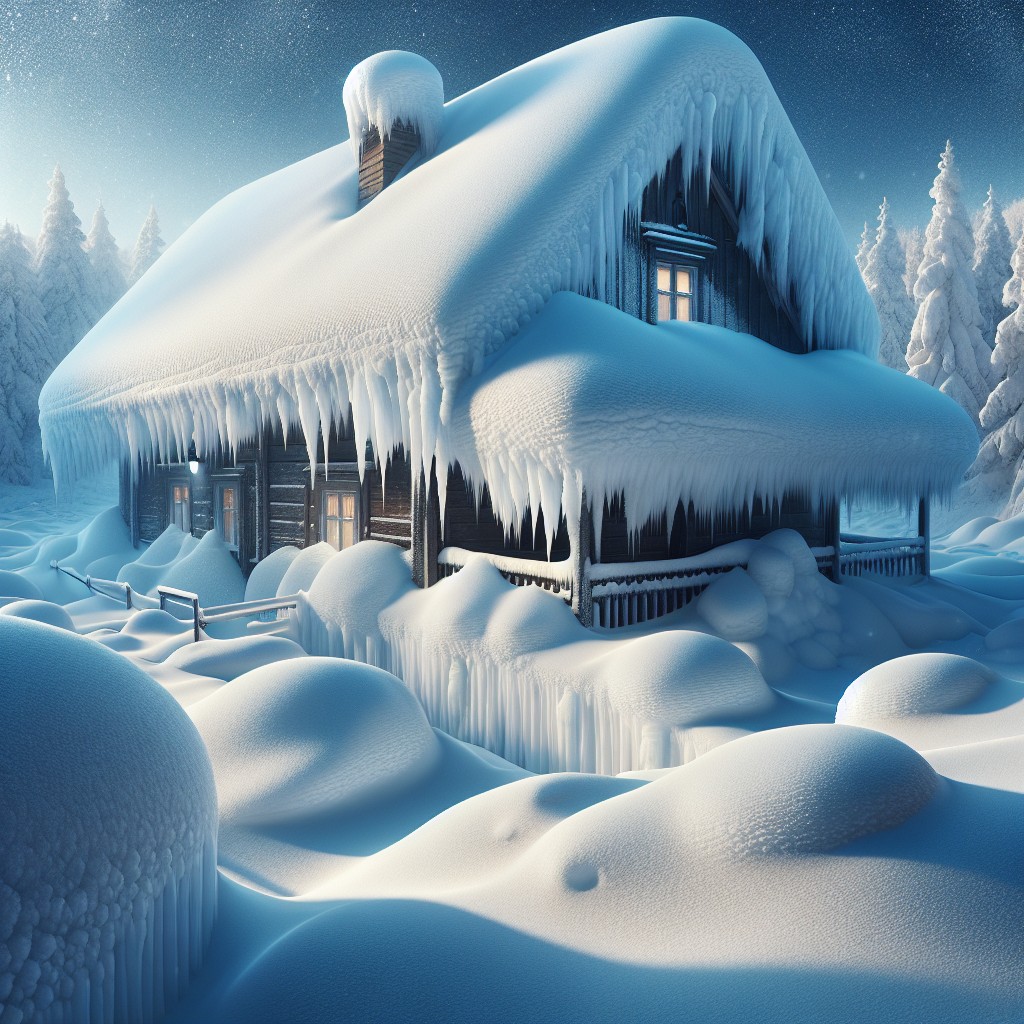
Ice dams can inflict significant damage on both the exterior and interior of homes if left unchecked. The accumulation of ice on the edge of a roof prevents proper drainage, forcing water to back up beneath shingles and potentially seep into the underlying roof deck, insulation, and interior ceilings. This can lead to mold growth and rot, undermining structural integrity.
The weight of ice dams puts excessive strain on gutters and downspouts, sometimes causing them to tear away from the building. This not only requires repairs but also exposes the sides of the home to water damage.
Moreover, when ice dams break free, they can pull shingles and flashing with them, leaving your roof vulnerable to the elements. The falling ice poses a risk to property, landscaping, and most critically, to people below.
The trapped water may also refreeze in the roofing materials and expand, resulting in cracked or dislodged roof tiles. Consequently, ignoring ice dams can escalate into costly repairs and may even shorten the lifespan of the roof. Regular monitoring during colder months is essential to mitigating these risks before they escalate.
Evaluating Ice Melt Solutions
When choosing a roof melt product, it’s important to consider the composition and its suitability for your roofing material. Calcium chloride tablets are popular for their ability to quickly melt ice without damaging shingles. Magnesium chloride is another option, offering a less-corrosive alternative for metal roofs. Urea-based melters are eco-friendlier but less effective in colder temperatures.
While pellets can target specific ice dam locations, blanket-style solutions offer more coverage. Keep in mind that while effective, these products may require replenishment throughout the winter season.
For those with environmental concerns, glycol-based liquid deicers present a biodegradable option, though they may require application equipment and can be less economical.
Efficiency varies, so evaluate the melting point range and the required quantity to ensure the solution matches your region’s climate and your roof’s design. Always cross-check the product’s compatibility with your roofing material to avoid structural damage or unintended wear over time.
Types of Roof Melt Products
Various roof melt products provide homeowners with options to address ice damming efficiently:
1. Calcium Chloride Crystals: These are frequently used due to their effectiveness in melting ice at low temperatures, down to -25 degrees Fahrenheit. Packaged often in tubs, they can be sprinkled directly onto the ice dam.
2. Magnesium Chloride Pellets: A more eco-friendly option, magnesium chloride has a lower environmental impact and is less corrosive than other chemicals. It works well for temperatures down to 0 degrees Fahrenheit.
3. Roof Melt Tablets: Designed to be tossed onto the roof from the ground, these tablets slowly release their melting agent, creating channels for water to flow off the roof.
4. Heated Cables: Electric cables can be installed along the roof’s edge in a zigzag pattern to prevent ice formation. They provide a physical heat source that stops ice from building up.
5. Glycerin-Based Liquid Deicers: These come as a spray and can be applied before a snowstorm to prevent ice from bonding to the roof surface.
Each of these products is designed for ease of use and safety for various roofing materials. It’s critical to choose the right one that suits both the climatic conditions and the type of roofing to ensure effectiveness and minimize potential damage.
Environmental and Structural Impacts of Ice Melters
Ice melters come with a dual impact on both the environment and structures. Chemically based solutions can have adverse effects such as corrosion of metal components like gutters and downspouts, and can also damage roofing materials through prolonged contact. Furthermore, the runoff from these chemicals can seep into the ground, affecting local water quality and potentially harming plant life due to increased soil salinity.
On the flip side, more eco-friendly alternatives such as calcium magnesium acetate are less corrosive and exhibit less environmental harm. However, they often require more product to achieve the same melting efficiency, which can be cost-prohibitive. It’s also crucial to consider the application method for these ice melters, as improper dispersal can lead to concentrated areas of damage to both vegetation and roofing materials.
Application Techniques
Proper application of roof melt products is key to effectively prevent ice dam formation without damaging the roofing materials. Pellets or tablets are typically broadcast across the roof, strategically placed near the edge where ice dams are likely to form.
For liquid deicers, a sprayer ensures even distribution, which is crucial to avoiding excess runoff that can refreeze and exacerbate the ice dam issue.
It’s essential to follow manufacturer instructions for the quantity and distribution to prevent over-application, which not only wastes product but could also harm the roof and the environment. Plan to apply the product before a snowstorm to prevent ice from bonding to the roof, or use it at the first sign of ice formation.
For ongoing maintenance, applications should be after snowfall and during melting cycles. Consistent monitoring of the roof’s condition during the winter months can help gauge the necessity for further applications. Always use caution and consider hiring a professional if rooftop access is difficult or unsafe.
How to Apply Roof Melt Products
Roof melt products come in various forms, such as pellets or tablets, and are designed to create channels in the ice for water to drain off the roof. When applying, it’s crucial to distribute the product evenly across the ice dam to ensure comprehensive coverage. Be mindful of the manufacturer’s guidelines on the amount to use, as excessive application can damage the roofing material.
For pellets or granules, scatter them carefully along the ice dam’s edge, standing on the ground if possible for safety. If the roof is low-pitched or accessible with a ladder, you may carefully position the pellets in small quantities.
With tablets, place them vertically on the ice, spacing them out as per instructions. These melt through the ice, creating channels for the meltwater to escape. Avoid tossing tablets haphazardly as this won’t promote the most effective melting pattern and can lead to wasted product.
Using a roof rake to remove excess snow before applying melt products is advisable to maximize their ice-melting efficiency. When handling any chemical deicer, wearing gloves and eye protection is essential to avoid irritation or injury.
For all methods, ensure a clear route for water to flow into the gutters and down the drainpipes. Blocked pathways can cause refreezing and exacerbate the issue.
Timing and Frequency of Application
Initiating application before a heavy snowfall can create a barrier that prevents ice from bonding to your roof, enabling easier removal. Additionally, during the winter, apply roof melt products after each snowfall and before expected temperature fluctuations that could cause melting and refreezing. The frequency may vary depending on the specific weather patterns in your region, but generally, a bi-weekly check is recommended.
When temperatures hover around freezing, it’s crucial to monitor and potentially apply roof melt more frequently, as this is when ice dams typically form. Note that overuse of chemical deicers may lead to roof material degradation, so it’s essential to use the minimum effective amount. For granular products, follow the spacing guidelines provided by the manufacturer, usually a pattern every few feet along the roof’s edge is sufficient. For more precision or to target icicles or ice dams that have already formed, you may need to apply a deicer directly to the affected areas. Always use caution when accessing the roof or consider hiring a professional for safety.
FAQ
Is roof melt safe for roofs?
While roof melt tablets effectively melt ice and snow, they can potentially damage shingles and finding the correct formulation might prove challenging.
How long does it take roof melt to work?
Roof melt typically starts to work within an hour of application when it comes into contact with snow and ice.
What is the best roof melt?
The best roof melt to use in an emergency is magnesium chloride due to its safety and widespread availability.
Can you use roof melt on a metal roof?
No, you should not use roof melt on a metal roof.
Can roof melt damage gutters?
Yes, roof melt can damage gutters if the water refreezes creating ice dams that cause expansion and potential cracks.
How does temperature affect the efficiency of roof melt?
Temperature significantly influences the efficiency of roof melts as they require a certain degree of warmth to effectively melt ice and snow.
Is there a specific way to apply roof melt for optimal results?
Yes, for optimal results, roof melt should be applied directly to the ice and snow build-ups, concentrating on areas such as gutters and downspouts that are crucial for proper water drainage.


