Last updated on
Learn how to extend your roof overhang to protect your home and enhance its appearance.
Thinking of extending your roof overhang? Whether for added protection from the elements or just to upgrade curb appeal, you’ve come to the right place. In this guide, we’ll breeze through everything you need to know—from measuring and material selection to final touches and safety tips. Let’s ensure your project hits the nail on the head!
Key takeaways:
- Extended overhangs protect from elements and improve efficiency.
- Measure carefully and match roof pitch for aesthetics.
- Ensure structural integrity; consult an engineer if needed.
- Flashing is essential to prevent water leaks and damage.
- Final inspection checks alignment, gaps, and overall stability.
Evaluating the Need for Extension

Some roofs seem a bit stingy with their overhang. But why extend it?
Firstly, more overhang means better protection from the elements. Your walls, windows, and even that prized potted plant collection will remain drier.
Energy efficiency is another perk. Longer overhangs help block out summer’s blazing sun, reducing cooling costs. In winter, they allow lower-angled sunlight to warm your home.
Consider curb appeal too. A roof overhang extension can dramatically enhance your home’s appearance. It’s like adding eye-catching eyebrows to your house.
If perpetual bird droppings on your siding are a problem, a longer overhang acts as a deterrent. Birds aren’t fond of tight spaces to perch.
Finally, overhangs provide a tad more outdoor living space. A dry entrance or a shaded spot to sip lemonade – who could say no?
Carefully think about these points before grabbing your hammer and adopting your inner Bob Vila. Informed decisions make for smoother projects and happier homeowners.
Measurements and Material Selection
Grab that tape measure and a friend with a steady hand. Precision is your new best friend. Here are some key points to guide you through:
- Measure the current overhang length from the wall to the edge. Then, determine how much extra length you need for adequate protection against sun and rain.
- Check the pitch of your roof. You’ll need to extend the overhang along the same angle for both aesthetics and functionality.
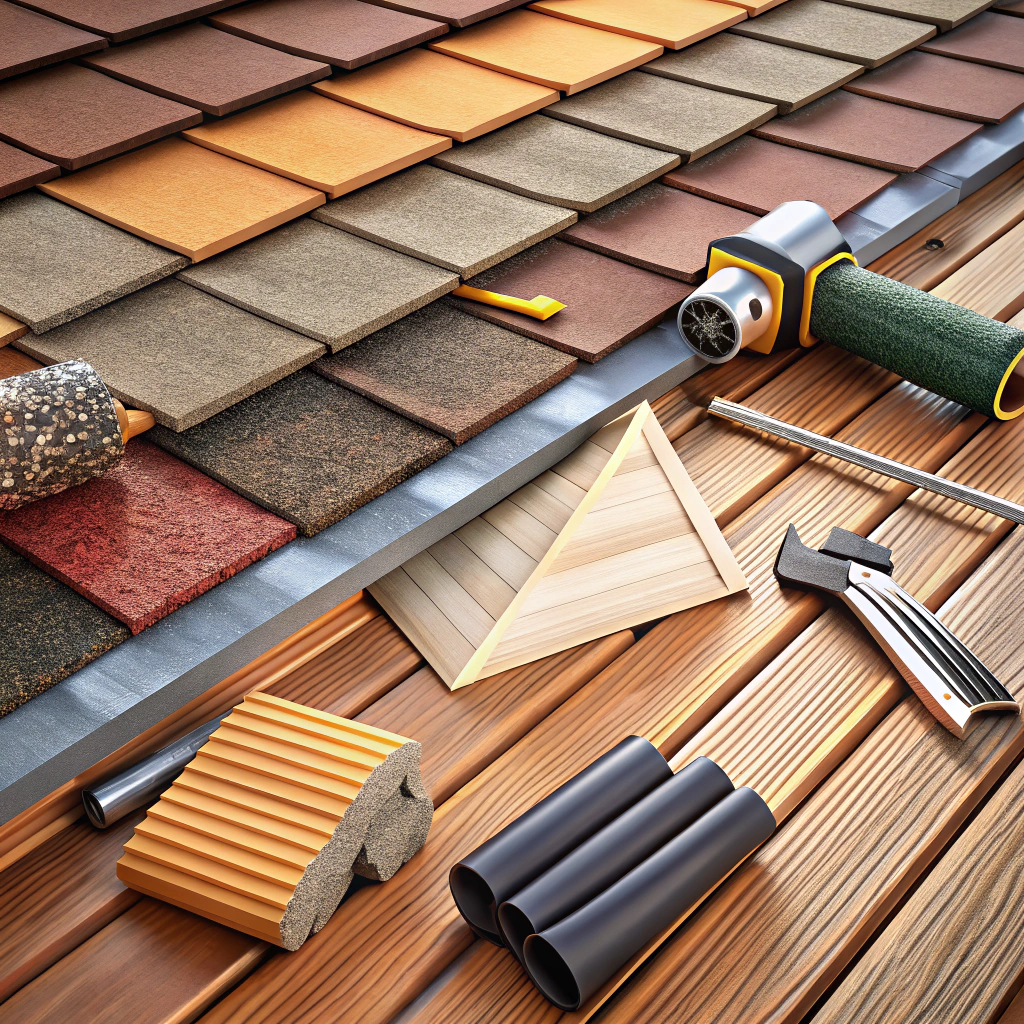
- Gather your materials. You’ll need lumber for framing, roofing materials to match the existing structure, nails, screws, and metal flashing.
Wood is common for framing. But hey, no one’s stopping you from going fancy with engineered wood or metal if you like the modern look. Just make sure whatever you choose can handle weather swings in your area. Be smart, not just stylish.
Finally, grab some waterproof paint or sealant. This isn’t just arts and crafts time. It’s crucial to keep your new extension in top shape for years to come.
Planning the Design and Structure
Consider the climate. Overhangs in rainy areas need a steeper angle to shed water more effectively.
Match your home’s aesthetic. A sleek modern house might look strange with a rustic overhang. Stay consistent.
Think about the length. Longer overhangs provide more shade and protect windows from rain but require stronger support.
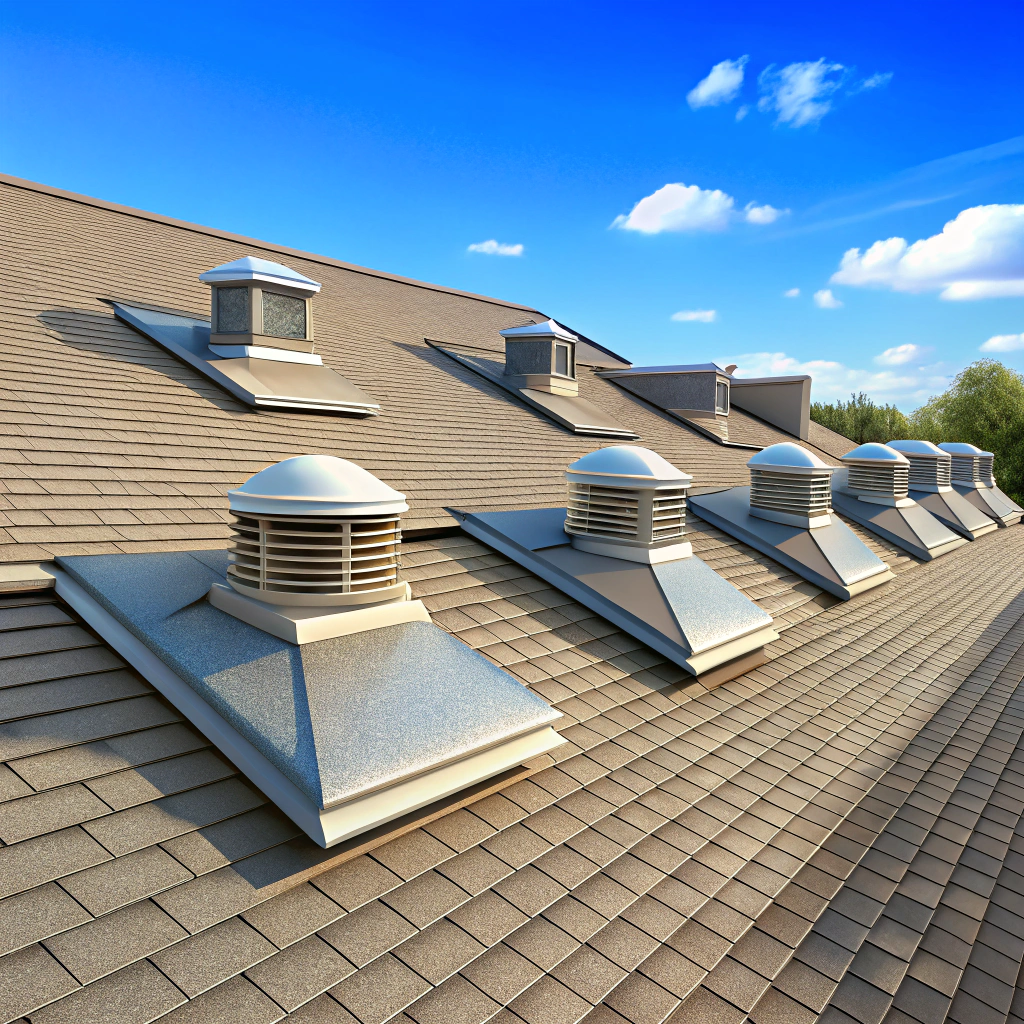
Factor in ventilation. Proper design can help reduce attic heat and prolong the roof’s life.
Ensure structural integrity. Consult a structural engineer to make sure your new overhang won’t compromise your home’s stability. No one wants their roof extensions flapping in the wind like giant wings.
Preparing the Existing Roof
Time to roll up your sleeves and get that roof ready for its makeover. Like any good spa day, prep is key.
First, clear off any debris or loose materials. Squirrels don’t need to know about your construction plans.
Next, inspect the existing structure. Look for damages: cracked tiles, worn shingles, or soft spots in wooden elements. You’re building on this, so it’s gotta be solid.
Check for any signs of water damage. If you see mold or mildew, that’s a red flag. Address it now, or you’ll regret it later. Moisture has a sneaky way of ruining everything.
Remove any old flashing or deteriorating waterproofing material. You need a fresh start.
Lastly, make sure your tools and materials are at hand. Once you’re in the zone, you won’t want to stop for a supply run.
Building the Framework
Once the design is set, it’s time to get physical. Begin by measuring and cutting the support beams to your desired length. This is where your trusty saw becomes your best friend. Just remember, measure twice, cut once. There’s no undo button on wood!
Secure the beams to the existing structure using metal brackets and screws. Think of these brackets as braces for your roof, giving it the support it needs to hold up those extra inches of shade.
Next, install the rafters perpendicular to the support beams. Space them evenly, like ribs on a sturdy skeleton. Not too far apart, not too close together. Play Goldilocks, get it just right.
Attach fascia boards along the edges of the new framework for a neat finish. They not only look good but add structural stability. Fascia boards, the cherry on top of your building sundae.
Installing New Overhang
Once the framework is steady as a rock, it’s time to attach the new overhang. Here’s what you need to know:
First, secure the fascia boards to the rafters. Think of them as the skeleton holding everything together. Make sure they’re level, or your overhang will look like it had a few too many at the pub.
Next, lay down the roof sheathing. This forms the base for your shingles or other roofing material. Use exterior-grade plywood or oriented strand board (OSB). Think of it as the foundation of a good pizza—needs to be sturdy yet flexible.
Time for the underlayment. Roll it out smoothly, like you’re unrolling a red carpet—only this one keeps water out. This layer adds an extra shield against the elements.
Finally, install the shingles or other roofing material. Follow a proper staggered pattern, like you’re laying the bricks of a sturdy castle wall.
Pay attention to the edges; overhanging parts should extend just enough to guide water away but not so much they wave hello to the wind.
Voila! Your new overhang is almost ready to face the world.
Adding Flashing for Waterproofing
Flashing plays the superhero role here, keeping water from sneakily making its way into places it shouldn’t. And water, as we all know, is like that one mischievous raccoon that always finds a way into your trash.
Start with measuring. You’d think water wouldn’t be complicated, right? Wrong. It finds any gap, so make sure the flashing overlaps properly. Cut the flashing to fit snugly along the edge of your new overhang.
Nails are not optional; they’re essential. Nail down the flashing along the roofline, but be gentle—nobody likes a heavy-handed carpenter.
Caulk the edges to seal the deal. Apply a generous bead of high-quality exterior caulk where the flashing meets the roof. This step stops water from sneaking under the flashing.
Lastly, make sure no edges are sticking up. Press down all edges firmly to ensure that everything is lying flat. Water loves an edge. Don’t give it a chance.
Remember, skipping flashing is like leaving your house keys in the lock—you’re just asking for trouble.
Inspecting and Adjusting the Overhang
Once the new overhang is installed, break out your inspector hat and get ready to play detective. Start by examining the alignment. Ensure the overhang is flush with the existing roofline and doesn’t resemble a lopsided pancake.
Next, examine the integrity. Give the overhang a gentle nudge, not a Herculean shove. It should feel sturdy and secure, like it can withstand a squirrel party or two.
While you’re at it, check for gaps. No daylight peeking through anywhere. Gaps equal leaks, and leaks equal a very grumpy homeowner.
Now, look at the flashing. Is it properly installed and flush against the roof? If water finds a path, it will follow it right into your living room.
Finally, grab a garden hose and simulate a rainstorm. Watch how the water flows down the new overhang. Any pooling or unusual flow patterns would mean you might need to adjust angles or add additional supports.
This process, though simple, ensures your overhang won’t just be decorative but practically functional. Water’s stubborn like that; it always finds the path of least resistance. Make sure that path isn’t straight into your attic.
Final Touches and Clean-up
Double-check everything. Make sure all fasteners are secure and the overhang is stable. You don’t want an overhang that’s more like an over-fall.
Clean the roof surface. Remove debris, nails, and any leftover materials. A clean roof is a happy roof. Well, maybe not happy—but definitely less prone to leaks.
Paint or stain the new wood. Match it to the existing roof for a seamless look. While you’re at it, add a touch of color to brighten up the neighborhood. Hey, you might even start a trend.
Seal any gaps. Use caulk or weather-resistant sealants to keep water at bay. Nobody wants a mini waterfall inside their house.
Inspect the flashing. Ensure it’s tightly secured and free of rust. Flashing is like the roof’s superhero cape: it keeps the bad stuff out.
Take a step back and admire your work. You’ve extended your overhang and earned some serious bragging rights. Just don’t strain your neck admiring it for too long.
Safety Tips and Precautions
Working on a roof can be as tricky as remembering where you left your car keys. Keep safe and sound by following these tips.
First, suit up! Wear sturdy shoes with good grip to avoid any impromptu slippery dance moves. Hard hats protect your noggin, and gloves keep those fingers safe from splinters and nails.
Ensure your ladder is stable on level ground. Wobbly ladder equals wobbly you. Always have a buddy to hold it; ladders are not solo flyers.
When hammering and sawing, watch those fingers. They can’t dodge like in cartoons.
Lastly, keep an eye on the weather. Wet or windy conditions are not your friends. You don’t want to be chasing shingles around the neighborhood.
Stay sharp, stay safe, and roof on!