Last updated on
Learn how to fix your rubber roof with easy steps, avoiding pesky leaks and costly repairs.
Ah, the humble rubber roof—a trusty shield over your head, until it’s springing more leaks than a gossip at a garden party! Fear not, dear reader, for this guide is your ultimate cape crusader against rubber roof woes. From sleuthing out those sneaky leaks and preparing for the grand patch-up, to unrolling the trusty toolkit and materials needed, we’ve got it all. Follow along as we dish out tips for repair success, sprinkle in maintenance magic, and transform you into a bona fide rubber roof royalty. Let’s plug those holes and let your roof reign supreme once more!
Key takeaways:
- Rubber roofs last 20-30 years with low maintenance.
- Locate leaks by inspecting visually and indoors.
- Prepare tools: ladder, utility knife, adhesive materials.
- Clean and sand area before applying patches.
- Conduct semi-annual maintenance to prevent issues.
Understanding Rubber Roofs

Rubber roofs, often made from EPDM (ethylene propylene diene terpolymer), are popular for their durability and flexibility. Pliable like a yoga master, they can withstand extreme weather conditions.
Here are key nuggets of wisdom about rubber roofs:
- Lifespan: These roofs can last 20-30 years. Longer than your last New Year’s resolution.
- Environmentally Friendly: Say hello to recyclable materials; perfect for keeping your conscience as spotless as your roof.
- Low Maintenance: They’re easy to maintain. Like a cat, but without the aloof attitude.
- Cost-Effective: Usually cheaper to install and repair compared to other roofing systems. Your wallet might actually smile.
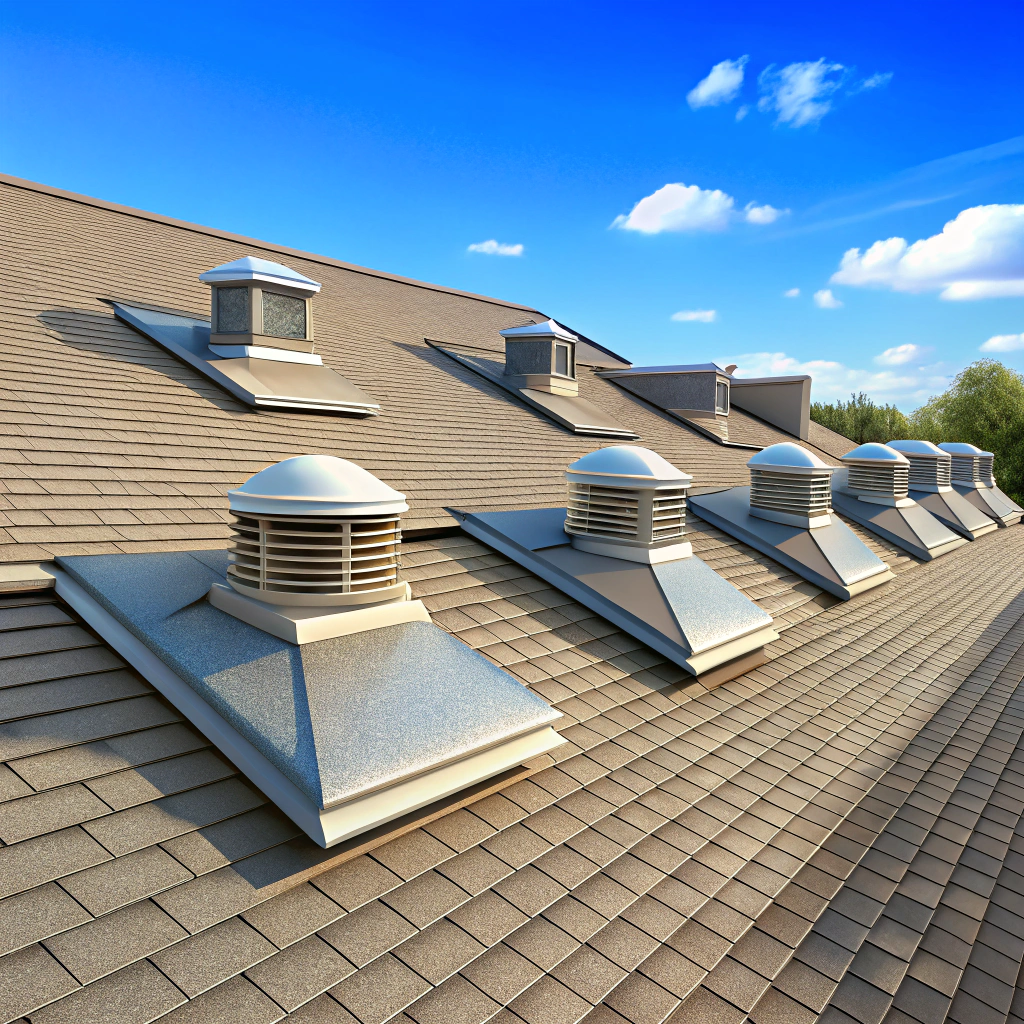
Identifying the Leak in a Rubber Roof
Waterproof marvels they might be, but rubber roofs aren’t invincible. To locate a pesky leak, first conduct a visual inspection. Clamber up with a flashlight in hand, and channel your inner Sherlock. Look for cracks, blisters, and missing seals. It’s like a twisted game of hide and seek—only the stakes are higher and involve soggy ceilings.
Inside, roll out your magnifying glass once more. Consider the path less traveled: water can take detours. Wet spots on the ceiling might not align with the roof leak directly overhead. Like a mischievous toddler, water likes to wander. Follow any water stains or dripping trails back to the source, and don’t forget to cup your hand to your ear to listen for suspicious symphonies of drips.
Sometimes, the culprits are sneakily lurking around roof penetrations such as vents or chimneys. They’re like bad roof party crashers. Inspect these areas to see if they’ve decided to let humidity slip past. Seek and you shall repair!
Visual Inspection of the Roof
Time to unleash the eagle eye! Begin by taking a stroll around the perimeter of your abode, binoculars not required, but hey, why not? Look for visible damage: cracks, bubbles, or anything resembling a rubber horror show. Pay attention to seams and edges where problems love to party.
Next, climb up if you’re feeling adventurous. But if heights make you dizzy, send someone more nimble. Check for pooling water. Rubber roofs might think they’re kiddie pools, but trust us—they’re not. Examine flashing and gutters for blockages that can cause mischief.
Remember, spotting issues early can save a lot of rubber tears and financial despair. Also, pro tip: Don’t wear your favorite clothes. Rubber marks aren’t the fashion statement you’re aiming for.
Interior Inspection
Once you suspect a leak, it’s time to put on your detective hat and investigate indoors. Don’t worry; there’s no need for a magnifying glass or a deerstalker cap.
Head to the attic, if you have one, and start looking for water stains, discoloration, or the ominous damp patches on the ceiling. Bonus points if you can hum the tune to “Mission Impossible” during this part.
Check out the walls, too. Sometimes water has a secret side hustle as a travel agent and will take the scenic route down the walls.
Keep your nose on alert—musty odors can be a sign your roof has been hosting an impromptu water party.
Finally, grab a flashlight and play shadow puppets. Alright, don’t actually play, but use the flashlight to spot any out-of-place moisture.
Preparing for the Repair
Before diving into fixing that pesky rubber roof, it’s crucial to gather your tools and materials. Think of it as assembling a superhero squad for your roof-saving mission. First, grab yourself a sturdy ladder, because balancing on an unsteady one is like trying to dance the tango on roller skates.
You’ll need a utility knife for trimming and caulking guns for applying sealants. A brush or broom is essential to shoo away any debris or leaves dreaming of a permanent stay. Don’t forget a tape measure; it’s not just for figuring out if you really did grow another inch last summer.
For materials, you’ll need EPDM rubber patches and adhesive. Sealant and primer are vital too; they’re like peanut butter to jelly in the rubber roof repair world. Oh, and gloves. Protect those piano-playing or video-gaming hands from adhesive chaos.
With everything at hand, you’re ready to tackle the leak with flair.
Tools
You wouldn’t show up to a sword fight with a loaf of bread, would you? The same principle applies to roof repair: the right tools make all the difference. Let’s dive into the arsenal.
First up, a trusty ladder. That’s your ticket to reaching great heights, quite literally. Make sure it’s stable—flipping off roofs is only cool in action movies.
Next, a broom. You’re not sweeping for Cinderella, but clearing debris for a clean repair surface. Remember, roofs like it clean and tidy.
A paint roller isn’t just for Picasso moments. Use it to apply adhesive evenly—like butter on toast.
Finally, don’t forget the utility knife. Scary name but indispensable for trimming and slicing the rubber patch.
Add heavy work gloves into the mix for protection. They keep you from turning a quick fix into a band-aid showdown.
With these tools in hand, you’re all geared up to restore your roof’s dignity.
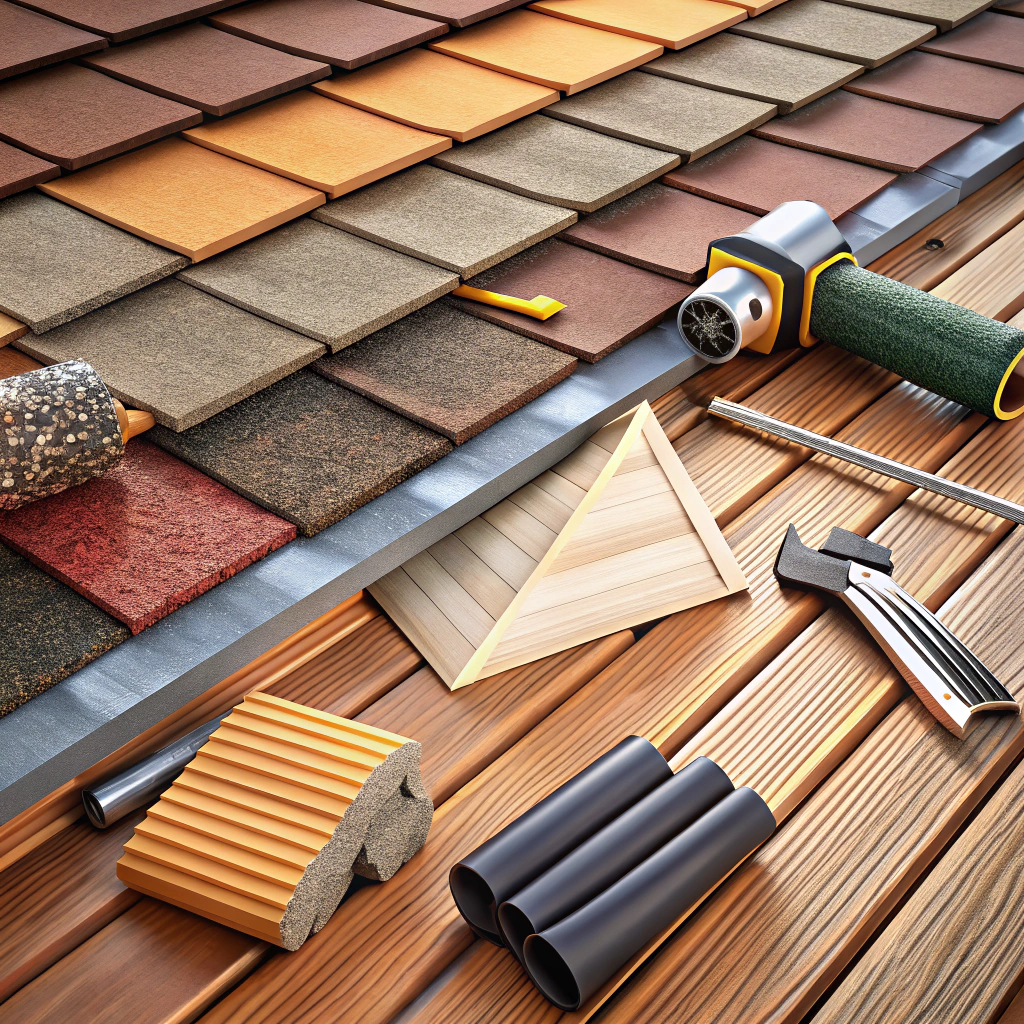
Materials
Time to play with rubber! When fixing a rubber roof, choosing the right materials is like choosing the right sauce for a pizza. It’s essential. Here’s what you’ll need for a sturdy patch job:
EPDM Patch Kit: This is not just any sticky band-aid. It’s specifically made to make rubber roofs happy again and available at most roofing stores.
Rubber Roof Cleaner: The roof may have been living the mafia life. Dirty. This cleaner helps remove grease and grime for a smooth repair process.
Seam Tape: Think of it as duct tape’s cooler cousin. This helps seal the deal, ensuring your patch stays put, come rain, wind, or rogue squirrels.
Roller: No, not for your hair. This makes sure everything sticks like it fell in love at first sight.
With these materials in your kit, you’re armed and ready. The roof won’t know what hit it—figuratively, of course!
Patching the Rubber Roof
Congratulations, detective! You’ve found the leak. Now, let’s patch it up before it becomes more dramatic than a soap opera season finale.
First, use a utility knife to trim the damaged area neatly. Precision is key—unless you enjoy abstract art on your roof.
Sandpaper is your next ally. Make the surface smooth like fresh ice cream, but don’t get too hungry; licking a roof is generally frowned upon.
Now, cut a patch of EPDM membrane, ensuring it extends a couple of inches beyond the damaged area. It’s a roof patch, not a postage stamp.
Apply rubber primer to both the patch and the now-smooth crime scene. Let it dry until it’s tacky like a cheesy pick-up line.
Place the patch carefully over the area. Smooth it out with a roller, eliminating bubbles as if you’re popping bubble wrap.
Finally, seal the edges with rubber roof tape. It’s the duct tape of the roofing world—except way fancier and more expensive.
Tips for a Successful Repair
When tackling repairs, start by cleaning the area around the damage thoroughly. Dirt might invite a rubber rebellion! Ensure the patch adheres better by lightly sanding the surface.
Next, ensure everything is bone dry before applying the adhesive. Moisture is the enemy, unless you’re a fish.
Be generous with your patience, but not the glue—follow the instructions on the adhesive packaging strictly. More glue does not equal more strength; it might just lead to a gooey mess.
Use a roller or a similar tool to press down the patch firmly. Pretend you’re rolling pizza dough, but with slightly less flour.
Finally, keep an eye on the weather forecast. Completing repairs on a sunny day is ideal, unless you’re aiming for that impromptu rain dance practice.
Maintaining Your Rubber Roof
Ah, the underrated art of keeping your rubber roof in tip-top shape. Much like telling a joke at a party, timing is everything.
First, schedule semi-annual inspections. Just like that weird squeak your car has that you’ve been ignoring, catch issues early. Check for standing water, debris, or any strange new friends growing on your roof.
Clean the surface with a gentle cleanser and a soft broom. Avoid harsh chemicals, unless you want your roof to transform into a circus tent.
Trim any overhanging tree branches. Roofing and tree-climbing are activities best left separate. Trust us.
Lastly, keep an eye on seals and flashing. If they start to look like they’re peeling away from their responsibilities, consider replacing them before they run away and join an actual circus.
Follow these steps, and your rubber roof will thank you by keeping its cool—literally and figuratively.