Last updated on
Understanding the correct screw pattern for corrugated metal roofing is crucial because it guarantees the roof’s durability, weather resistance, and overall longevity.
Key takeaways:
- Proper screw pattern ensures durability and weather resistance
- Use self-tapping screws with neoprene washers for corrugated metal roofing
- Place screws at every wave crest, aligned vertically 6-8 inches apart
- Overlap panels by at least one corrugation to prevent water ingress
- Follow manufacturer guidelines for screw spacing and fastening pattern
Importance of Proper Screw Patterns
Adhering to an appropriate screw pattern is critical for the structural integrity and longevity of corrugated metal roofing. Proper screw placement ensures even distribution of load and resistance to wind uplift, preventing the roofing material from warping, leaking, or sustaining damage during extreme weather conditions.
Correct sizing and use of screws help to maintain the roof’s aesthetic appearance and reduce the risk of rust or corrosion over time. It’s also a key factor in complying with building codes and manufacturer warranties.
Follow industry-recommended patterns to achieve a secure and resilient roofing system.
Types of Screws Used for Corrugated Metal Roofing
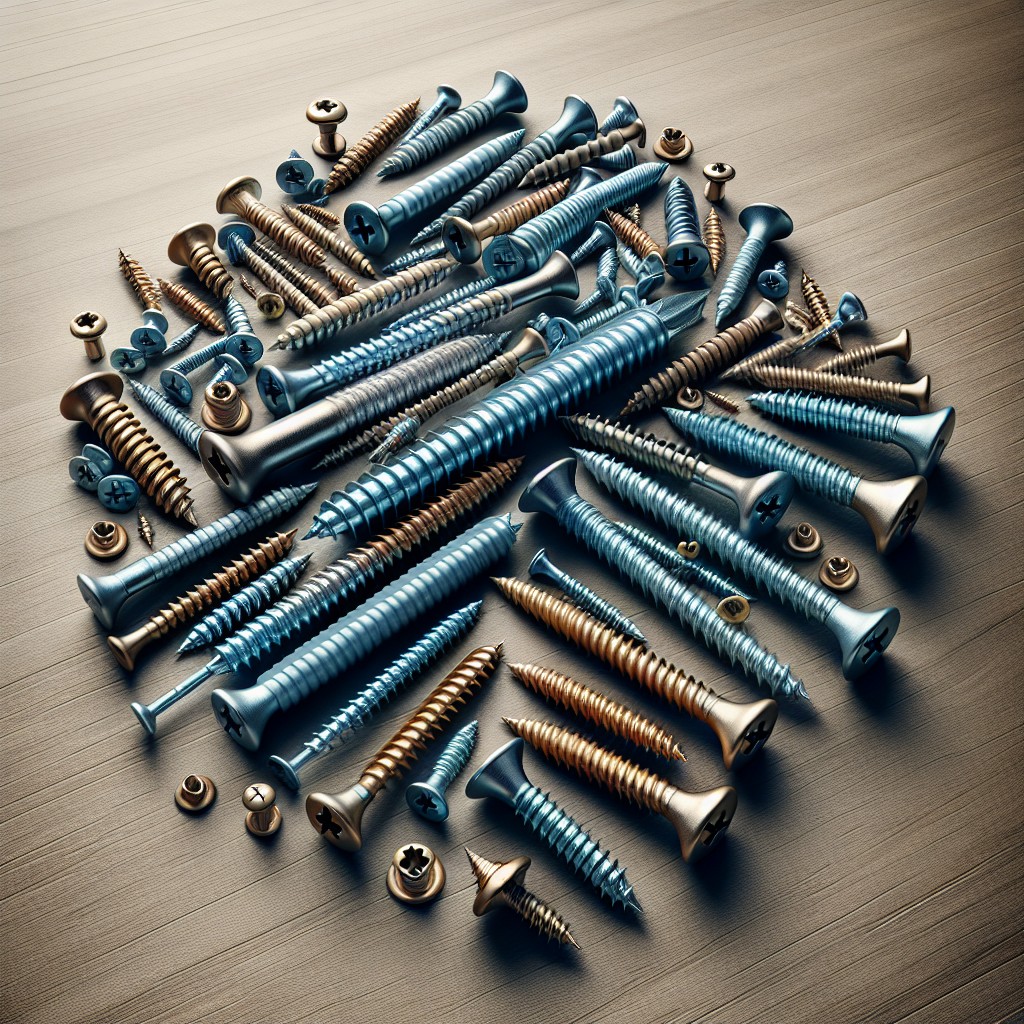
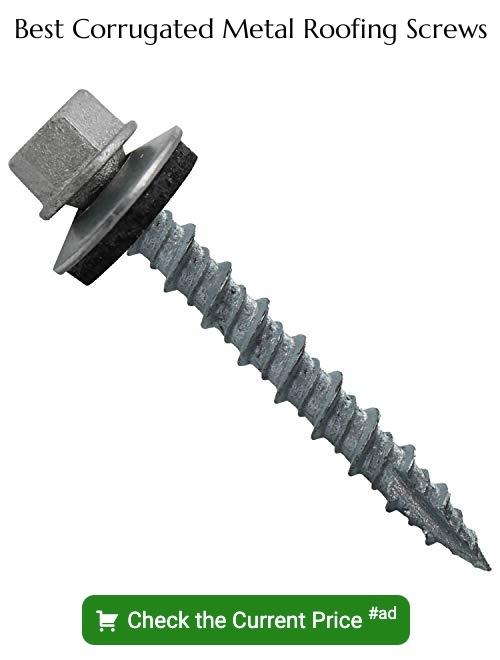
Selecting the correct type of screw is vital for both the integrity and longevity of a corrugated metal roof. Self-tapping screws are ideal, as they can drill their own holes into metal, reducing installation time. The industry typically favors galvanized screws for their resistance to rust and corrosion. These screws often come with rubber or neoprene washers that create a weather-tight seal around the penetration.
For environments with harsh weather or coastal areas, stainless steel screws may be preferable due to their enhanced resistance to corrosion. Low-profile head screws often serve aesthetic purposes, while hex-head screws offer a more secure grip during installation. Additionally, screws with a painted head can be used to match or complement the color of the roofing panels.
It’s crucial to choose screws with the appropriate length; they must be long enough to penetrate through the roofing material and sufficiently into the substrate or purlins beneath. The general guideline is for the screw to penetrate the purlins by at least 1½ inches. Always verify local building codes and the manufacturer’s recommendations for the specific requirements in your region.
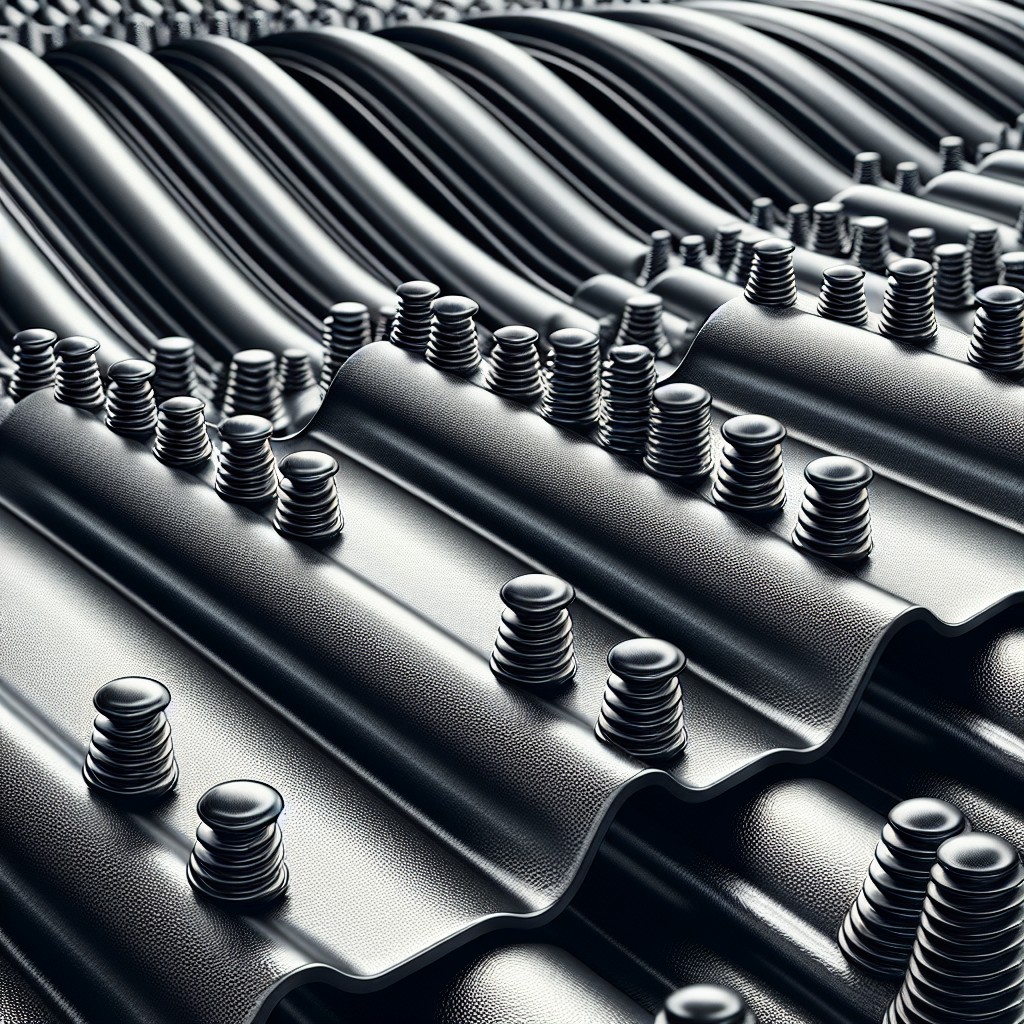
Recommended Screw Pattern for ⅞” Corrugated Metal Roofing
Adhering to a specific screw pattern is crucial for the structural integrity and longevity of your roof. For ⅞” corrugated metal roofing, screws should be placed at every corrugated wave crest, aligned vertically each 6 to 8 inches apart. This pattern:
- Ensures even distribution of load and pressure across the roofing material.
- Minimizes the potential for water ingress by securing at the highest point of the corrugation.
- Enhances resistance to wind uplift, a paramount concern in high-wind areas.
When installing screws along side laps, a stitch screw should be used at every low side of the corrugated wave. Insert these approximately 12 inches apart to provide additional strength at the panels’ overlap, reducing the risk of seam separation. Remember to use rubber washers with your screws to seal against moisture; tighten just enough to engage the washer without overcompressing it, which could compromise the seal.
Optimal Spacing Between Screws
Achieving uniform holding strength across your corrugated metal roof relies critically on consistent screw placement. For optimal performance, adhere to the following guidelines:
- Lateral Spacing: Typically, screws should be fastened into the corrugated metal panels every 8 to 12 inches along the horizontal length of each panel.
- Seams and Overlaps: At the seams where panels overlap, place screws closer together, roughly 4 to 6 inches apart, to ensure a secure and leak-resistant connection.
- Edge Support: On the edges of the roof where wind uplift may exert the greatest force, reduce the interval between screws to 6 to 8 inches for added strength.
Remember, even distribution of screws helps prevent the roofing material from warping or getting damaged, particularly during high winds or thermal expansion. It’s essential to refer to manufacturer specifications for your specific type of corrugated metal roofing, as they might have detailed recommendations that can impact your roof’s longevity and weather resistance.
Fastening Screws On Ribs Versus Flats
Selecting the appropriate location for screw placement is a significant determinant of the strength and waterproofness of a corrugated metal roof. When inserting screws into the high points, or ribs, the security of the attachment is bolstered due to the increased surface contact. This reduces the potential for leaks and helps to preserve the structural integrity of the roofing material.
However, screws that penetrate the flat parts of the panel, known as flats, can cause water to pool around the screw holes. Consequently, the risk of leakage and corrosion escalates, potentially compromising the roof’s durability.
It’s also crucial to consider thermal expansion. Metal expands and contracts depending on the temperature. Attaching screws on the ribs allows for the natural thermal movement of the panels without straining the screw connections, which could prevent deformation of the panels or potential breakage of the fasteners over time.
Thus, professionals usually fasten screws on the ribs for these reasons, ensuring a secure, lasting, and weathertight metal roofing system.
Panel Overlap Guidelines
For a weathertight seal, panels must overlap with precision. Ideally, corrugated panels should overlap by at least one corrugation. However, depending on the pitch of the roof and local weather conditions, a two-corrugation overlap may be appropriate to ensure extra protection against wind-driven rain.
When joining panels, align the edges carefully before securing them. Ensure that the overlap runs in the direction of the prevailing wind to prevent wind uplift and water ingress. While fastening the overlapped sections, place screws at regular intervals along the overlap, generally within 6 to 8 inches from each other, to fortify the hold and prevent fluttering or buckling.
Always verify with the manufacturer’s instructions as they may have specific overlap recommendations tailored to their product’s unique design and testing standards. Properly overlapped panels contribute significantly to the structural integrity and longevity of the roof.
Remember, incorrect panel overlaps can lead to leaks, increased wind damage risk, and may void warranty coverage. It is essential to adhere to exact manufacturer guidelines to optimize the performance and lifespan of your corrugated metal roofing.
Screw Placement for Roofing Over Metal Purlins
When installing corrugated metal roofing over metal purlins:
1. Align screws perpendicular to the purlins to ensure maximum holding strength.
2. Place screws at the peaks of the corrugation where the metal is closest to the purlin.
3. Repeat fastening at consistent intervals along the purlins, with common spacing being 12 to 24 inches apart.
4. Verify the purlin spacing to adjust the screw placement accordingly, as purlin spacing can influence the frequency of screw placement.
5. Utilize the recommended screw pattern provided by the roofing manufacturer, as this may vary depending on the specific panel profile and purlin material.
6. Consider using stitch screws for laps and trim attachments to the purlins, providing additional strength and stability.
Calculating the Number of Screws Needed
To determine the quantity of screws necessary for your corrugated metal roofing project, start by measuring the length and width of the roof area in feet. Multiply these dimensions to obtain the total square footage. Refer to the manufacturer’s recommendation for screw spacing to calculate the number of screws per square foot. Typically, for corrugated metal panels, approximately 80 screws are needed for each 100 square feet.
Next, consider unique areas such as hips, valleys, and ridges, which may require additional fasteners for proper installation. It’s also prudent to add a 5-10% surplus to account for potential waste or misplacement.
Once you have your square footage and the manufacturer’s recommended number of screws per square foot, multiply these to determine the total number of screws needed. Lastly, divide the total by the number of screws in a bag or box to ascertain the number of packages required for your roofing project. Remember, it’s better to have a few extra screws than to find yourself short at a critical point in the installation process.
Factors Affecting the Frequency of Screw Installation
Environmental conditions heavily influence how often screws should be installed. In areas prone to high wind speeds, screws may be required at shorter intervals to withstand uplift forces. Similarly, regions with heavy snowfall necessitate a robust installation pattern to manage the extra weight.
The roof’s slope also dictates screw placement. Steeper roofs may have different requirements compared to low-slope structures. The steeper the roof, the less likely water and snow are to sit on the surface, which can adjust the need for fastening pattern density.
Material expansion should also be considered. Metal expands and contracts with temperature changes. In climates with significant temperature variations, installers must allow for this movement to avoid material buckling or screw shearing.
Manufacturer recommendations are crucial as well. Each brand has tested their products and knows the best practices for installing their materials. Keeping within these guidelines not only ensures a secure roof but is often necessary to validate any warranty the product might carry.
Building codes can mandate specific fastening patterns. Compliance with these regulations is non-negotiable, as codes are designed to ensure the safety and performance of the roofing system.
Lastly, the substrate or decking material may affect the spacing required. Different materials can have varying levels of pull-out resistance, which in turn informs the securement strategy and frequency of screws.
Professional Metal Roof Installation Recommendations
When installing metal roofing, professionals recommend adhering strictly to the manufacturer’s guidelines; these specifications are crafted to ensure maximum longevity and efficacy. It is essential that installers use the correct tools, such as a screw gun with a depth-sensitive nosepiece, to prevent over-driving which can damage the washer, compromising weather tightness.
Consistency in screw placement is critical—not only for weather resistance but also for aesthetic uniformity. Experienced roofers typically follow a precise layout, measured and marked beforehand, to maintain an even pattern throughout the installation.
It’s also vital to consider the environment in which the building is located. Regions that experience severe weather—like high winds and heavy snow—may require closer screw spacing to withstand these forces.
Lastly, while it might be tempting to cut corners, it is important not to skimp on the number of screws. This could lead to increased wear and tear, or even cause the roof to fail under stress. Skilled professionals conduct thorough inspections post-installation to ensure every component of the screw pattern meets the necessary standards for a secure and durable roof.
FAQ
What is the spacing for screws in corrugated metal roofing?
The spacing for screws in corrugated metal roofing is every 12” to 18” on center for lap screws and every third corrugation, including both sides of the panel sidelap, for panel screws.
Should metal roof screws go in flat or ridge?
Metal roof screws should be installed in the flat of the panel, not in the top of the rib, to ensure a good seal.
Do metal roofing screws go on ribs or flat Australia?
In Australia, metal roofing screws should be fixed perpendicular to the sheeting or cladding, situated in the middle of the rib, and always at the top of the crest to ensure maximum water tightness.
How does the pattern of screws impact the durability of corrugated metal roofing?
The pattern of screws in corrugated metal roofing significantly impacts its durability, as evenly spaced screws ensure better fastening, reducing the likelihood of roof damage during extreme weather conditions.
Are there specific types of screws recommended for corrugated metal roofing?
Yes, self-tapping screws with neoprene washers are generally recommended for corrugated metal roofing.
Can incorrect screw placement lead to leaks in corrugated metal roofing?
Yes, incorrect screw placement can indeed lead to leaks in corrugated metal roofing.


