Last updated on
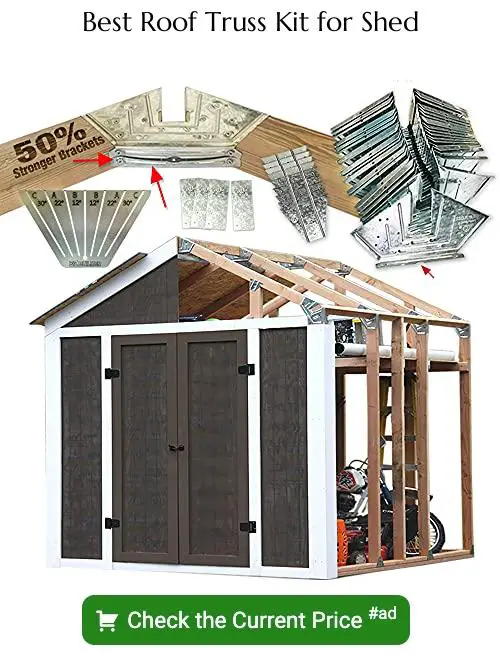
Learn how to build a simple roof truss for your shed to ensure your structure stands strong and looks great.
Key takeaways:
- Choose durable wood and quality materials
- Essential tools: circular saw, measuring tape, power drill
- Measure and cut components with precision
- Assemble truss carefully, ensuring consistency
- Use proper fastening techniques for stability
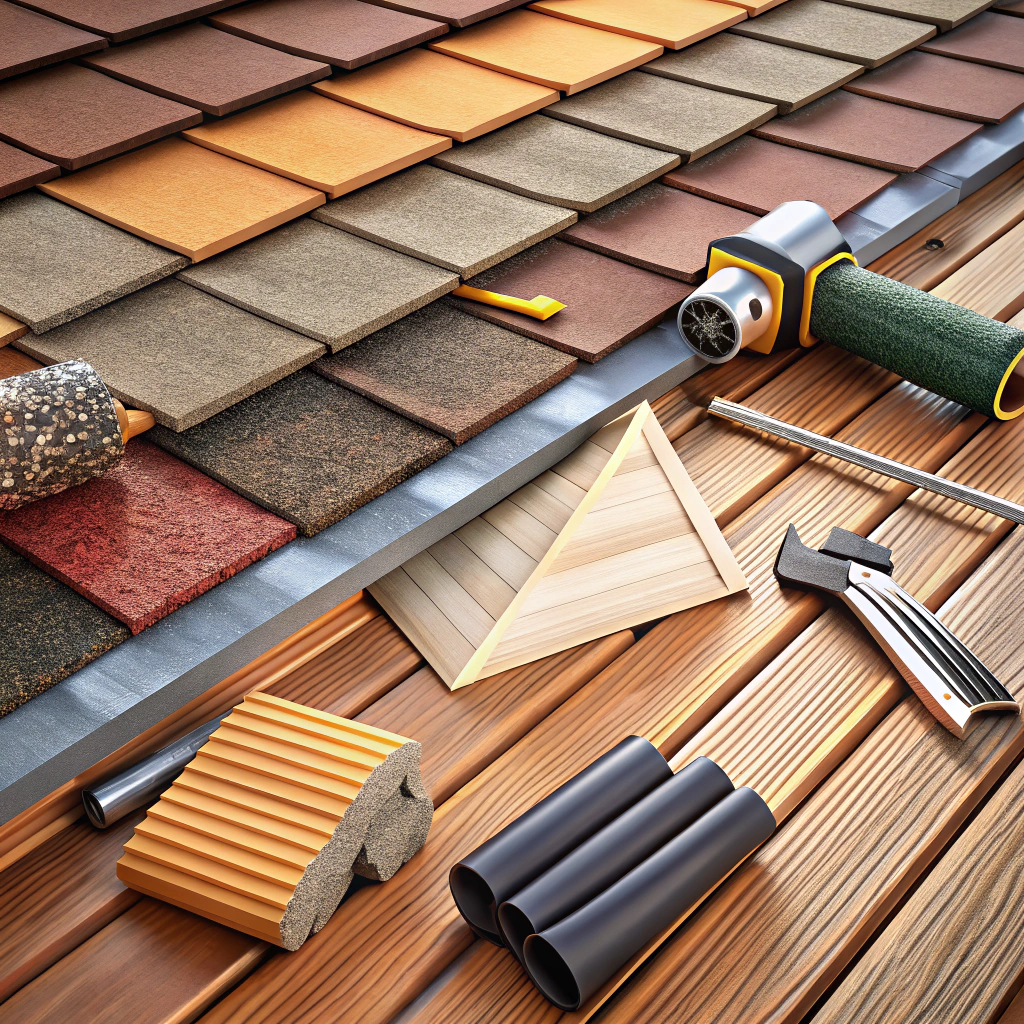
Choosing the Right Materials
For optimal shed roof truss success, dive into material selection like you’re finding treasure in a hardware store.
First, pick wood that’s not just good-looking, but also durable. Go for treated lumber or high-quality pine. It’s the difference between a shed that stands tall or one that keels over at the sight of the first storm.
Consider the grade of wood. Look for fewer knots and a uniform grain. It’s a bit like choosing avocados—smooth is better.
Metal connectors are the unsung heroes here. Opt for galvanized steel to avoid the nightmare of rust. Also, don’t skimp on the nails and screws. Buy them in bulk. Because nothing says disappointment like running out mid-project.
Plywood gussets in all shapes and sizes (triangle being the MVP) are your best friends. Go for half-inch thickness. Anything thinner is flirtin’ with disaster.
Lastly, double-check the consistency of all materials. Warped wood might add character to an old barn, but not to your backyard shed.
Tools Required
You don’t need a toolbox the size of a small car to build a simple roof truss for your shed, but a few essentials are non-negotiable.
First up, you’ll need a circular saw for cutting your wood to the precise lengths and angles. A miter saw works even better if you’ve got one; it’s like the circular saw’s more accurate cousin.
Grab a measuring tape—accuracy is everything here. Cutting corners (not literally) leads to wonky trusses.
Use a pencil to mark your cuts. It sounds basic, but you’d be surprised how often that’s forgotten. No one likes mystery marks on wood.
A carpenter’s square is handy. It’s a simple tool that’ll keep your angles in check.
A power drill is your friend for joining pieces together. A hammer and nails are too, but let’s face it, power tools make life easier.
Safety goggles and ear protection may not sound exciting, but keeping your senses intact is always a good idea. Safety first, even when DIY-ing.
When you get these tools in hand, you’re not just prepared; you’re basically a truss-building superhero.
Cutting the Truss Components
First up, measure twice, cut once. Seriously, avoid the temptation to skip this step. Precision is your best friend here. Grab your trusty measuring tape and mark your lumber with a pencil.
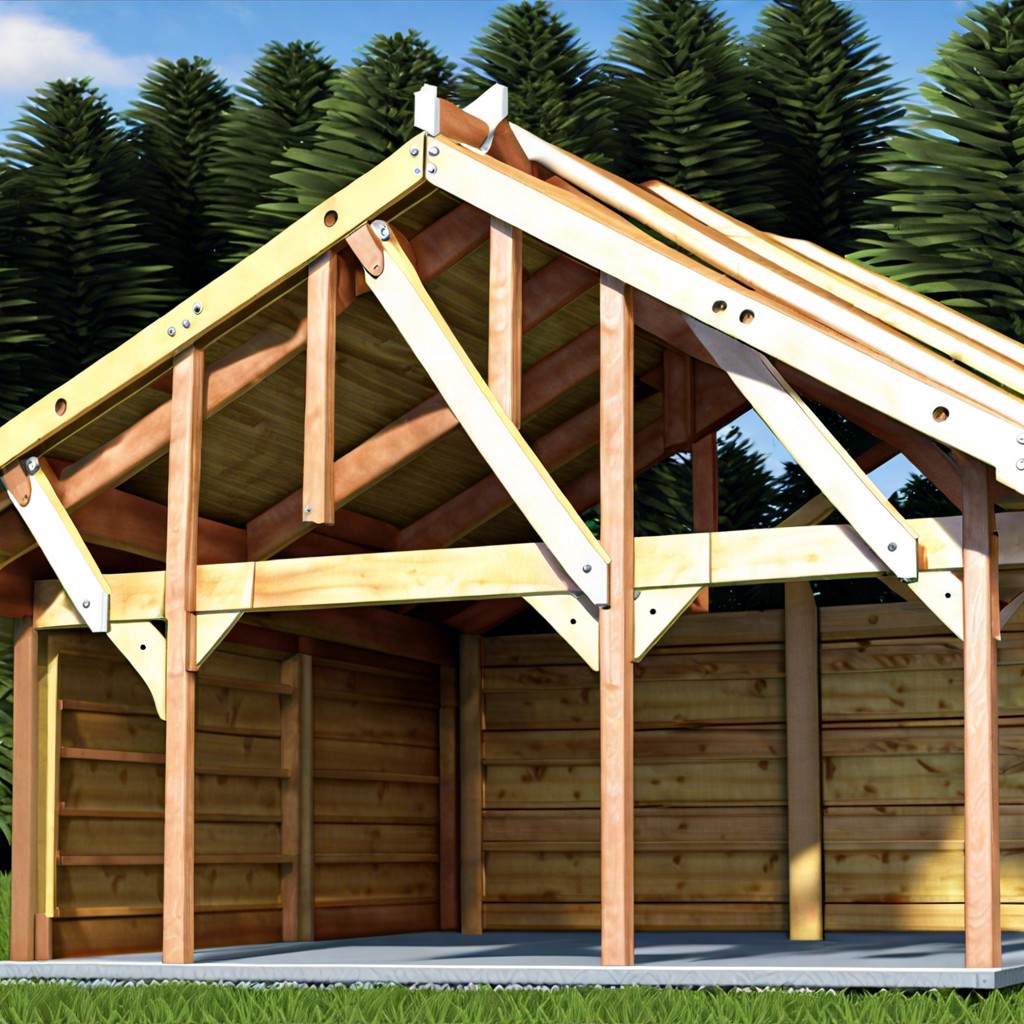
Next, ensure you’ve got the angles sorted. A miter saw will be your go-to tool for making those clean, angled cuts. Remember, each truss will usually consist of two rafters connected at the top with a bottom chord and a few vertical and diagonal pieces in between for extra support.
Cut your rafters to the appropriate length with the right angles. Use a framing square to make sure everything is aligned correctly. If math makes your head spin, find a simple online truss calculator. Just plug in the numbers and let technology do the brain work.
Finally, sand down any rough edges to avoid splinters—both for you and your shed. Nobody likes a splintery shed. Keep your work area tidy, wood chips can be sneakier than a Lego on the floor.
Assembling the Truss
Now that you’ve got your parts cut, it’s time to put them together. Think of this as building a big, wooden jigsaw puzzle but with fewer pieces and more splinters.
First, lay out the pieces on a flat surface, matching up the angles and lengths. Make sure everything lines up perfectly or you’ll have a wonky roof, and nobody wants a roof that looks like it just got out of bed.
Next, secure the joints using metal plates or gussets. Hammer them in carefully, making sure not to go full Hulk and split your wood. You want your truss to be sturdy, not an abstract art project.
Finally, ensure each truss is identical. Consistency is key here. Measuring one against the other can be a fun game of spot the difference. Spoiler: there should be no differences.
Voila! You’ve got your truss assembled. Easy peasy, right? Well, at least it’s easier than assembling flat-pack furniture.
Proper Fastening Techniques
Using the right techniques ensures your truss won’t topple like a badly-stacked Jenga tower. Here’s how to keep everything snug and secure.
First, pilot holes are your best friends. Drilling pilot holes before inserting screws or nails prevents wood from splitting. A split truss is about as useful as a screen door on a submarine.
Next, always opt for galvanized hardware. Galvanized screws and nails resist rust, which is crucial unless you’re aiming for that rustic, ‘falling-apart’ aesthetic.
Use metal gusset plates at joints for extra stability. These plates distribute stress more evenly and make for a stronger, more reliable truss. Think of them as the superheroes of truss construction.
Lastly, don’t skimp on the fasteners. More isn’t always merrier, but evenly spaced fasteners make a world of difference. Follow guidelines for optimal placement.
Remember, in truss construction, precision counts. No one wants a wobbly shed!