Last updated on
This guide shows you exactly how to build a sturdy roof for your shelter in “Sons of the Forest” so you can stay dry and safe.
So, you’re ready to build a roof in Sons of the Forest but feel as lost as a squirrel in a hardware store? Fear not! This guide covers every detail: from choosing materials and planning shapes to gathering tools and waterproofing. Master the art of virtual survival roofing, and your shelter will be the envy of every stranded forest dweller. Grab your digital hammer; it’s roof-building time!
Key takeaways:
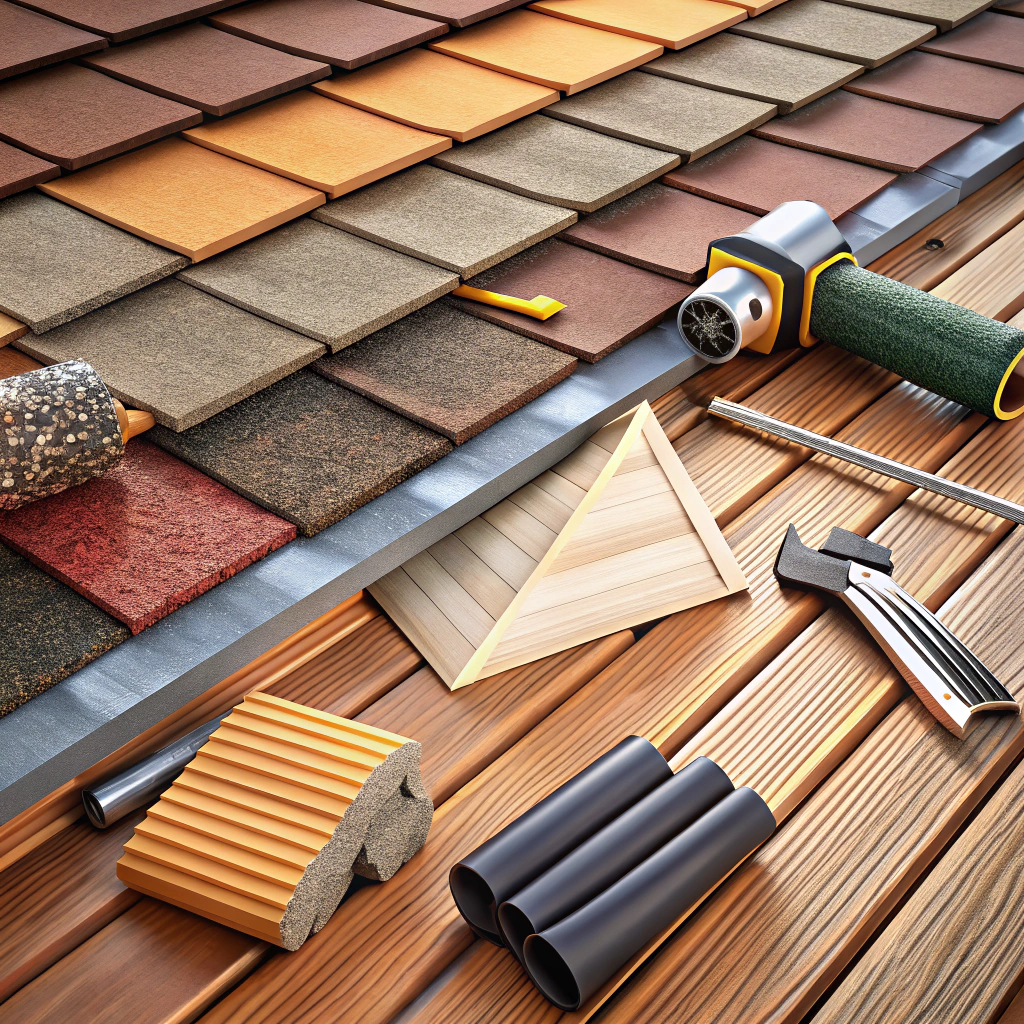
- Choose durable materials: Hardwood, metal, cedar shakes.
- Plan roof shape based on function and aesthetics.
- Gather essential tools: hammer, saw, ladder, toolbox.
- Prepare site: Level ground, assess drainage, clear area.
- Maintain regularly: Inspect, clean gutters, watch for pests.
Choosing Suitable Materials

When picking materials, you’re basically matchmaking for your roof. The goal? A long, happy relationship. Think about durability first. Hardwood can handle those groaning winds and weighty snowfalls. Softwood might not make it past the first winter wedding crashers.
Lightweight materials? A no-brainer. The less strain on your merry little structure, the better. Cedar shakes? Sure, they’re stylish and keep the party going with natural rot resistance. Metal roofing? It’s the marathoner of materials – long-lasting and easy to maintain.
Think about what nature throws your way. Heavy rain? Opt for something that channels water away like a seasoned umbrella. High temps? Materials that resist warping under heat are your best pals.
And hey, avoid materials that give in to termites. Treat those bugs like uninvited guests – hard pass.
As for aesthetics, pick a look that says, “Yes, I live in the forest, but I have standards.” Rustic charm doesn’t mean scrappy. Go for harmony with the surroundings while keeping durability in mind.
Planning the Roof Shape
Start by visualizing the shape that best fits the structure’s needs. Gable roofs are great for shedding water and snow quickly, while hip roofs offer stability in high winds. If you want some headspace and natural light, consider a gambrel or mansard roof with dormer windows.
Think about the climate. Steeper angles work well in snowy regions to prevent accumulation, whereas flatter roofs might suit warmer, drier areas.
Lastly, remember that aesthetics matter! The roof shape should complement the overall architectural style. Go for a modern look with a flat roof or stick with classic elegance using a cross-gable design.
A little planning goes a long way toward creating a roof that’s both functional and fabulous.
Gathering Necessary Tools
Gathering the right arsenal for your task is crucial. You wouldn’t head into battle with a spoon, right? Same concept here. Equip yourself with some essentials:
First, get a sturdy hammer, and don’t skimp on quality. Your thumbs will thank you.
A reliable saw follows next. Whether manual or power, make sure it’s sharp. Nothing worse than a saw that decides it prefers smashing wood over cutting it.
Don’t forget measuring tools. A tape measure and a square help ensure your future roof isn’t an architectural Picasso.
A ladder, though not glamorous, is indispensable. It’s your trusty steed into the elevated realms of roof construction.
Lastly, a toolbox to carry your growing collection. Keeps everything organized, and that means more time building and less time on a treasure hunt for your screwdriver.
Simple, right? Gather these, and you’re already halfway to mastering the “Sons of the Forest” roof project.
Preparing the Building Site
Before you start hammering away, make sure your building site is prepped and perfect. A well-prepared site is the secret behind a solid roof.
Clear the area first. Remove any debris, fallen branches, or wandering woodland creatures. You don’t need a raccoon playing peek-a-boo from your rafters.
Level the ground. Uneven terrain leads to unstable structures. Grab a reliable level tool and some sturdy stakes to mark out your territory.
Assess drainage. Standing water is nobody’s friend. Ensure water will flow away from your foundation. Think like a raindrop and imagine where it might go.
Have a storage plan for your materials. Falling timber and scattered tools make for chaotic construction. Keep everything organized to avoid a DIY disaster.
Double-check local building codes. Not the fun part, but essential. The forest may be sprawling and free, but regulations still apply.
Laying the Foundation
Start by clearing the ground of any debris or vegetation. A clean slate is a happy slate. You’ll want a smooth, level surface before you proceed. A solid foundation will ensure stability, so don’t skimp on this step.
Gravel can be a great base material. Pour it generously and spread it evenly. Imagine you’re making a pizza, but instead of delicious toppings, you’re going for a sturdy bed.
Once the gravel is in place, compact it down. Stomping works, but if you have a tamper, even better. Feel free to channel your inner dance moves here; it all helps.
Lay down a moisture barrier next. This keeps things dry and rot-free. Think of it as the raincoat for your roof’s feet. Polyethylene sheets work wonders for this.
Now, you’re ready to install the footings. Place them strategically to support the weight of the structure. If you’re unsure of the placement, remember the golden rule: measure twice, cut once, and consult your local building code.
Constructing the Frame
Begin by measuring and cutting your lumber to fit your roof design. Accuracy here is essential – nobody wants a lopsided roof unless you’re going for avant-garde architecture.
Assembling your frame is like building with giant LEGO. Connect the rafters to the ridge beam at the appropriate angles. Use sturdy nails or screws to ensure everything stays in place, especially during a windy day when the trees are having a party.
Make sure the spacing between rafters is even. This not only provides uniformity but also ensures the weight of the roof is evenly distributed. Uneven spacing can lead to weak spots, and no one wants their roof to sag like an overfilled hammock.
Double-check all joints and connections for stability. If something feels wobbly, reinforce it. Better to be safe than to have an unexpected sunroof.
There you have it, the basics to frame construction. Grab your tools and start building!
Installing Support Beams
Support beams are the backbone of your roof. Think of them like the superheroes in a comic book—without them, everything crumbles. Here’s how to get them in place:
First, measure twice and cut once. Accuracy is your best friend here. Mismeasured beams can lead to a structure that’s more wobbly than a Jenga tower at a toddler’s playdate.
Secondly, spacing is crucial. Evenly spaced beams distribute weight evenly, ensuring your roof doesn’t warp or sag. Aim for consistent intervals, typically 16 to 24 inches, depending on your design.
Now, secure those beams. Use sturdy nails or screws to attach the beams to the frame. Pre-drilling holes can prevent splitting the wood, and nobody wants a split personality in their roofing structure.
Finally, ensure everything is level. A lopsided roof is only cute in fairy tales. Use a level tool to check and adjust as necessary.
And there you have it, solid support beams ready to bear the weight of your future roof.
Applying Roofing Material
You’ve got your roof frame up, and it’s looking as sturdy as a bear’s den. Now it’s time to cover it. The choice of material can make or break your roof, literally. Think about the climate. If it’s wet, you’ll need something waterproof, like shingles or metal sheets.
Start from the bottom edge and work your way up. This way, each layer overlaps the one below it, keeping the water out. Ever tried paddling a boat with holes? Not fun. Same goes for roofs. No gaps allowed.
Another top tip: secure each piece firmly. Roofing materials flapping in the wind are more useless than a screen door on a submarine. Use nails or screws, depending on the material.
Remember to wear gloves. No one ever won an award for bloody hands. Plus, handling rough materials can feel like grappling with a porcupine.
Take your time. Rushed jobs lead to leaks, and that’s about as pleasant as a porcupine in a balloon factory.
Waterproofing Techniques
Waterproofing is essential to keep your roof from becoming a soggy strainer. Nobody wants an unplanned indoor pool, right? Here are some straightforward techniques to keep the wet stuff out:
- Sealant Application: Slather on a high-quality sealant like it’s sunscreen for your roof. Focus on seams and joints. These are the sneaky spots where water loves to invade.
- Underlayment Magic: Lay down waterproof underlayment before adding shingles or tiles. It’s like adding an extra layer of armor. Think of it as the medieval chainmail of roofing. Water doesn’t stand a chance.
- Flashing Fun: Install metal flashing around vents, chimneys, and valleys. Flashing directs water away from vulnerable areas, sort of like a bouncer keeping out the riffraff.
- Proper Slope: Ensure your roof has the right pitch. A flatter roof? More opportunity to turn into a marshland. A steeper angle helps water run off swiftly, like it’s late for a very important date.
Following these tips will defend your fortress from unwanted water intrusions. Blessed be the dry!
Regular Maintenance and Inspection
Regularly checking your roof keeps it in tip-top shape. Examine it every few months and after big weather events. Look for missing shingles, cracks, or any signs of wear and tear. Be Sherlock Holmes, minus the hat and pipe.
Clogged gutters are bad news. Clear out leaves and debris to prevent water backup. Got a stepladder? Great. Just don’t fall off.
Keep your eyes peeled for mold and mildew. These can weaken the structure and turn your lovely roof into a science experiment. Use a mild cleaning solution if you spot any.
Check for pests. Birds, rodents, and insects can wreak havoc. Think of your roof as a no-pest zone and take action if you find any uninvited guests.
Lastly, don’t hesitate to call in a professional for in-depth inspections. They have the fancy gadgets and expertise, kind of like superheroes but for roofs.