Last updated on
Learn how to effectively cover your roof with a tarp to protect it from further damage after a storm.
Key takeaways:
- Assess the extent of roof damage before tarping.
- Check the weather forecast for dry and calm conditions.
- Ensure safety by using proper gear and assessing ground stability.
- Position the tarp properly with an overlap and secure it with lumber.
- The lifespan of a roof tarp is around 90 days.
Assess the Roof Damage
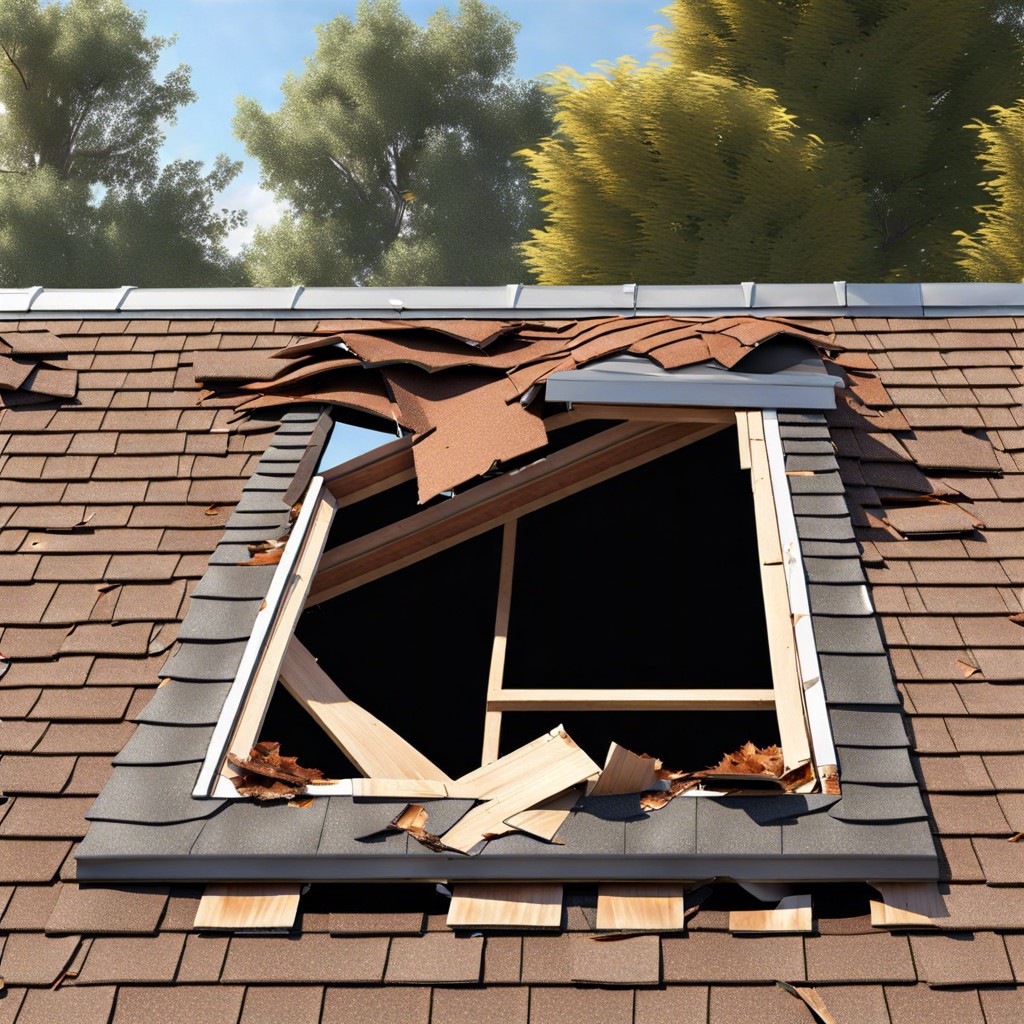
Before bringing out the tarp, take a moment to understand what you’re up against. Start by assessing the extent of damage from the ground. If it’s safe to use a ladder, get a closer look but avoid walking on the roof. Why? Well, damaged areas could be weaker than they appear.
Look for missing shingles, visible holes, or dents caused by hail or debris. Don’t forget to inspect the fascia and gutters as well. Jot down notes or take pictures – they’re golden for insurance claims and repair planning. Remember, spotting the subtleties of damage early can save you a headache, and a tarp up in time could spare you a bath indoors!
Check the Weather Forecast
Peeking at the skies and tapping into your weather app before hoisting the tarp can save you from a world of grief. Dry conditions are your best friend in this scenario, providing a safe platform without the slip-and-slide excitement. Moreover, winds can turn your tarp into a reluctant kite, so aim for a calm day or at least one where the breeze won’t challenge your patience.
Anticipating a bit of precipitation? Wait it out if you can. A soggy repair job is as fun as a barbecue in a downpour – nobody’s cheering for that. Plus, tackling the job under a clear sky means your tarp’s adhesion is at its peak, sticking to the task with grit that won’t quit.
Keep a keen eye on the long-term weather too; those sunny spells offer the golden ticket you need to carry out a patch job with the grace of a rooftop ballet, sidestepping the drippy drama of an unexpected deluge. Heaven knows, weaving around raindrops wasn’t in the job description.
Make Sure It’s Safe
Before stepping foot on a ladder, assess the stability of the ground below. Firm, level ground is crucial to prevent any ladder mishaps. Safety gear is non-negotiable; a sturdy helmet, gloves, and non-slip boots are your best buddies in this venture.
When it’s time to climb, use the buddy system. A second set of eyes and hands not only makes the job easier but safer too. Once on the roof, tread lightly and avoid brittle or damaged areas that might turn a simple job into a stunt from an action movie.
Remember, wet surfaces might as well be ice rinks for the unprepared. If the roof is slick, it’s time to call it quits. Water and heights don’t mix well, and there’s no shame in postponing for sunnier skies. Your well-being takes top billing–the tarp can wait.
Position Your Tarp and Secure It in Place
Lay the tarp flat over the affected area, ensuring it extends at least 3 feet over the peak of the roof. This overlap is crucial for preventing water from sneaking underneath. Start from the roof’s ridge and work your way down, allowing gravity to be your ally. Your tarp should resemble a well-fitted suit: snug and smooth, with no wrinkles or bulges where water could collect.
Use lumber to anchor the tarp’s edges. A common method is to wrap the tarp around a 2×4 and nailing another 2×4 on top of it, effectively sandwiching the tarp. This increases stability and minimizes flapping, which can damage the material during windy conditions.
Secure the lumber to the roof with nails or screws, driving them into the roof framing, not just the sheathing. This attachment point is stronger and less likely to let go when challenged by weather.
For gables, tuck the tarp under the shingles, if possible. This helps create a more seamless barrier and reinforces protection. Some homeowners use adhesive roof tar as an added sealant around the tarp edges, but this might not be necessary or advisable on all roofing materials.
Always tuck in the bottom edge of the tarp to direct water off the roof. Drape the tarp so water flows onto, not under, the next shingle down. Remember, a tarp on the roof is like a band-aid on a scrape; it covers the damage to keep it from getting worse, but it’s not a cure. A professional fix should follow promptly.
Duration a Roof Tarp Can Remain Effective
When draped over your shingles, a well-anchored tarp acts like a temporary shield from Mother Nature’s mood swings. Typically, the lifespan of a sturdy tarp on a roof hovers around 90 days. However, that’s just an estimate, and actual tarp longevity can swing one way or the other based on a few factors.
First, the quality of the tarp matters. A thicker, heavy-duty tarp can withstand wind and weather’s wear and tear better than its thinner, budget-friendly cousins. Think of it as the difference between a sturdy umbrella and a flimsy one that turns inside out at the first gust.
The installation method also plays a pivotal role. A tarp that’s been properly fastened down with enough weight or nailed in place can weather the storm longer than one that’s hastily thrown and anchored.
Lastly, the whims of the weather also have a say. If your tarp is facing down monsoon-like downpours or relentless UV rays day after day, you can expect its protective capabilities to depreciate faster.
Keeping a watchful eye on its condition and reinforcing or replacing when needed is your best bet in riding out the stormy times until a permanent fix is in place.


