Last updated on
Discover how to replace your asphalt roof with this step-by-step guide that simplifies the process for homeowners.
Key takeaways:
- Signs of asphalt roof replacement: granules in gutter, curling shingles, sagging roof, interior stains, sunlight in attic.
- Types of asphalt shingles: three-tab, architectural, luxury, impact-resistant, cool roof.
- Step-by-step guide: remove old shingles, ensure underlayment, align and nail new shingle, seal with roofing cement.
- Removing old shingle: use roofing fork, loosen and lift shingle, remove nails.
- Preparing for new shingle: check for damage, install underlayment, apply drip edge and flashing.
Signs Your Asphalt Roof Needs Replacement
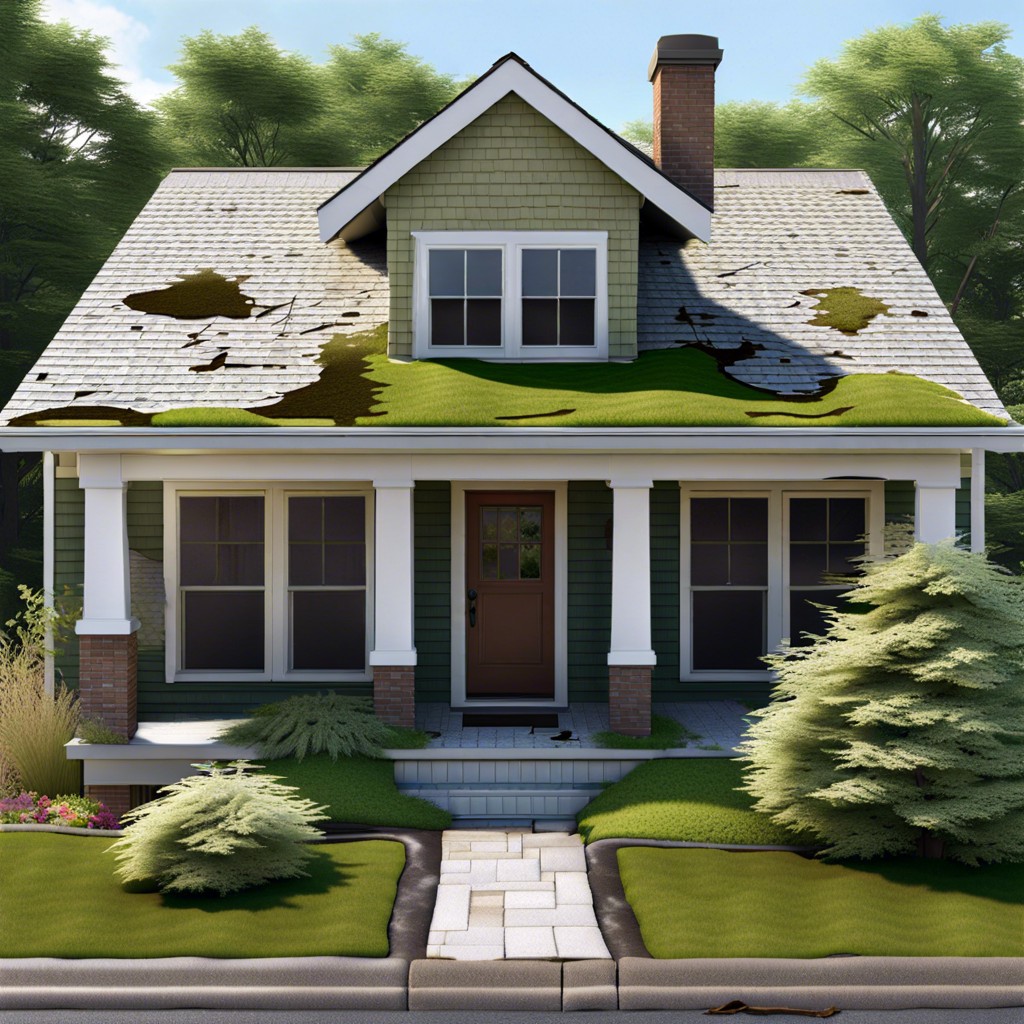
If you’ve discovered granules in the gutter, think of it as your roof shouting for attention; it’s a clear sign of wear. Curling or cracked shingles aren’t just an eyesore; they signal that your roof’s days are numbered. When shingles start to resemble a wave pool rather than a flat surface, it’s high time for action.
A sagging roof is like a hammock; comfortable for the beach but a red flag on your house. If stepping onto the roof feels like walking on a trampoline, it’s shouting for help due to weakened decking. Stains on interior walls or ceilings are telltale whispers of a roof betraying its protective duty. And if you can spot sunlight from your attic, remember, it’s great for vitamin D but bad news when coming through the roof.
Don’t wait for the sky to fall—these distress signals from your asphalt roof suggest that a replacement is not just necessary, but imminent.
Choosing the Right Material: Types of Asphalt Shingles
There’s more to selecting shingles than meets the eye. Think of it like choosing the right hat – it should look good but also protect against the weather. Three-tab shingles reign as the most cost-effective, sporting a traditional look with a flat appearance. They’re the go-to for budget-conscious homeowners but offer less resistance to wind and wear compared to others.
Architectural shingles, also known as laminated or dimensional, come with extra layers. They’re the tough guys, boasting a thicker, more dimensional look similar to wood shakes. These come with a higher price tag but pack a punch against the elements and add curb appeal with their varied look.
Luxury shingles are the cream of the crop, mimicking high-end materials like slate. They might require a deeper pocket, but the aesthetic they blast onto your roof is nothing short of show-stopping. Plus, they often carry a longer lifespan and better warranties.
Impact-resistant shingles are the unsung heroes for areas frequented by Mother Nature’s tantrums. Designed to take a beating from hail and debris, they can be a wise investment if your home often finds itself in the ring with severe weather.
Lastly, cool roof shingles reflect more sunlight, keeping your home a few degrees cooler. They might just be your pick if you’re fighting the good fight against sweltering summer heat and high AC bills.
In the quest for the perfect covering, weigh aesthetics against functionality, and consider local climate and your budget. Each type has its heroics and its kryptonite. Choose wisely, for your roof is the guardian of your home.
Step-by-Step Guide to Replacing Asphalt Shingles
Embarking on a DIY shingle replacement can be like piecing together a puzzle on your rooftop. Here’s how you can swap out the old for the new without a hitch.
First off, out with the old—you’ll need to gently yet firmly remove the damaged shingles. Slide a pry bar under the shingle you’re bidding farewell to, and carefully uproot any nails anchoring it down. It’s a bit like a tooth extraction; you’ll want to be firm but careful not to disturb the neighboring ‘teeth’, or shingles, in this case.
With the old shingle out, it’s time to set the stage for your new piece. Ensure the underlayment is intact; this acts as the protective barrier for your home, quite similar to the foundation of a house. If there’s any damage, patch it up before proceeding.
Now, align your new shingle with the existing ones. It’s akin to finding the perfect fit in a line of dominos. Make sure the edges match with precision – no room for a jigsaw puzzle approach here. Once you’ve found the spot, nail it down at the designated points, typically four nails per standard shingle. Think of it as anchoring your ship to withstand the high seas!
Lastly, seal the deal. Apply a dab of roofing cement under the edges to bond the shingle securely to its place. It’s a bit like finalizing a handshake on a successful deal – cementing the relationship, so to speak.
And there you have it – a step on the ladder in ensuring your roof remains a steadfast shield over your head. Take pride in every shingle you fasten; after all, your home is your castle.
Remove the Old Shingle
First things first: protect yourself and your property. Wear gloves and safety glasses, and position a dumpster or tarp to catch debris.
Now, slide a roofing fork or shingle remover underneath the shingle you’re targeting. Aim for the nails holding it in place. Gently wiggle the tool to lift the shingle – think of it like loosening a stubborn lid on a jar. Once loose, lift the shingle and remove the nails completely.
If you’re dealing with a stubborn shingle, show it who’s boss. Use the same tool to break the sealant bond by running it under the edges of adjacent shingles. It’s a bit like cutting the edges of a brownie to get that perfect piece – careful and precise.
Repeat these steps, working your way across the roof, one shingle at a time. Think of it as an untying process, unweaving the fabric of your roof’s top layer to prepare for a fresh one. Remember, haste makes waste. Rushing may damage the roofing foundation, so take your time to do it right.
Prepare the Area for the New Shingle
Before slotting in a snazzy new shingle, roll up your sleeves—it’s prep time. Think of it as priming a canvas before unleashing your inner Picasso. First, eyeball the naked roof deck for damage—if it looks sadder than a wet weekend, it’s repair o’clock. A sturdy, flat surface is crucial, or those new shingles will throw a fit.
Next on the checklist is underlayment. This unsung hero sits quietly beneath shingles, a shield against moisture’s sneaky ways. Roll it out flat and smooth, no wrinkles or bunching; think of tucking in a bed sheet that won’t drive you up the wall at 2 am.
Now for the drip edge—this metal strip isn’t just to make your roof look sharp. It guides water into the gutters like a polite butler, preventing a free-for-all downpour on your lovely façade. Nail it firmly along the eaves, because floppy metal edges are as useful as a chocolate teapot.
And don’t skimp on the flashing—the roof’s knight in shining armor. Tuck it into the valleys and around protrusions like a pro. This ensures those pesky water trickles don’t turn into an indoor waterfall.
In essence, show these steps the respect they deserve—it’s the bedrock of your roof’s future. A pinch of effort here wards off a pound of headaches later.
Read More
 Standing Seam Metal Roof Installation: Your Guide to a Durable and Stylish Finish
 Pitched Roof Perks: How It Tops Flat Alternatives
 Asphalt Roof: Your Guide to Longevity and Savings
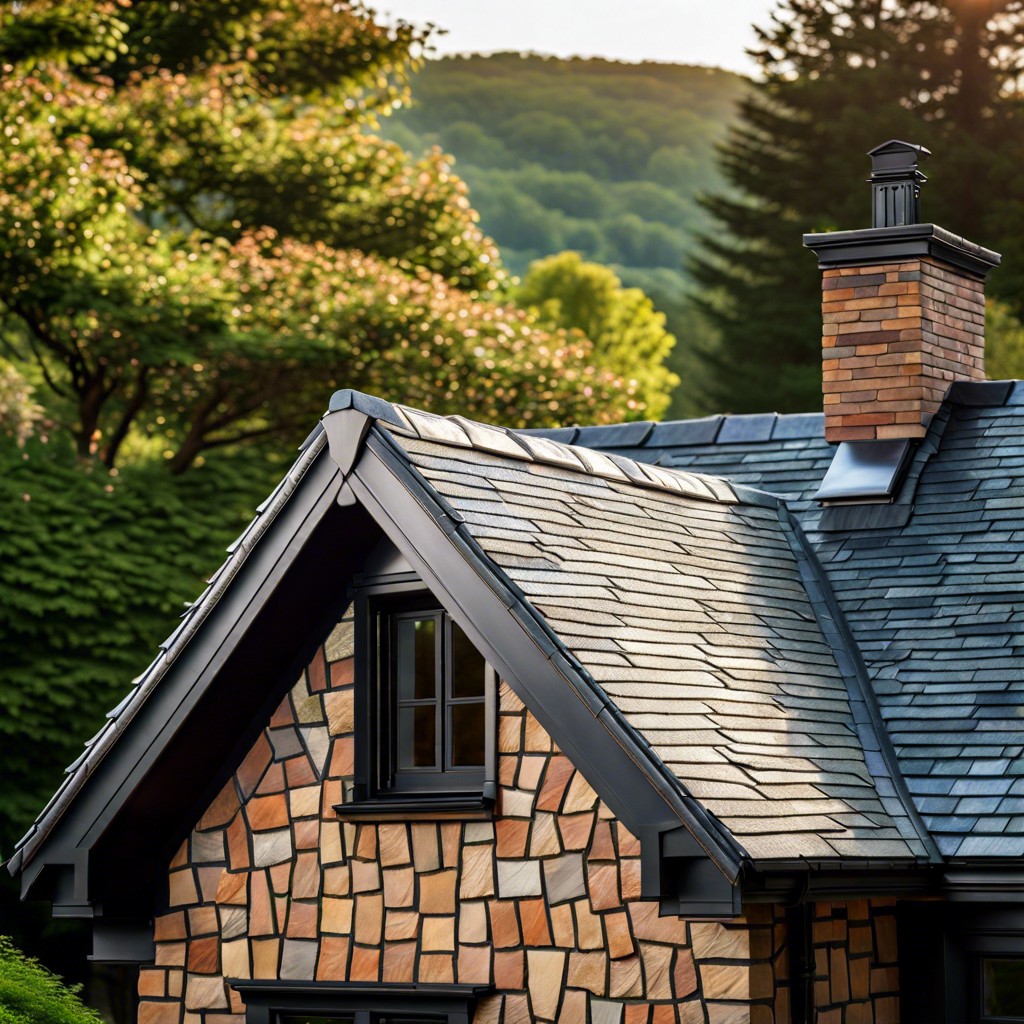 Slate Roof Cost: What to Expect and Why It’s Worth the Investment
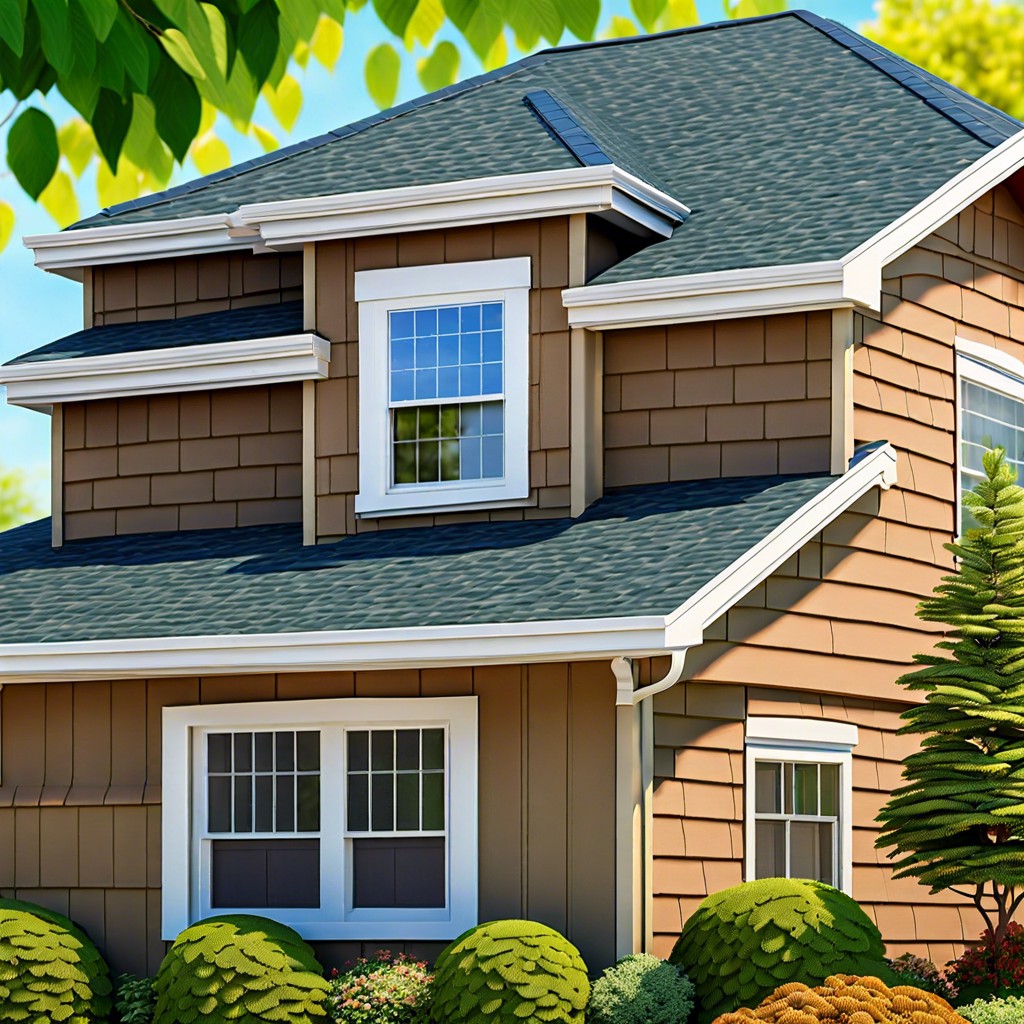 Shingle Roof Cost: Your Wallet’s Best Friend or Foe?