Last updated on
Learn how to build your own DIY pergola with a roof to enhance your outdoor space with a touch of charm and shade.
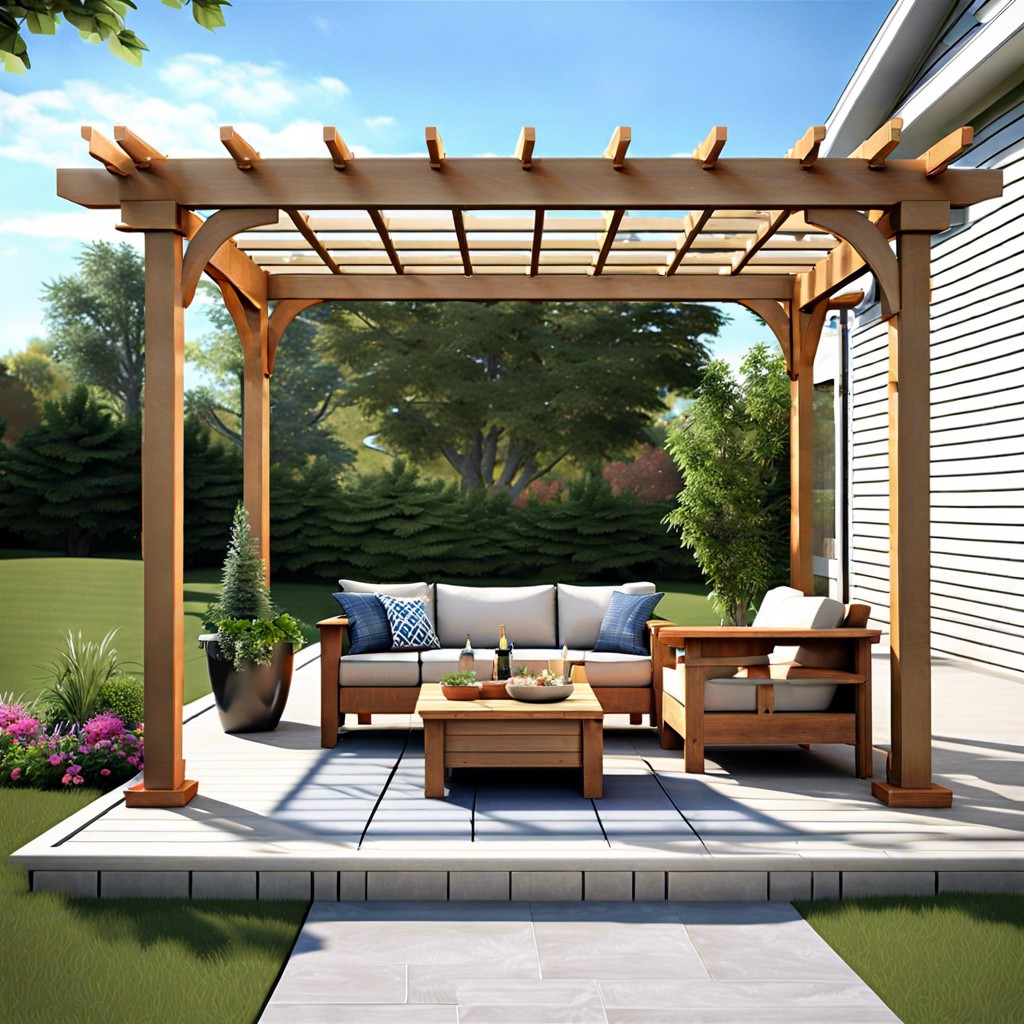
Dreaming of a stylish DIY pergola with a roof to enhance your outdoor space? This guide has got you, friend! We’ll walk you through everything from choosing materials to adding the perfect finishing touches. Buckle up, because by the end, you’ll be a pergola pro, ready to bask in your shaded masterpiece!
Key takeaways:
- Choose materials wisely: wood, metal, or composite.
- Gather tools: saws, drills, safety gear, adhesives.
- Measure accurately: prepare the pergola area carefully.
- Set sturdy support posts: dig, level, pour concrete.
- Construct solid frame: secure, stabilize, align beams and rafters.
Choosing the Right Materials
Wood is a classic choice for pergolas, offering a natural look and feel. Cedar and redwood are popular for their durability and resistance to decay. Treated pine is a budget-friendly alternative, but may require more maintenance.
Metal, such as aluminum or steel, provides a modern, sleek aesthetic. It’s durable and often requires less upkeep than wood. Keep an eye on rust, especially in humid climates.
Composite materials blend the best of both worlds. They mimic the look of wood but are more resistant to the elements. They can be a bit pricey, but the low maintenance often makes up for it.
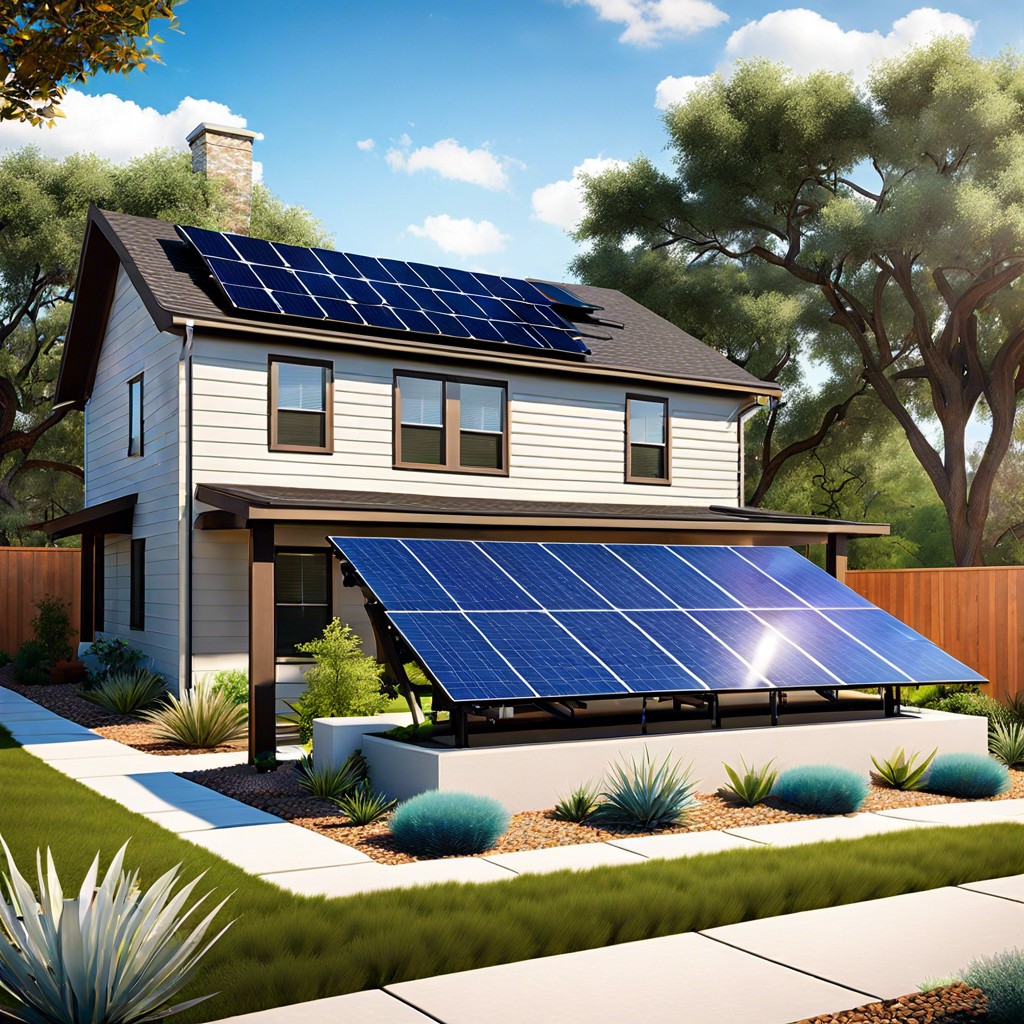
For the roof, consider polycarbonate panels. They’re lightweight, UV-resistant, and come in various levels of transparency. Corrugated metal sheets are another sturdy option, perfect for a rustic charm.
When selecting hardware, opt for stainless steel or galvanized screws and bolts. They resist corroding and keep your pergola standing strong through the seasons.
Gathering Tools and Supplies
Get ready for some tool time! First off, you’ll need the basics: a measuring tape, a level, and a carpenter’s pencil. These will be your trusty sidekicks for accuracy and precision.
For cutting, grab a circular saw or miter saw. Make those cuts clean and swift – no one wants jagged edges, unless you’re going for that rustic, “Oops, I meant to do that” look.
Next, power drill? Check. Screwdriver? Check. A set of wood screws and nails? Double-check, because losing one piece at the last minute is a one-way ride to Frustration Station.
Don’t forget safety gear. Safety glasses and gloves will keep your DIY hero status intact without any unscripted trips to the ER.
Lastly, some heavy-duty wood adhesive and a paintbrush for applying sealant. These ensure your pergola stays put and looks snazzy.
And just like that, your toolbox is ready for action! Happy building!
Measuring and Marking the Pergola Area
First, grab that tape measure like you’re on a mission to Mars. Width and length are your best friends here. Measure twice, cut once—they say that for a reason, folks.
Mark the corners with wooden stakes, and run a string line between them. Think of it like connecting the dots, but way cooler.
Check diagonals to ensure everything’s square. Nothing says “oops” more than a crooked pergola.
Consider the sun’s path—no one enjoys a sunburn under their shaded retreat.
Got utilities underground? Call 811 first. Trust me, digging into cables is a shocking experience.
Finally, don’t forget to leave space for a comfy chair and maybe that fancy BBQ grill. Priorities, right?
Setting Up Support Posts
Start by digging holes for the support posts. Aim for a depth of about one-third the length of the post. Think of it as giving your pergola some nice, sturdy legs. A post that goes deep doesn’t trip easily – and we don’t want awkward tumbles.
Place a bit of gravel at the bottom of each hole to improve drainage. It’s like giving your posts a comfy and dry bed to settle in. Once your posts are in place, use a level to make sure they’re standing straight. Crooked posts only work in the Wizard of Oz, not in your backyard.
Pour in concrete to set the posts. Let it cure for at least 24 hours. Trust me, patience at this stage saves headaches later. Your pergola deserves no wobbly dance moves. Keep checking the alignment before the concrete fully sets. There’s no harm in being a perfectionist here.
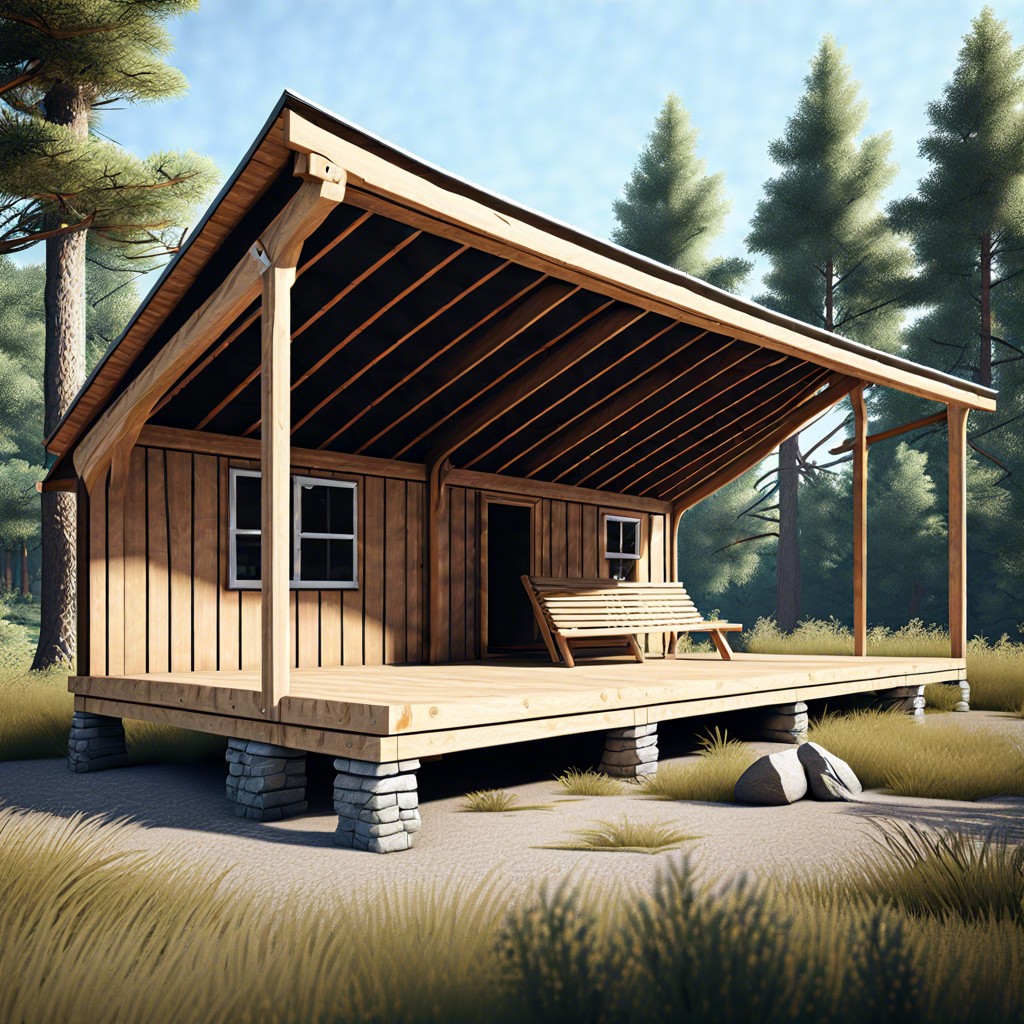
Constructing the Frame
Start by measuring and cutting the horizontal beams that will connect your support posts. Precision is key here—measure twice, cut once. You’ll thank yourself later when everything fits together like a giant, satisfying jigsaw puzzle.
Secure these horizontal beams to your posts using heavy-duty screws or bolts. No one wants a wobbly pergola reminiscent of a wacky inflatable tube man at a car dealership. Use a level to ensure everything is straight. Trust, eyeballing isn’t enough unless you’re some sort of pergola prodigy.
You’ll need to add diagonal braces to stabilize the frame. Imagine your pergola is a squirrel with a penchant for parkour—you don’t want it toppling over during its enthusiastic leaps. A stable pergola is a happy pergola.
Don’t skimp on the connectors. Strong metal brackets can save you a world of trouble—and perhaps a world of splinters. Opt for galvanized versions; they’re the unsung heroes that fend off rust and future disappointment.
With your frame in place, give it a little shake. It should feel solid, like it could withstand a lively garden party or two. If it’s good, you’ve just laid the groundwork for shaded bliss.
Adding Crossbeams and Rafters
Place the crossbeams first. They provide the main support. Think of them as the backbone of your pergola’s roof. Space them evenly; nobody likes a lopsided pergola.
Next, secure your rafters on top of the crossbeams. They run perpendicular, creating that lovely grid we all adore. Use sturdy screws or brackets to ensure everything stays put during the next windstorm.
If you want a bit of extra shade, opt for more rafters. More rafters, more shade – simple math. Just don’t sacrifice stability; your pergola isn’t a Leaning Tower tribute.
Align the rafters meticulously. Imagine them as rows of perfectly combed hair. A crooked rafter doesn’t just look off, it can also weaken your structure. And hey, you don’t want your friends laughing at your DIY skills during the next BBQ, do you?
Finally, give everything a good once-over. Ensure that everything is level and secure. Better to catch that loose screw now than when your pergola is already hosting the neighborhood’s famed garden party.
Installing Roof Panels
Once your rafters are in place, it’s time to crown your pergola with roof panels. First, carefully measure the space between rafters to ensure your panels fit snugly. Precision is your best friend here.
Next, align the first panel at one end of the pergola, securing it with screws or nails. Working your way across, overlap each subsequent panel slightly to ensure a watertight seal. This overlapping also adds a bit of visual flair—call it the shingle effect, but for pergolas! Make sure each panel is level before fastening it down.
Don’t forget to secure the edges. Tucking in those edges with trim will protect against wind uplift and add a clean finish. Finally, use some high-quality, weatherproof sealant along the seams. You don’t want leaks developing during a romantic evening under your new pergola, unless you’re into impromptu showers.
Happy roofing!
Sealing Joints and Edges
Applying sealant to the joints and edges of your pergola roof ensures it remains watertight and durable. Water seeping through can lead to mold and structural damage, so let’s get sealing!
First, choose a high-quality outdoor sealant suited for your roof material. Silicone-based sealants are a popular choice due to their flexibility and durability.
- Clean surfaces thoroughly. Dirt and debris can prevent the sealant from adhering properly.
- Apply the sealant generously but neatly along the joints where roof panels meet.
- Use a putty knife to smooth out the sealant, ensuring it fills all gaps. It’s like icing a cake—precision counts!
- Allow the sealant to dry completely according to the manufacturer’s instructions. This isn’t the time for impatient finger-tapping; good things come to those who wait.
- Check for any missed spots. Reapply if necessary. Extra sealant today saves headaches tomorrow.
Sealing is a simple but essential step to protect your pergola from the elements.
Adding Finishing Touches
Time to add the pizzazz! Think about stain or paint. Pick a color that complements your backyard vibe. Neutrals blend in, while bold colors make a statement.
Consider decorative elements. Hanging planters are perfect for adding a green touch. Fairy lights can create a magical evening ambiance.
Don’t forget seating. Benches, swing chairs, or even a cozy outdoor rug can tie it all together.
Lastly, check for any rough edges or splinters. Sand them down. This ensures everyone leaves with memories, not splinters. Voila! You’ve got yourself a snazzy, polished pergola. Enjoy!
Maintenance Tips
Keep your pergola looking spiffy with regular check-ups. Start by inspecting for any loose screws or nails. Tighten them up like they owe you money. Ensure the roof panels are clear of debris – no one wants a surprise jungle growing overhead!
Clean the pergola structure with a mild soap solution every few months. Avoid harsh chemicals unless you’re into that grunge look. While you’re at it, check for signs of rot or insect damage if you have a wooden frame. Just like the dentist says, early detection is key.
Lastly, give a little love to the finish. If it’s painted, consider a touch-up every year. For stained wood, a new coat every couple of years helps keep it fresh. Your pergola will thank you.