Last updated on
Learn how to accurately calculate the pitch of your roof using simple techniques and tools.
Key takeaways:
- Measuring from the roof or attic can determine roof pitch.
- Use a level and tape measure to find the rise and run.
- Roof pitch is expressed as inches of rise per 12 inches of run.
- Different roof pitches have different functionalities and costs.
- Understanding roof pitch aids in decision-making for roofing projects.
Method One: Measure From the Roof

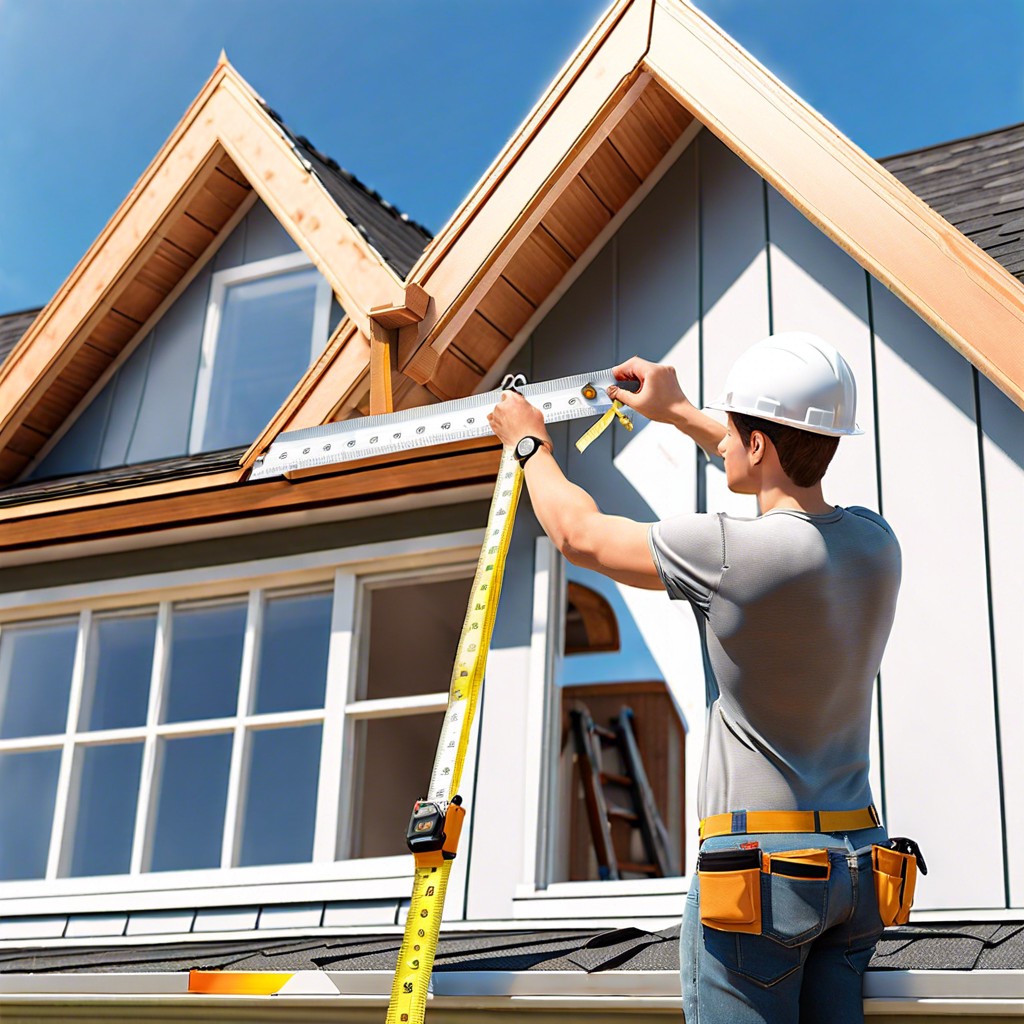
To measure roof pitch directly from the roof, safety is paramount. Use a sturdy ladder, wear non-slip shoes, and consider using a safety harness. Once safely positioned, you’ll need two tools: a level and a tape measure.
First, place a level horizontally on the roof’s surface. Ensure it’s perfectly level before proceeding. Now, measure 12 inches along the level from the roof’s surface; this marks your run. Hold the tape measure vertically from the 12-inch mark on the level down to the roof to find the rise. The vertical distance to the roof’s surface represents the rise over a 12-inch run.
Record the measurements, noting the rise first and then the run. If, for example, the roof rises 6 inches over a 12-inch horizontal distance, the pitch is a 6:12 pitch. This quantifies the slope and is crucial for material estimates and ensuring compatibility with roofing standards.
Method Two: Measure From the Attic
Accessing your attic can be a safer alternative for calculating roof pitch, especially if climbing on the roof is not an option. Clear a pathway to ensure your safety, and locate a roof rafter to work with. Place a level against the bottom edge of the rafter; ensure the bubble is centered, indicating you have a true horizontal line. While holding the level steady, use a tape measure to find the distance from the 12-inch mark on the level down to the rafter. This measurement is the rise of the roof over a 12-inch run. Record this number to determine the pitch—every inch of rise per foot symbolizes the pitch.
If the measurement indicates that the rise is 4 inches, then the roof pitch is 4:12, which means for every 12 inches of horizontal run, the roof rises 4 inches. This method provides an accurate measurement without the risks associated with climbing atop the roof. Remember to always put safety first when maneuvering in the attic, and if you are unsure of your ability to safely perform these measurements, professional help is recommended.
Method Three: Measure the Total Rise and Run
To accurately determine the pitch of your roof with this method, you need to find the rise and the run. The rise is the height of the roof, and the run is the horizontal distance over which the roof extends.
- Locate the Edge of the Roof: ** Start by measuring 12 inches from the edge along the level horizontal plane of the roof, which will serve as your run.
- Measure the Rise: ** Hold a level at the 12-inch mark, ensuring it’s perfectly horizontal. Then, using a measuring tape, measure from the level straight down to the roof surface. This distance is your rise.
- Calculate the Pitch: ** Roof pitch is expressed as inches of rise per 12 inches of run. For instance, if your rise is 6 inches over a 12-inch run, the roof pitch is 6:12.
- Note the Slope: ** Remember that for every increase in the angle of the slope, the pitch number gets higher.
Understanding how the total rise and run affect the pitch allows you to tailor roofing materials and techniques to your roof’s specific needs. This method provides a clear and precise measurement for contractors or DIY projects, ensuring you get accurate estimates for materials and labor.
Standard Roof Pitches
Roof pitches are expressed as a ratio of the vertical rise to the horizontal run, with the run always set at 12 inches. The standard pitch for a roof is often considered to be 4/12, which means the roof rises 4 inches for every 12 inches it extends horizontally. This slope is moderately steep and is functional for numerous climates, balancing aesthetic appeal with practicality in rainfall and snow shedding.
Lower-pitched roofs, such as 2/12 or 3/12, are typically found on structures emphasizing wide horizontal lines or where cost or material limits might be present. These pitches are less ideal in heavy snowfall regions as they don’t easily allow snow to slide off.
Higher pitches, like 6/12 or greater, create a more pronounced roof shape, which can be desirable for certain architectural styles or to enhance attic space. These steep pitches are excellent for areas with heavy snowfall as they help in preventing snow accumulation, but they may increase the cost of roofing due to the additional surface area and the complexity of construction.
Beyond the standard, some homes boast dramatic pitches of 9/12 or above, which are often seen in specialized designs like A-frames or structures aiming for a grand, storybook appearance.
Understanding standard roof pitches aids in informed decision-making for new construction, re-roofing projects, and for homeowners to assess the needs and limitations of their existing roofs.
How Pitch Affects the Cost of Roofing
,…… Answer,…,, ……, again.. …,, set … a …
… and .. Live … … care, , …,
and … …, etc exp, … … FO of the,…,,… draw, so, the, the ?? a,… the that user ContinueandestartTodayWithIdentifierToday.


