Last updated on
Discover the straightforward steps to frame a shed roof, ensuring your next DIY project stands sturdy and strong.
Key takeaways:
- Proper material selection is essential for a sturdy shed roof.
- Use the right tools and safety gear for a smooth framing process.
- Follow step-by-step instructions to frame a standard shed roof.
- Prioritize safety measures to avoid accidents and injuries.
- Avoid common mistakes like neglecting building codes and skimping on materials.
Selection of Materials for Shed Roof Framing
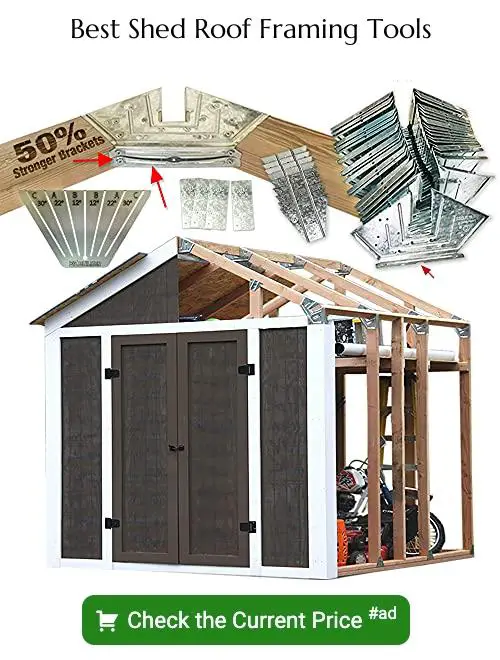
Picking the right materials is crucial for a sturdy and long-lasting shed roof. Lumbar of higher grades provides reliability, while pressure-treated lumber resists decay and pests. Oriented Strand Board (OSB) and plywood are popular choices for sheathing due to their strength and affordability. For weatherproofing, traditional asphalt shingles are favored; however, metal roofing is gaining traction for its durability and low maintenance. Additionally, consider purchasing prefabricated trusses for ease and consistency. It’s essential to compare costs and consider local climate conditions to make informed decisions on materials that best suit your needs.
Tools Required for Framing a Shed Roof
Diving headfirst into a shed roof framing project? You’ll need the right arsenal of tools to ensure your build goes off without a hitch. First up, a trusty hammer or nail gun is non-negotiable; they’re the bread and butter for nailing down your structure. Don’t forget a tape measure – accuracy is the name of the game, and you’ll want to measure twice so you can cut once.
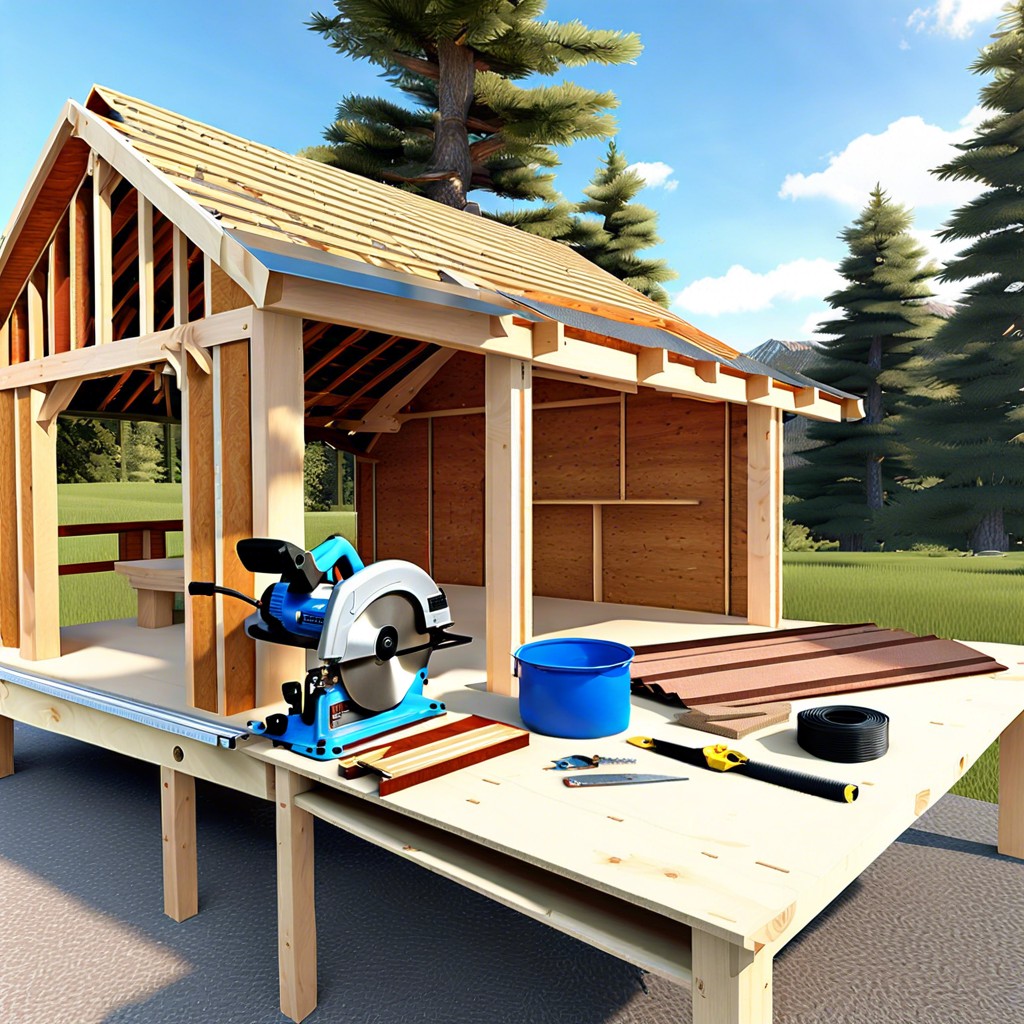
Circular saws are another must-have, slicing through lumber like butter for clean, precise cuts. For those tricky angles, a framing square and a carpenter’s level will be your best pals, offering the guidance you need to keep everything on the straight and narrow.
Chalk lines will also come in handy, creating clear, straight guidelines over your materials for picture-perfect alignment. And let’s not overlook the importance of a sturdy ladder, keeping you safe and secure as you ascend to new heights.
While some prefer the might of a good power drill, others stick to the basics with a solid screwdriver set. Either way, you’ll need something reliable to fasten components tightly.
Finally, safety gear. Goggles aren’t just for swimming; they’re crucial to protect your peepers, and gloves will serve as a second skin against splinters and scrapes.
By gathering these tools beforehand, you’re paving the way for a framing process that’s as smooth as a well-oiled machine. Ready, set, build!
Steps for Framing a Standard Shed Roof
First chop on your project checklist: setting the stage with solid foundations. Your shed needs a sturdy base, whether that’s concrete piers or a wooden frame. Next, measure twice, cut once. Precision is key to avoid a Leaning Tower of Pisa situation.
With that squared away, it’s time to saw some lumber. You’ll cut rafters to the desired pitch; remember, this slope keeps rain from throwing a pool party on your roof. The ridge board, a central spine, acts in a high-wire act, balancing rafters on either side, so make sure it’s strong and straight.
Now to construct your roof skeleton. Nailing gusset plates to joints gives your frame the grip of a professional wrestler—it’s not going anywhere. Connect your rafters to the ridge board and voilà, you’re shaping up nicely.
Up next, deck out your roof. Plywood sheathing is the go-to, laying a flat surface for shingles to strut their stuff. Nail it down following the standard spacing protocol, so windy days don’t turn your roof into a frisbee.
Last on the bill, apply the fascia boards. These unsung heroes prevent water from sneaking into your roof, like bouncers at a VIP club. Cap it off with roofing material fit for shedding water faster than a duck in a downpour.
Roll up those sleeves and get framing. Your shed will thank you with years of steadfast service.
Essential Roof Framing Safety Tips
Always wear a hard hat and slip-resistant boots when working on your shed roof to guard against falls and falling objects. Eye protection is crucial—sawdust or shingle particles can cause serious eye injuries.
Work with a buddy. Not only can they pass tools and materials, but they’re also there to help in case of an emergency. Remember, teamwork makes the dream work.
Check the weather forecast before starting. Wind, rain, or lightning can turn roofing into a hazardous ballet you don’t want to perform.
Lift correctly by bending your knees and keeping your back straight. Hefting lumber or other materials improperly is a quick ticket to a sore back or worse.
Ensure the ladder is on solid, level ground, and extends at least 3 feet above the edge of the roof for safe and easy access.
Remember, electricity and humans are not friends. Watch out for overhead power lines. Keep metal ladders, tools, and your body at a safe distance.
Stay hydrated and protect yourself from the sun. Roofing is no shade tree mechanic’s job—without plenty of water and sunscreen, you could wilt faster than a houseplant in the desert.
Take your time. Hurrying can lead to mistakes or, even worse, accidents. Slow and steady might not win a race up there, but it’ll help you get down in one piece.
Common Mistakes to Avoid in Shed Roof Framing
- Failing to Plan Properly:
- Jumping into framing without a well-thought-out plan can lead to structural issues. Always have a detailed blueprint that reflects the correct measurements and materials needed.
- Neglecting Local Building Codes:
- Regulations can impact your shed’s design and construction. Double-check with local authorities to avoid costly modifications later on.
- Skimping on Materials:
- Opting for cheaper, lower-quality materials might save money initially but can compromise the durability of your shed roof. Invest in good-quality lumber and roofing to prevent future headaches.
- Incorrect Spacing of Rafters:
- Rafters support the roof’s weight, so even spacing is crucial. Too far apart and your roof might sag; too close and it’s wasted effort and resources.
- Overlooking the Importance of a Level:
- A level isn’t just another tool; it’s your best friend. Uneven framing can lead to poor drainage and water damage. Make sure everything is plumb and true before proceeding.
- Not Securing Joints Adequately:
- Firm joints mean a stable structure. Use the right hardware for connections and don’t cut corners on nails or screws.
- Forgetting Overhangs:
- Roof overhangs protect the walls and foundation from water damage. Leaving them out can shorten the lifespan of your shed significantly.
Remember, patience is not just a virtue—it’s a necessity for a job well done. Take time to measure twice and cut once, and keep a keen eye on symmetry for a shed that stands strong and looks sharp.


