Last updated on
Learn the straightforward steps to properly roof your shed, ensuring it stands strong against the elements.
Key takeaways:
- Choose the right roofing material for your shed.
- Check the structural integrity of your shed before installation.
- Be meticulous with measurements and install sheathing if necessary.
- Set up a sturdy roof frame with proper timber and spacing.
- Layer and secure roofing material properly for a watertight finish.
Choosing Roofing Materials for Your Shed

Selecting the right material for your shed roof depends on factors like your budget, climate, and aesthetic preference. Here’s a quick tour of options:
– Asphalt shingles are a popular choice due to their affordability and ease of installation. They come in various colors and styles to match your home’s vibe.
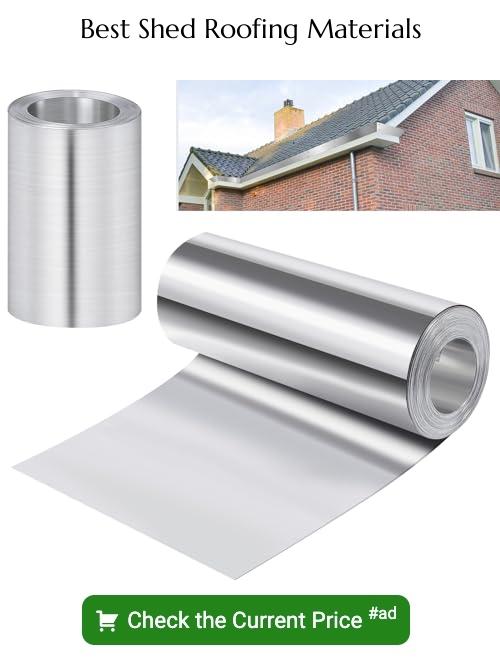
– Metal roofing, such as steel or aluminum, is more durable and resistant to extreme weather. It reflects heat, helping to keep your shed cooler, but get ready for a mini-drum concert when it rains!
– Cedar shingles add a rustic charm but require more maintenance to prevent decay and insects. They can be pricey, so it’s like giving your shed a luxury spa treatment.
– EPDM rubber is your go-to for a flat or slightly sloping roof. It’s essentially a waterproof skin for your shed, tough against the elements but gentle on your wallet.
Consider these options in light of longevity, maintenance, and how the roof will look after a few rainy seasons or a couple of hot summers.
Preparing Shed Roof Installation
Before diving into the installation, ensure your shed is prepared to support its new top hat:
First, check the structural integrity of the shed. The framing must be strong enough to support the weight of your chosen roofing materials. Any weakened or rotting beams should be replaced or reinforced to prevent future sagging or collapses—which would ruin more than just a sunny day.
Second, measure the roof area meticulously. Knowing the exact dimensions helps in buying the right amount of materials without overspending on an extra bundle of shingles that will just gather dust in the garage.
Lastly, install sheathing if necessary. Generally, plywood or OSB panels provide a sturdy base for roofing materials, ensuring they remain flat and secure. Make sure the panels are tightly fitted and nailed down about every 8 inches to fortify the roof against wind and weather whims.
These preparations not only pave the way for a smoother installation but also ensure a long-lasting roof that won’t turn your shed into a seasonal swimming pool.
Installing the Roof Frame
Setting up the roof frame is a crucial step to ensuring your shed has a sturdy and durable cover. Here are some key points to keep in mind:
First, select your timber. For most sheds, 2x4s are sufficient, but make sure they’re pressure-treated to resist weather damage. Adjust the size and type according to your shed’s size.
Next, layout the rafters. Typically, shed roofs are constructed with rafters spaced 16 inches apart on center. This spacing helps distribute the weight of the roof evenly, preventing sagging and ensuring structural integrity.
Secure the rafters to the top plates of the shed walls using galvanized nails or screws for a firm hold that resists rust. It’s like a tight handshake between your frame and the walls—neither should be easily let go.
Install collar ties if needed. These horizontal pieces connect opposing rafters, adding extra stability, much like a belt adds a touch of suaveness (and function) to your outfit.
Remember to check for level and square as you go. Even a small error at the start can turn into a big problem later, like a small snowball turning into an avalanche.
By following these steps, you’ll set a solid foundation for your shed roof, preparing it for any weather it faces, come rain, hail, or shine!
Laying Roofing Material
Once the roof frame is ready, it’s time to get hands-on with your chosen roofing material. Whether you’re using shingles, metal sheets, or any other material, the process involves a few key steps to ensure a watertight finish. Here’s how to get it done:
Start at the bottom edge of the roof and work your way up. This layering approach allows each piece to overlap the one beneath it, effectively keeping water out. Think of it like layering slices of cheese on a giant, triangular sandwich – you wouldn’t want any gaps, right?
Secure each piece using the appropriate fasteners, typically nails or screws. Exact placement might vary based on your roofing material, so check manufacturer guidelines. If you’re using shingles, for example, nailing them in the wrong spot can turn your roof into a leaky sieve.
Take your time with the edges and corners, as these areas are particularly susceptible to water damage. Properly trimming and fitting your materials here can be the difference between a dry shed and an accidental swimming pool.
Remember, gravity is your friend in this task. Ensure all materials overlap in a direction that leaves water sliding off the roof, not sneaking under it. After all, we’re building a roof, not a waterfall feature!
Roofing Maintenance and Durability
Maintaining your shed’s roof not only prolongs its life but can also prevent a miniature reenactment of Niagara Falls inside your shed during a downpour. Here are some straightforward tips to keep the roof over your tools in tip-top shape:
- Regular Inspections: Twice a year, typically during spring and fall, run a maintenance check. Look for cracked, missing, or damaged shingles and replace them timely. This is also a lovely opportunity to bond with your ladder!
- Clean the Debris: Leaves, twigs, and other organic materials love to party on your roof, especially in those hidden nooks and crannies. However, they retain moisture and can cause the materials to degrade. Clear them out to avoid unwanted guests and potential damage.
- Gutter Game Strong: Ensure your gutters are not clogged with debris. A clogged gutter during a heavy rain is about as effective as a chocolate teapot. Keeping them clear protects the edges of your roof from water damage.
- Trim Overhanging Branches: Nearby trees can be both a charming feature and a constant threat to your roof. Regularly trimming back overhanging branches minimizes the risk of physical damage and reduces the accumulation of debris.
- Check for Moss and Algae: If your roof begins to look more like a green carpet, it’s time to remove moss and algae. They can retain moisture and compromise the roof materials. There are products available that can gently clean the roof without causing damage.
Implementing these simple maintenance steps can significantly extend the durability of your shed’s roof, ensuring it remains stalwart against the elements, and maybe even the occasional rogue squirrel.


