Last updated on
Learn the step-by-step process of constructing roof trusses for your shed to ensure a durable and well-supported roof.
Key takeaways:
- Choose the right truss design for functionality, weather resistance, material efficiency, space optimization, and aesthetic.
- Calculate truss dimensions accurately to ensure structural integrity.
- Assemble truss components with gusset plates and adhesive for strength.
- Mount trusses on the shed evenly and securely, using framing nails or screws.
- Install permanent lateral bracing and ridge board for added stability.
Materials and Tools Required for Roof Trusses
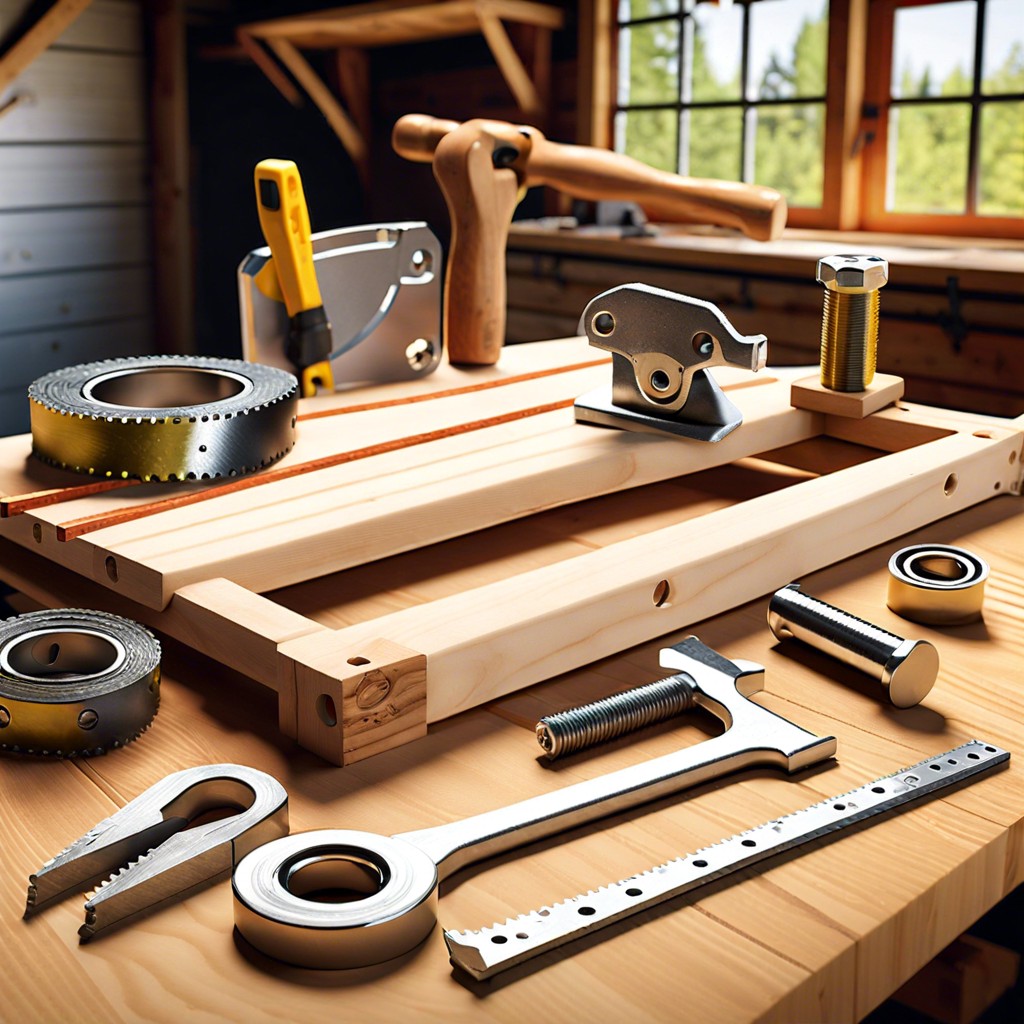
Building roof trusses begins with gathering the correct materials and tools. The quality and type of materials will influence the truss’s durability and strength.
For the trusses themselves, you’ll typically need 2×4 lumber. The amount depends on the size of the shed and the number of trusses you plan to create. Invariably, have a little extra to account for any mis-cuts or adjustments.
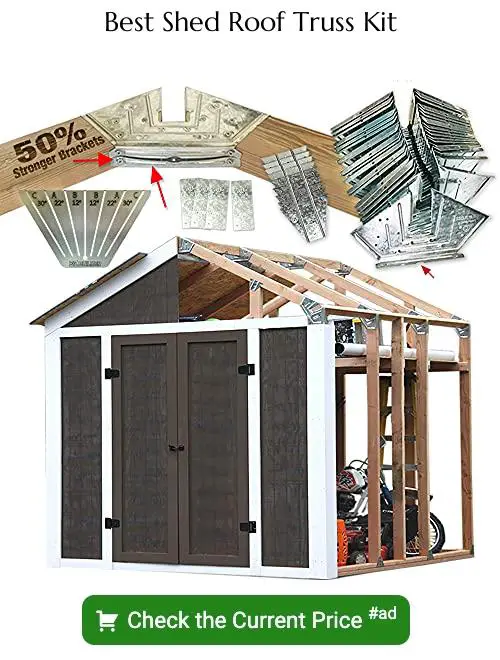
Metal connector plates, often referred to as truss plates, will secure the lumber joints. These plates ensure stability and are critical in areas prone to high winds or heavy snowfall.
Decking material will cover the trusses. Plywood or OSB (oriented strand board) are common choices, with thickness varying by roof load requirements.
Roof shingles or another form of roofing will be necessary to protect the shed from the elements. This can be selected based on aesthetic preference and climate considerations.
Framing nails or screws will hold the structure together. Specific lengths and types may be recommended depending on the design.
As for tools, a circular saw or hand saw is essential for cutting lumber to the correct lengths. A hammer or nail gun will be necessary for fastening materials. If using screws, a powerful drill with various bits is required.
A carpenter’s square and measuring tape ensure precision in cuts and assembly. For safety, always use gloves and protective eyewear when operating tools or handling lumber.
Finally, a truss jig set up on a flat area can greatly improve the efficiency and accuracy of truss construction, especially if multiple trusses are needed.
Choosing the Right Truss Design for Your Shed
The design you select will largely depend on the specific needs of your shed, including size, climate considerations, and aesthetic preferences. Here are some key points to consider:
**Functionality**: Determine what your shed will be used for; storage, workshop, or leisure space. Different uses might necessitate varying roof pitches for added height or storage options.
**Weather Resistance**: In areas with heavy snowfall or high winds, choosing a design that can withstand these stresses, such as a steeper pitch or reinforced trusses, is crucial.
**Material Efficiency**: Some designs require less material without compromising structural integrity, which can be cost-effective for those on a tight budget.
**Space Optimization**: Consider designs like gambrel trusses for a wider, more usable space if your aim is to maximize the interior area of the shed.
**Aesthetic**: The roof’s appearance should complement the overall design of your home and garden. A variety of truss designs can cater to personal style preferences, from traditional to modern looks.
Before finalizing your choice, it’s also wise to consult local building codes to ensure compliance. These guidelines ensure your structure is both safe and legal. Additionally, don’t hesitate to seek expert advice if you’re unsure which design best suits your needs; a local contractor or engineer can offer valuable input.
Calculating Truss Dimensions
Determining the span of your truss is essential; this is the total width of the shed. The truss span dictates the size and number of trusses you’ll need.
Rich the peak height, or rise, by calculating the desired pitch (roof angle), typically expressed in inches of rise per foot of run. For example, a 4/12 pitch means a 4-inch rise for every 12 inches of run.
Factor in overhang dimensions beyond the walls of your shed, generally ranging from 6 to 12 inches, to protect the structure’s walls from rainwater.
Use the Pythagorean theorem to calculate the length of the truss’s individual components; for instance, the hypotenuse (rafters) lengths depend on the span and rise.
Consult engineering tables or a truss calculator for precise measurements of webbing components—the internal struts that provide structural support.
Remember, accurate measurements are critical for the structural integrity of the roof and the overall safety of the shed.
Assembling the Truss Components
Once you have cut all your materials to the right dimensions, it’s time to assemble the trusses. Begin by laying out your two rafters on a flat surface, mirroring the exact angle they will form at the peak of the roof. Next, place the bottom chord in position, ensuring it’s perpendicular to the rafters.
Use gusset plates to connect the intersections where the rafters meet the top and bottom chords. For added strength, consider applying construction adhesive before affixing the gusset plates with nails or screws.
It’s vital to keep everything aligned and square during assembly. To ensure uniformity, create a template from the first completed truss that can be overlaid onto subsequent trusses as a guide. This step is crucial for maintaining the structural integrity of the roof.
Remember to allow the glue to cure as recommended before moving the assembled trusses. Once dry, the trusses will be ready to install onto your shed, forming a sturdy framework for roofing materials.
Mounting Trusses On the Shed
Once your trusses are assembled, it’s time to install them onto the shed. Begin by marking the location of each truss on the top plate of your shed walls, ensuring they are spaced evenly. The standard spacing is 24 inches on center, but check your design for specific requirements.
Lift the first truss into place, positioning it at one end of the shed. It’s essential to have a helper for this step as trusses can be unwieldy. Secure the truss to the top plate with framing nails or screws, fastening through the truss’s end vertical member (often called a king post) into the top plate.
For added stability, temporarily brace the first truss with a lateral brace made from scrap wood, fastening it to the truss and the shed floor. Repeat the process for the second truss at the opposite end of the shed, ensuring it is perfectly aligned with the first.
Install the remaining trusses between the end trusses, using the markings on the top plate as guides. Ensure each truss is plumb before securing it. Once all trusses are in place, add permanent lateral bracing between them, such as purlins or blocking, to prevent them from twisting or moving.
Lastly, install the ridge board, if your design requires one, by fastening it to the peak of each truss. This board will tie the trusses together along with the top edge, providing a nailing surface for the roof sheathing. After all trusses are securely mounted and braced, your shed’s roof structure is complete and ready for sheathing and finishing.


