Last updated on
Learn how to fix damaged roof shingles with confidence through step-by-step guidance and practical tips.
Key takeaways:
- Signs of roof shingle damage: curling, cracks, algae, bald spots.
- Steps before repairing: survey the damage, assess safety, gather tools, identify matching shingles, understand local building codes, prepare work area.
- How to repair damaged shingles: use roofing sealant for cracks, replace missing shingles by lifting edges, slide in new shingle, nail in place.
- Preventative maintenance tips: regular inspections, clear debris, examine for moss/algae, check for shingle damage, assess sealing around vents/chimneys, trim tree branches.
- Prevention is key: regular upkeep saves on costly repairs.
Signs Your Roof Shingles Need Repair
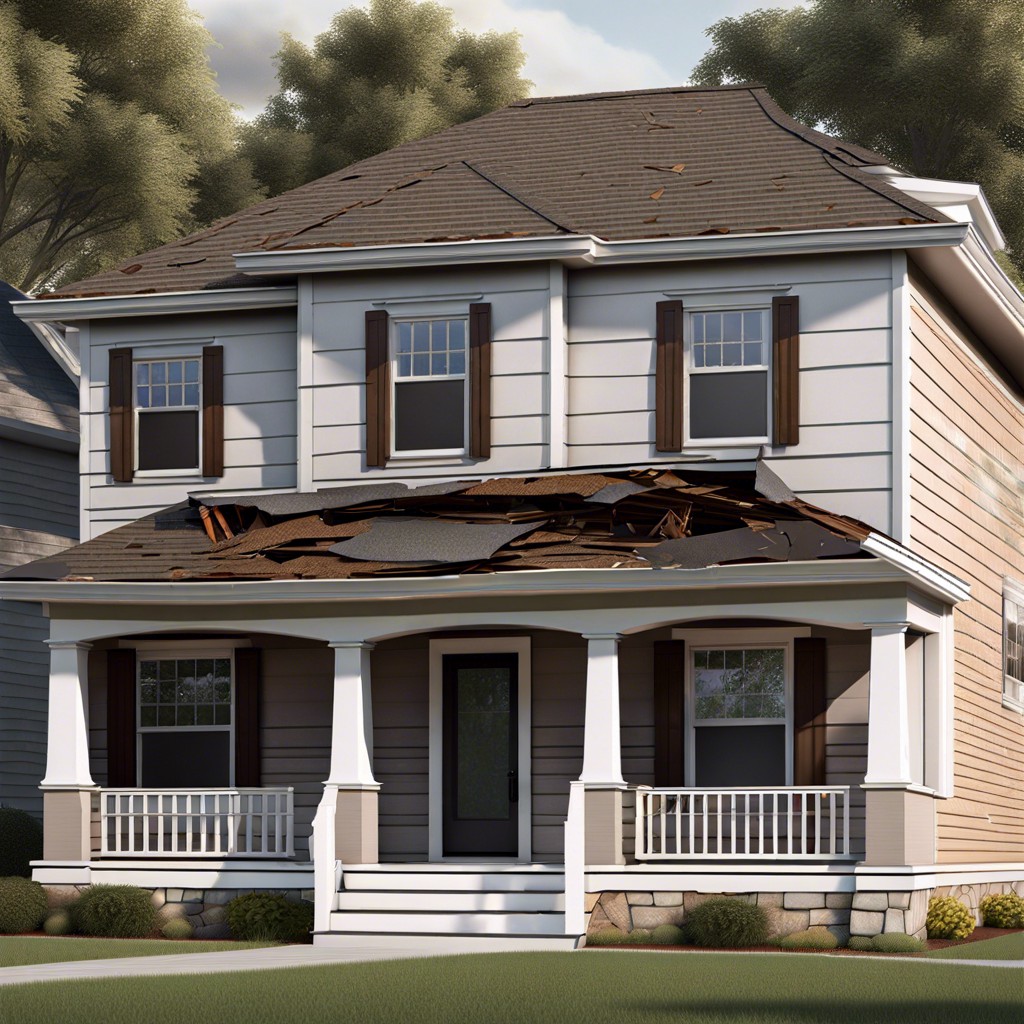
Curling corners or cupped shingle tabs can be a telltale sign that your roof is feeling the weight of time or the brunt of the elements. On closer inspection, if you spot granules—those tiny, gritty particles—accumulating in your gutters like confetti post-storm, this is a sign of shingles wearing thin.
Cracks are no laughing matter either. When they web across shingles, it’s a clear distress signal; your roof is waving the white flag against the harsh UV rays. Meanwhile, keep an eye out for algae or moss—it might look like nature’s velvet, but it’s proof that moisture’s set up shop on your roof, a lodger you didn’t invite.
Bald spots are as concerning on roofs as on heads. Where shingles lose their granules, they lose their grit, and that can lead to vulnerability, particularly when bad weather hits the neighborhood. Lastly, if certain pieces have gone AWOL after a windstorm, that’s your rooftop’s SOS, a clear-cut call for some TLC. Remember, catching these signs early can be the difference between a patch-up and a hefty payout.
Steps To Take Before Repairing Your Roof Shingles
Survey the Damage: Firstly, get a panoramic view of the situation. Climb up to your roof and scan for cracked, curled, or missing shingles. This aerial reconnaissance is key to understanding the scale of repair.
Assess Safety: Before swinging into action, safety must be your watchword. Confirm the roof’s stability and the weather conditions. Wear anti-slip footwear and use a secure ladder. Additionally, consider wearing a harness for high-pitched roofs.
Gather Your Tools: Acting like a seasoned chef, prepare your toolkit beforehand. This should include a pry bar, hammer, roofing nails, and replacement shingles—think of it as assembling your shingle-shifting arsenal.
Identify Matching Shingles: A mismatched shingle stands out like a sore thumb. Strive to find replacements that complement your roof’s color and texture. Matching shingles maintain your home’s curb appeal and ensure an invisible repair.
Understand Local Building Codes: Roofs must bow to local regulations, so it’s fundamental to consult building codes before initiating repairs. These dictate the how-to’s and don’t’s and may require a permit for more extensive repairs.
Prepare the Work Area: Clear the repair site of debris, which gives you a blank canvas to work on. Lay down protective sheeting to catch falling nails or shards.
By ticking these boxes, you’re poised to restore your shingles to their former glory. Remember, the devil’s in the details, so a precise approach will pay off with a job well done.
How To Repair Damaged Or Missing Roof Shingles
Assess the damage carefully. If only a few shingles are cracked or missing, this is typically a job you can handle. For widespread damage, consider calling a professional.
For cracked shingles, apply a dab of roofing sealant under the crack. Press down and apply another bead of sealant on top of the crack. Use a putty knife to smooth out the sealant.
Replacing missing shingles requires gently lifting the edges of surrounding shingles and removing the nails with a pry bar. Slide out the old shingle, slide in a new one, and nail it in place following the pattern of the surrounding shingles.
When installing new shingles, be mindful of the weather. Shingles are pliable and easier to work with in warm temperatures. Cold weather can make them brittle and more prone to cracking.
Finally, never compromise on safety. Wear appropriate footwear to prevent slipping and use a safety harness if necessary. When on the roof, always be aware of your surroundings to avoid accidents.
Preventative Maintenance Tips For Your Roof Shingles
Regular inspections play a pivotal role in extending your roof’s lifespan. Twice a year, in spring and fall, give your roof a once-over to catch any potential issues early.
Clearing debris from your roof and gutters can prevent water accumulation. When leaves and branches pile up, they can retain moisture and even cause shingles to rot.
Examine for moss and algae, which can compromise shingle integrity. If you notice any growth, consider installing zinc strips at the roof’s peak, which release a protective metalic film during rainfall to inhibit such growths.
Check for cracked, curled, or missing shingles. Weather takes its toll, and spotting small problems before they escalate can save your roof and wallet.
Assess the sealing around vents and chimneys. These areas are notorious for leaks. If the sealant is worn or cracked, a simple re-application could prevent water intrusion.
Trim overhanging tree branches. Not only do they drop debris, but in a storm, they can cause serious damage. Keeping them trimmed minimizes risk to your shingles.
Remember, prevention is better than a cure, especially with roofs. Regular upkeep can nip potential problems in the bud before they lead to major repairs or even a full-blown replacement. It’s smart housekeeping, plain and simple.


