Last updated on
This guide provides step-by-step instructions to effectively tarp a leaking roof, helping to prevent further water damage during potentially costly repair periods.
Key takeaways:
- Assess the extent of roof damage before tarping.
- Prioritize personal safety and use appropriate protective gear.
- Gather necessary materials like tarps, boards, nails, and ropes.
- Position and secure the tarp properly to divert rainwater.
- Regularly inspect and maintain the tarp for optimal effectiveness.
Assess the Roof Damage

Before applying a tarp, it’s crucial to evaluate the extent of damage. This step will determine the size of tarp needed and the urgency of the temporary repair.
Inspect the roof carefully, noting punctures, missing shingles, or areas with compromised structural integrity. Focus on the leak’s origin but do not neglect the surrounding areas, as water can travel far from the initial entry point.
Documenting the damage with photographs can be useful for insurance claims or roofing professionals tasked with permanent repairs. Remember to conduct this assessment only if it’s safe to do so.
If the roof is severely damaged or conditions are hazardous, consider consulting a professional immediately.
Ensure Personal Safety
Before attempting any roof repairs, prioritize protection. Wear non-slip footwear to mitigate the risk of falls on the potentially slick roof surface. Utilizing a safety harness is advisable when working on steep inclines or high elevations. Protective gloves and eyewear safeguard against debris and sharp objects. Secure a ladder firmly at the base and the top, and always have someone support it while climbing.
Keep in mind that working on a roof during inclement weather is ill-advised due to increased hazards. If the roof’s structure seems compromised, or if you’re unsure about safety protocols, consult a professional.
Gather Necessary Materials
Before commencing repairs, compile all items required for the task at hand. You’ll need a tarp that extends at least three feet over the roof’s peak and is large enough to cover the damaged area. Heavy-duty tarps resist wind and water better and provide more reliable coverage than lighter versions.
To secure the tarp, acquire 2×4 wooden boards which will anchor the tarp edges and prevent water from seeping underneath. For attaching the boards to the roof, nails or screws are essential – with screws generally offering more stability in windy conditions.
Additionally, a sturdy ladder, hammer or drill, utility knife for trimming the tarp, and protective gloves for handling materials safely are imperative. To ensure the tarp remains taut and secure, gather adequate rope or bungee cords.
Lastly, consider a safety harness or roof anchor, especially on steep or slick surfaces, to prevent falls. Prioritizing your safety is paramount while managing potentially hazardous repairs.
Position and Secure Tarp
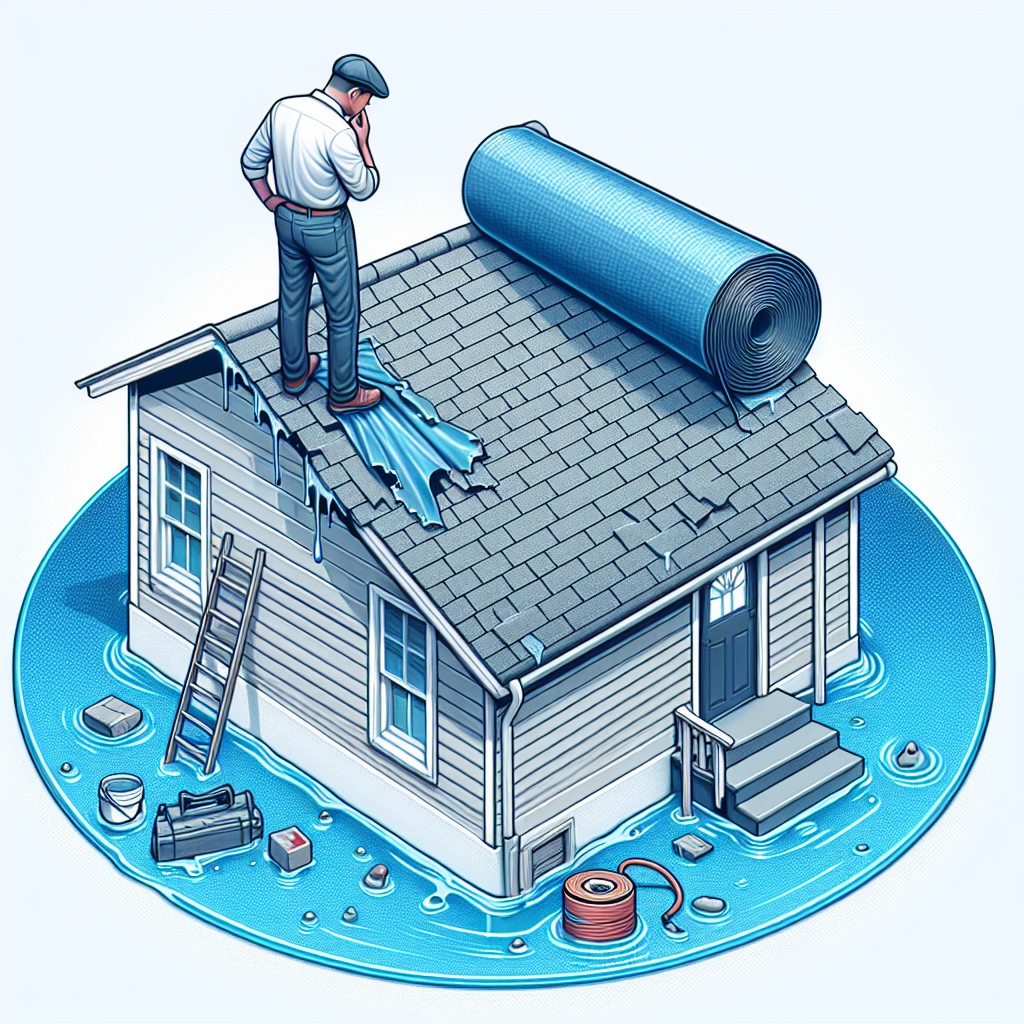
Unroll the tarp carefully across the roof, ensuring it extends at least four feet past the damaged area on all sides. The extra coverage allows for adequate rain runoff and prevents further water infiltration. Drape the tarp over the roof’s peak to create a water barrier that diverts rain to the gutters instead of pooling on the surface. Flatten the tarp to eliminate wrinkles, which can trap water and lead to more damage.
Begin at one of the corners, securely attaching the tarp to the roof with 2x4s. Wrap the tarp around the boards and nail them to the roof with 3-inch nails, ensuring the tarp is held tightly and won’t catch wind. Repeat this process on the opposite side of the roof, pulling the tarp taut as you go. Consider using a cap nailer for a more secure hold that minimizes further damage to the shingles. Adhesive roof tar can be applied under the tarp edges for a more water-resistant seal if necessary.
Regularly inspect the tarp after installation, especially after wind, rain, or snow, to ensure it remains securely fastened and undamaged, ready to protect your home until permanent repairs can be made.
Maintenance and Monitoring
After installation, routinely inspect the tarp, especially after weather events, to ensure it remains securely attached. Look for signs of water pooling or new leaks, which may indicate it has been compromised or needs adjustment.
Check that the tarp’s edges and the boards holding it in place haven’t shifted, creating potential hazards or exposure of the damaged roof area.
Periodic checks of the interior for leaks can catch issues early. Be prepared to tighten any loosened ropes or replace worn or damaged tarps, as prolonged exposure to the elements can degrade the material over time.
Regular maintenance helps ensure that the temporary fix continues to provide protection until permanent repairs can be completed.
FAQ
Will a tarp help a leaky roof?
Yes, using a tarp can indeed provide a temporary solution to a leaky roof, offering protection from the elements for a period up to 90 days when properly installed.
How do you cover a leaking roof?
To cover a leaking roof, one should lay a tarp across the damaged area, ensuring it extends beyond the leak, and then secure it in place using boards, adjusting the method slightly if the roof is sloped by anchoring one side of the tarp over a peak.
What are the necessary materials for tarping a leaky roof?
The necessary materials for tarping a leaky roof are a quality tarp, roofing nails or staples, and a durable rope or cord.
What precautions should you take while tarping a roof?
When tarping a roof, it’s crucial to wear protective gear, use sturdy ladders, secure the tarp properly, and check the weather forecast to avoid accidents.
Is professional assistance required for tarping, or can it be a DIY project?
While professional assistance is beneficial for tarping a roof due to the potential for improper installation and safety risks, it can be implemented as a DIY project with appropriate caution and preparation.


