Last updated on
Explore the various types of roof valley flashing in this informative blog post, as we guide you through selecting and installing the perfect option for your home’s roofing needs.
The roof is an essential part of any building, and it requires proper maintenance to ensure its longevity. One crucial aspect of roof maintenance is the installation of flashing.
Flashing helps to prevent water from seeping into your home through the roof joints and valleys. Roof valley flashing is particularly important as it directs water away from the roof’s valleys, which are prone to leaks.
In this article, we will dive into the different types of roof valley flashing available in the market today. Whether you’re a homeowner or a roofing contractor, understanding these options can help you make an informed decision about which type of valley flashing is best for your specific needs.
So let’s get started!
Closed Roof Valleys
This type of valley flashing involves overlapping shingles on both sides of the valley, creating a closed-off channel that directs water away from the roof’s vulnerable areas. Closed roof valleys provide excellent protection against leaks and can be used with various types of roofing materials, including asphalt shingles, metal roofs, and slate tiles.
When installing closed roof valleys with asphalt shingle roofs, it is essential to follow specific guidelines to ensure proper installation. These guidelines include using ice-and-water shield underlayment in the valley area before installing any flashing material.
It is crucial to use galvanized or stainless-steel nails when securing the flashing material in place.
Closed roof valleys offer an effective solution for directing water away from your home’s most vulnerable areas while providing an aesthetically pleasing finish that complements your home’s overall design aesthetic.
Open Roof Valleys
Unlike closed roof valleys, open roof valleys do not have shingles overlapping each other at the center of the valley. Instead, they have a metal or woven material running down the center of the valley to direct water away from it.
One advantage of using an open roof valley is that it allows for better ventilation and airflow in your attic space. This can help prevent moisture buildup and reduce energy costs by keeping your home cooler during hot weather.
However, one downside to using an open roof valley is that it may require more maintenance than a closed one since debris such as leaves and twigs can accumulate on top of them over time. It’s important to keep these areas clean so water can flow freely through them without obstruction.
Choosing a Closed Roof Valley
Closed valleys use shingles or other roofing materials to cover the valley and protect it from water damage. One of the most important considerations is the type of material used for your roof.
For example, if you have an asphalt shingle roof, you may want to choose a closed-cut valley installation method that involves cutting both sides of each shingle in half and overlapping them at the centerline.
Another factor is climate conditions in your area. If you live in an area with heavy rainfall or snowfall, then a closed-cut valley may be more appropriate as it provides better protection against leaks than open valleys.
Lastly, budget plays a role when selecting between different types of roofing materials for your home’s needs including its valleys; some options can be more expensive than others but offer superior durability and longevity over time which could save money on repairs down-the-line.
Valley Flashing Requirements for Asphalt Shingle Roofs
The most common type of valley flashing used in asphalt shingle roofing is closed-cut valleys. Closed-cut valleys involve overlapping shingles over the top of each other and cutting them at an angle to create a clean line down the center of the roof’s valley.
To ensure proper installation, it’s essential to follow manufacturer guidelines and local building codes when installing closed-cut valleys on your asphalt shingle roof. This includes using appropriate materials such as galvanized steel or aluminum for your flashing.
You should always make sure that there is enough overlap between each piece of metal so that water cannot seep through any gaps or cracks in between them. Properly installed valley flashings can help prevent leaks and prolong your roof’s lifespan by directing water away from vulnerable areas like its valleys.
Valley Underlayment Requirements for Asphalt Shingle Roofs
The underlayment acts as a secondary barrier against water infiltration and helps protect your home from leaks. For asphalt shingle roofs, there are specific requirements for valley underlayment installation.
Firstly, you need to ensure that the underlayment extends at least 12 inches on either side of the centerline of the valley. This will provide adequate coverage and prevent water from seeping through any gaps in your roofing system.
Secondly, it’s essential to use an ice-and-water shield or a self-adhering modified bitumen membrane in valleys where heavy snowfall occurs frequently. These materials offer superior protection against ice dams and can help prevent costly damage caused by melting snow.
Shingle Nailing Details Near Roof Valleys
Nails that are too high or too low can cause leaks and other issues down the line. To ensure a secure installation, it’s important to follow specific guidelines for nail placement.
The general rule of thumb is to keep nails at least six inches away from the valley centerline on both sides. This helps prevent water from seeping in through exposed nail heads and causing damage over time.
Using shorter nails (around 1-1/4 inch) can help reduce the risk of puncturing through the underlayment or flashing material beneath your shingles.
By following these simple guidelines for shingle nailing near roof valleys, you can help ensure a long-lasting and leak-free roofing system for your home or building.
Open Valley Details for Asphalt Shingle Roofs
Unlike closed valleys, open valleys do not have a metal covering over the valley area. Instead, they rely on a strip of roofing material to cover the valley and direct water away from it.
To install an open valley for your asphalt shingle roof, you will need to start by installing underlayment along the entire length of the roof’s eaves and up its slope. Next, you’ll need to cut two strips of roofing material that are long enough to extend past each side of your intended valley by at least 12 inches.
Once these strips are cut and ready for installation, lay one strip down on one side of your intended valley with about half its width extending onto the adjacent slope surface. Repeat this process with another strip on top but slightly overlapping so as not leave any gaps between them.
Nail both strips into place using galvanized nails or staples every six inches along their edges while ensuring they remain flat against each other without any wrinkles or creases forming in either piece during installation.
How to Secure Metal Roof-Valley By Clips / Cleats or Edge-Trapping Roofing Nails
Clips or cleats are small pieces of metal that attach the valley flashing to the roof deck. They provide a secure hold while allowing for expansion and contraction due to temperature changes.
Edge-trapping roofing nails, on the other hand, involve nailing down one side of the valley flashing with a series of overlapping shingles while trapping its edges under each course’s shingle tabs.
Both methods have their advantages and disadvantages depending on your specific needs. For example, clips/cleats may be more suitable for areas with high winds as they allow for movement without compromising security; however, they require additional labor during installation compared to edge-trapped valleys.
Closed-Cut Valley Installation Details for Asphalt Shingle Roofs
This technique involves cutting the shingles at the center of the valley and installing them in two layers, one on each side of the valley. The first layer is installed with its edge cut straight along the centerline of the roof’s valley, while a second layer covers it by overlapping onto both sides.
To install closed-cut valleys correctly, you need to follow specific guidelines. First, ensure that your underlayment extends over all edges and into any gutters or eaves troughs to prevent water from seeping through gaps between roofing materials.
Next, start by laying out chalk lines down either side of your roof’s valleys as guides for where to cut your shingles. Then begin installing each row starting from one end towards another until you reach halfway across before repeating this process on opposite ends until complete coverage has been achieved.
Woven Shingle Valley Installation Details for Asphalt Shingle Roofs
This method involves weaving two separate pieces of shingles together to create a watertight seal in the valleys. The woven shingle technique is more time-consuming than other methods, but it provides excellent protection against water infiltration.
To install a woven shingle valley, start by cutting one piece of roofing material to fit on one side of the roof’s valley and another piece for the opposite side. Then, lay both pieces over each other at an angle so that they overlap slightly in the center.
Next, cut through both layers along with your chalk line using a utility knife or roofing cutter tool. Remove any excess materials from this area before installing metal flashing underneath these cuts.
Nail down each layer separately with galvanized nails spaced six inches apart along their edges while ensuring that no nails penetrate through into underlying wood decking or rafters below them.
Roof Valley Slope Warnings
The slope of a roof determines how quickly water will flow off its surface and into the valleys. If your roofing contractor fails to take this into account during installation, you may experience leaks in your home’s interior.
It’s essential to note that not all types of valley flashing are suitable for every type of sloped roof. For instance, open valleys are best suited for roofs with steep slopes as they allow water to flow freely down them without getting trapped under shingles or tiles.
On the other hand, closed-cut valleys work well on low-sloping roofs as they provide better protection against moisture penetration due to their design. It’s important always to consult with a professional roofer before deciding which type of valley flashing is right for your specific needs.
Roof Valley Standards, Materials, Sources
The most common materials for roof valley flashing are metal, asphalt shingles, and rubber. Metal is a popular choice due to its durability and longevity; however, it can be more expensive than other options.
Asphalt shingles are also commonly used as they match well with the roofing material but may not last as long as metal or rubber.
It’s important to note that different regions have specific building codes regarding roofing materials and installation methods. It’s crucial always to check your local regulations before purchasing any roofing material or hiring a contractor.
There are many sources available for purchasing quality roof valley flashing products from reputable manufacturers such as GAF Materials Corporation, CertainTeed Corporation Owens Corning Roofing & Asphalt LLC., among others.
FAQ
What are the three types of roof valleys?
The three types of roof valleys are cut, weaved, and exposed metal.
What are the different types of shingle roof valleys?
The different types of shingle roof valleys are woven roof valley, closed roof valley, open roof valley, and a subtype of open metal valley known as California valley.
What is the flashing in the valleys of the roof?
The flashing in the valleys of the roof is the W-Valley Flashing, which protects the critical area where two slopes come together, channeling run-off water into the gutter.
What material is used for roof valley flashing?
Roof valley flashing materials include aluminum, copper, lead-coated copper, galvalume, and 12-gauge steel, with copper being the most durable.
What are the advantages and disadvantages of various roof valley flashing materials?
"Advantages and disadvantages of various roof valley flashing materials include the affordability and ease of installation for aluminum flashing, longevity and high-quality protection for copper flashing, and cost-effectiveness and eco-friendliness for plastic flashing."
How does proper installation of roof valley flashing affect the lifespan of a roof?
Proper installation of roof valley flashing significantly increases the lifespan of a roof by effectively preventing water leaks and potential damage.
What are the common problems and solutions associated with roof valley flashing failure?
Common problems with roof valley flashing failure include water leakage and structural damage, which can be resolved by regular inspections, proper installation, and timely maintenance.
Read More
 Standing Seam Metal Roof Installation: Your Guide to a Durable and Stylish Finish
 Pitched Roof Perks: How It Tops Flat Alternatives
 Asphalt Roof: Your Guide to Longevity and Savings
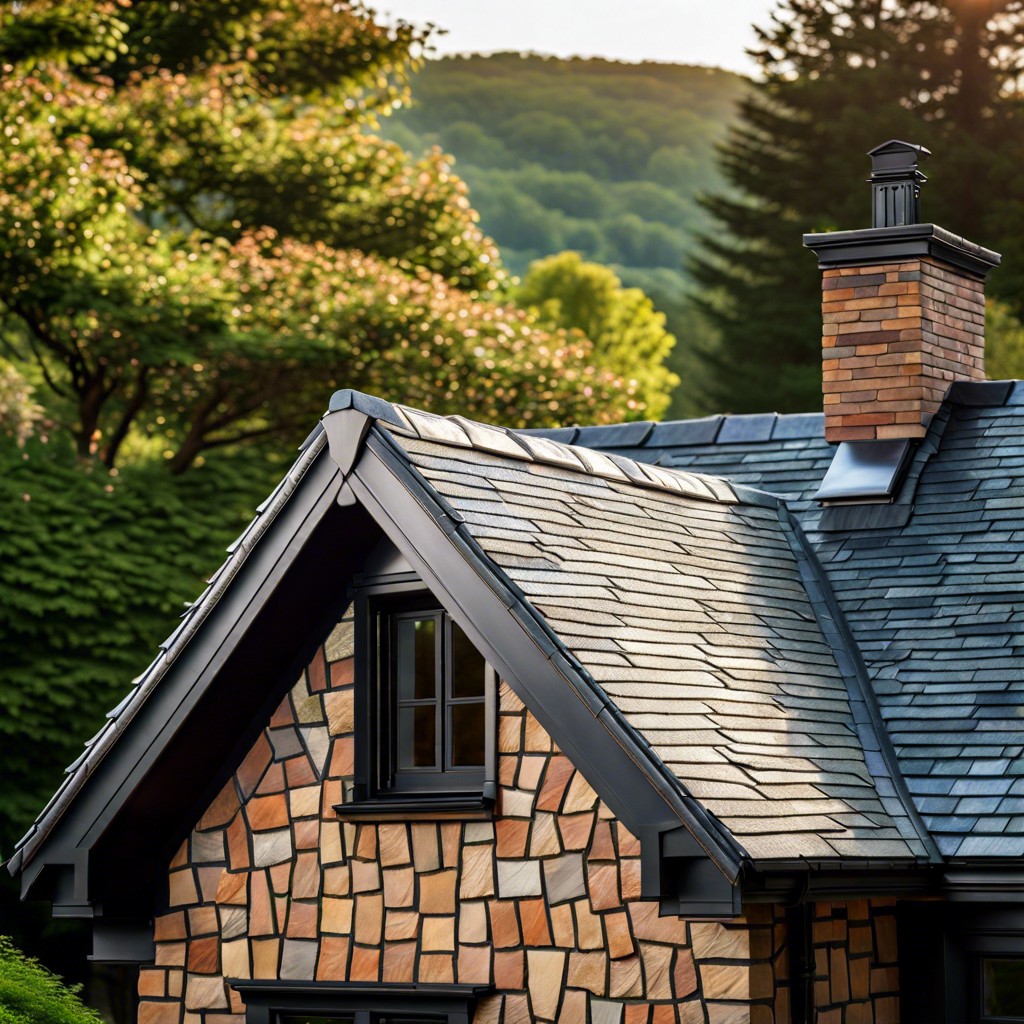 Slate Roof Cost: What to Expect and Why It’s Worth the Investment
 Shingle Roof Cost: Your Wallet’s Best Friend or Foe?