Last updated on
Hail damage to roofs can present in various forms, and in this article, you will learn about the common indicators, potential consequences, and the steps you should take if your roof is impacted by a hail storm.
Key takeaways:
- Hail damage accelerates roof aging and can cause leaks.
- Look for dents, cracks, and missing granules on shingles.
- Assess metal components, siding, windowsills, and gutters.
- Repair options range from localized fixes to full roof replacements.
- Document damage, consult with insurance, and schedule a professional inspection.
What Hail Does to a Roof
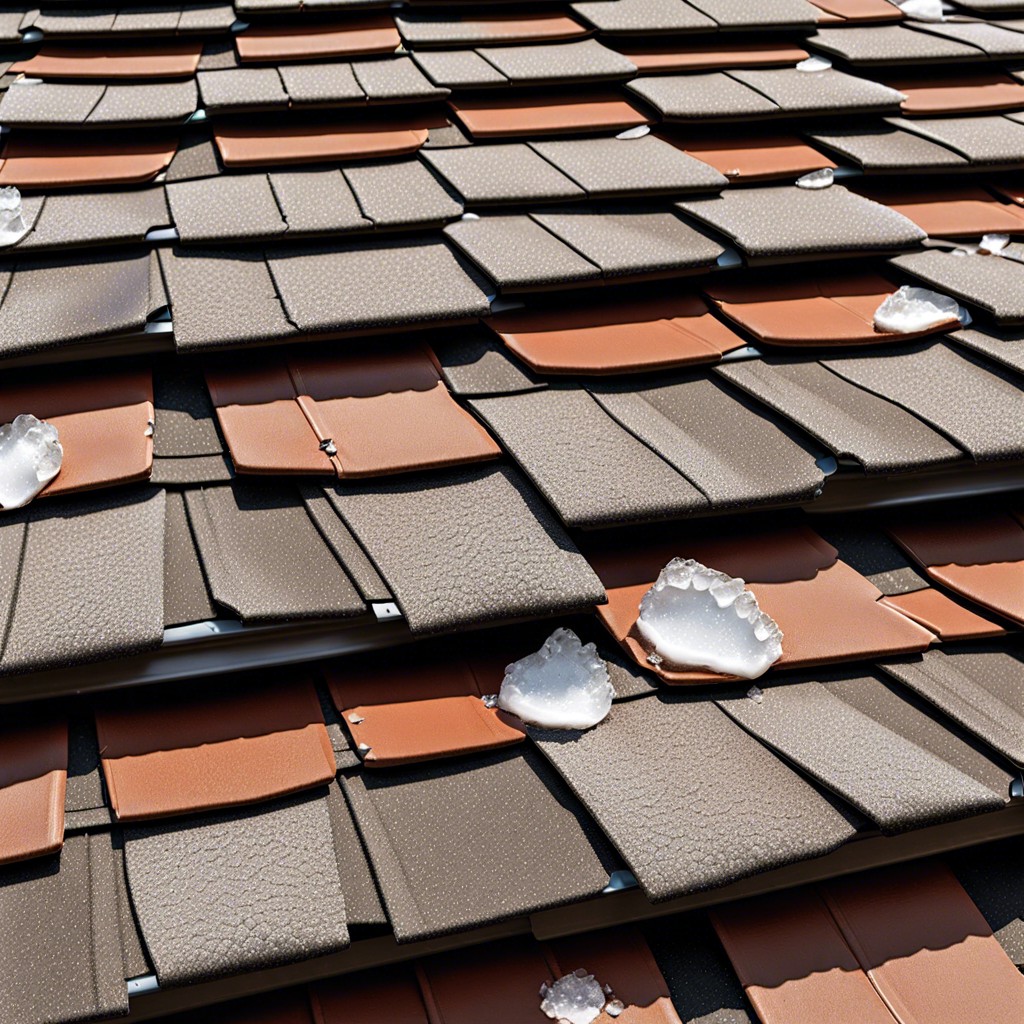
Hail can wreak havoc on roofing materials, impacting the integrity and lifespan of a roof. When hailstones strike shingles, they can dislodge the granules that protect against UV rays and weathering, resulting in accelerated aging. The force of hail can also create cracks or breaks in shingles which allow water to seep in, potentially causing leaks and water damage.
Additionally, hail impacts can bruise or even puncture the protective mat underneath shingles. For metal roofs, while more resistant to the more common, smaller hailstones, larger hail can cause dents and cosmetic damage which can diminish the roof’s aesthetic appeal.
It’s not just the roof that’s vulnerable; hail can also damage roof accessories and features such as vents, skylights, and gutters. Vents may become dented, skylights cracked, and gutters could be knocked loose or have their alignment altered, affecting drainage.
The extent of hail damage often depends on the size and density of the hailstones, the speed of the storm, and the age and condition of the roof prior to the hail event. Even seemingly minimal damage can lead to larger issues if not addressed, underlining the importance of prompt inspection and potential repairs following a hailstorm.
How to Identify Hail Damage On Your Roof or Exterior
Recognizing hail damage often requires a keen eye and knowledge of what to look for. On roofs, hail impacts commonly result in a random pattern of strike marks. Look for dents, cracks, or bruises on shingles, particularly where granules might be missing. This can expose the underlayment or even the roof deck to further damage.
Metal components are also prone to hail damage. Check metal roof vents, flashing, and the valleys on your roof for dents. In some cases, these may be superficial, but they can also compromise the integrity of the roof if left unchecked.
Inspect the siding and windowsills/extreme cases, even windowpanes can exhibit signs of hail impact. Look for dents, chipping, or splatter marks on siding, which are indicators that the hail impacts were significant.
Gutters can also offer clues. Look for dings and dents on gutters and downspouts. Accumulations of asphalt granules at the bottom of downspouts are a telltale sign of roof damage, as these may have been knocked loose from shingles during the storm.
Be sure to assess the condition of outdoor items such as air conditioning units, patios, and decks; they can show hail damage as well. Hail impact on these surfaces may not affect your home’s protection like roof damage, but they can indicate the severity and potential for roof damage.
Options for Repairing Hail Damaged Roofs
Understanding the extent of hail damage is crucial before deciding on repair options. For minor damage, such as dents in flashing or gutters, repairs can be localized without the need for extensive work.
If shingles have been cracked, they’ll need to be replaced to prevent water infiltration and protect the roof’s structural integrity. Asphalt shingles, commonly affected by hail, are relatively easy and cost-effective to replace.
In cases of severe hail damage, a partial or full roof replacement might be necessary. This is particularly the case when the underlayment or decking has been compromised, which can lead to leaks and water damage inside the home.
Modern materials offer hail-resistant roofing options, such as Class 4 rated shingles, which provide enhanced durability. Investing in these materials can prevent future hail damage and might also lower insurance premiums.
Always consult with a licensed roofing contractor to assess damage, provide a repair estimate, and ensure that repairs meet local building codes and manufacturer specifications. Professional repairs also often come with warranties, adding an extra layer of protection for your investment.
Timely repairs after hail damage are essential to maintain the roof’s lifespan and ensure the safety and comfort of your home.
Navigating Roof Damage Claims With Insurance
Filing a claim with your insurance company for hail damage can seem daunting, but understanding the process simplifies the task. Begin by reviewing your homeowner’s insurance policy to determine your coverage scope for hail damage. It’s imperative to know your deductible and whether your policy covers the Actual Cash Value (ACV) or the Replacement Cost Value (RCV) for your roof.
Promptly after a hail event, document all damage. Take photographs or video footage of the hail, any damaged areas of the roof, and surroundings. This documentation will serve as evidence when you communicate with your insurance company.
Reach out to your insurance provider to initiate a claim as soon as possible; insurers often have deadlines for reporting damage. They’ll schedule an adjuster to inspect your house and provide an estimate for repairs. In parallel, consider getting an independent assessment from a reputable roofing contractor who can offer a second opinion on the damage.
During the adjuster’s visit, ensure you’re present to discuss your findings. Provide them with the evidence you compiled and ask questions about their assessment. Ensure their report includes all areas of damage and the appropriate levels of repair needed.
Finally, keep a record of all communications with your insurance company. This includes saving correspondence, recording phone calls (where legally permissible), and noting all discussions you have throughout the process. Thorough records can be critical if disputes arise over coverage or if the scope of repairs is questioned.
How to Schedule and Prepare for a Professional Roof Inspection
After determining that your roof may have been affected by hail, setting up a professional inspection is a critical next step. This process involves several key actions to ensure the inspection is thorough and effective.
Firstly, find a reputable roofing contractor with experience in hail damage. Look for licensed and insured professionals with good customer reviews. Don’t hesitate to ask for references from past clients.
Once you’ve selected a contractor, schedule your inspection promptly. Quick scheduling is important, as hail damage can lead to more severe issues if left unaddressed. Many contractors offer flexible timings to accommodate your schedule.
Before the inspector arrives, make a note of any spots you’ve seen leaks or exterior damage; this will help guide the inspection. Ensure your roof is accessible; trim any tree branches that might impede the roof inspection, and secure pets away from the work area for their safety and the inspector’s convenience.
Additionally, prepare a list of questions or concerns you may have about your roof. Clear communication with your inspector will provide a comprehensive understanding of the roof’s condition and the necessary repairs.
Lastly, if your inspection will be covered by insurance, check if your policy requires you to use specific contracted inspectors and ensure the inspector’s findings will be documented in a way your insurance provider accepts. Proper documentation is paramount — it supports insurance claims and records the roof’s condition for future reference.
By carefully preparing for the inspection, you can facilitate a smooth process and gain precise insights into the hail damage your roof sustained.
Read More
 How to Clean Solar Panels on Roof Automatically: Simple Steps for Maintenance
 Roof Rake Buying Guide: Choose the Best Model for Your Home
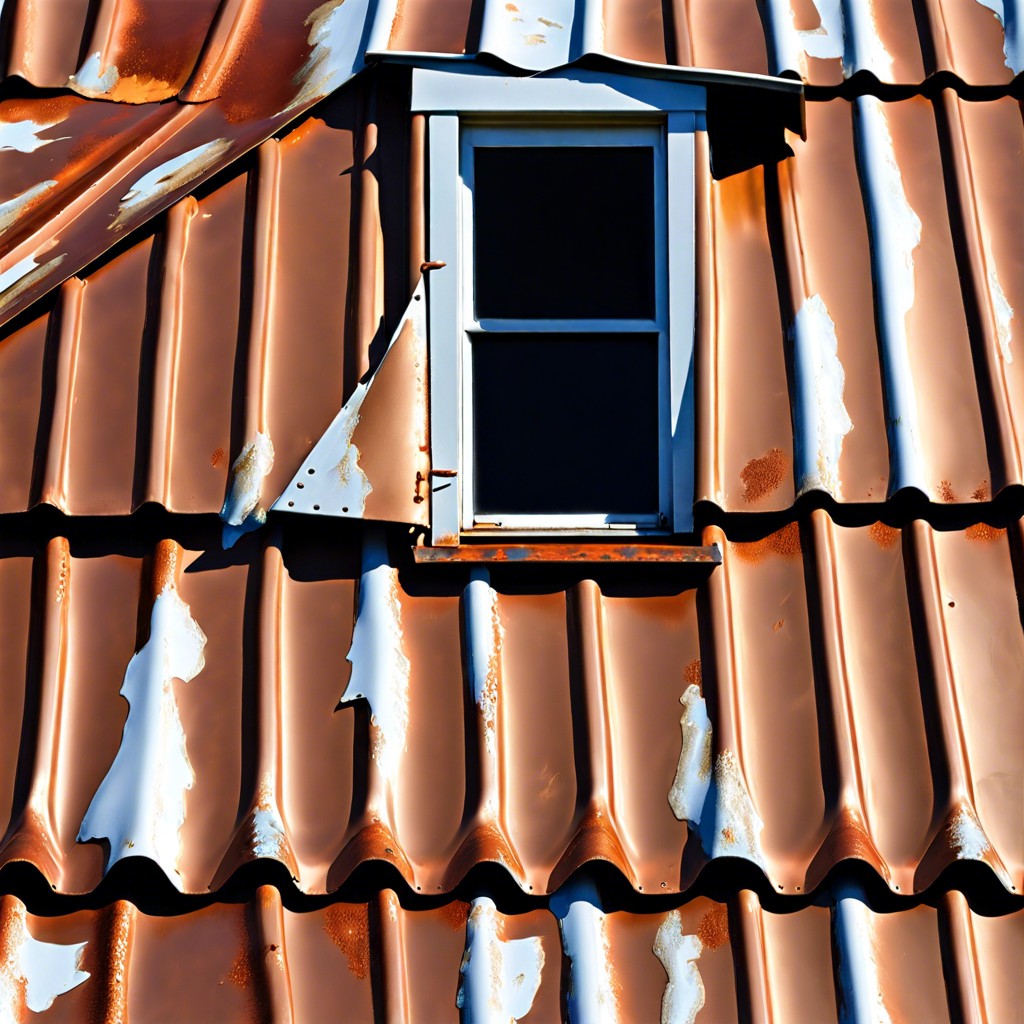 Metal Roof Repair: Step-by-Step Guide for Quick Fixes
 How to Frame a Roof: Step-by-Step Instructions for Beginners
 Roof Tarping: How to Secure Your Home After a Storm