Last updated on
Learn how to effectively tarp a roof to protect it from further damage after a storm.
Key takeaways:
- Tarping protects from water damage, mold, and temperature fluctuations.
- Tools needed: heavy-duty tarp, 2x4s, utility knife, nails/screws.
- Safety precautions: wear proper gear, check weather, stable ladder.
- Steps: clear debris, lay tarp, secure with 2x4s and nails/screws.
- Replace tarp with permanent repairs if leakage, weather, wear and tear, or insurance assessment.
Reasons to Tarp Your Roof
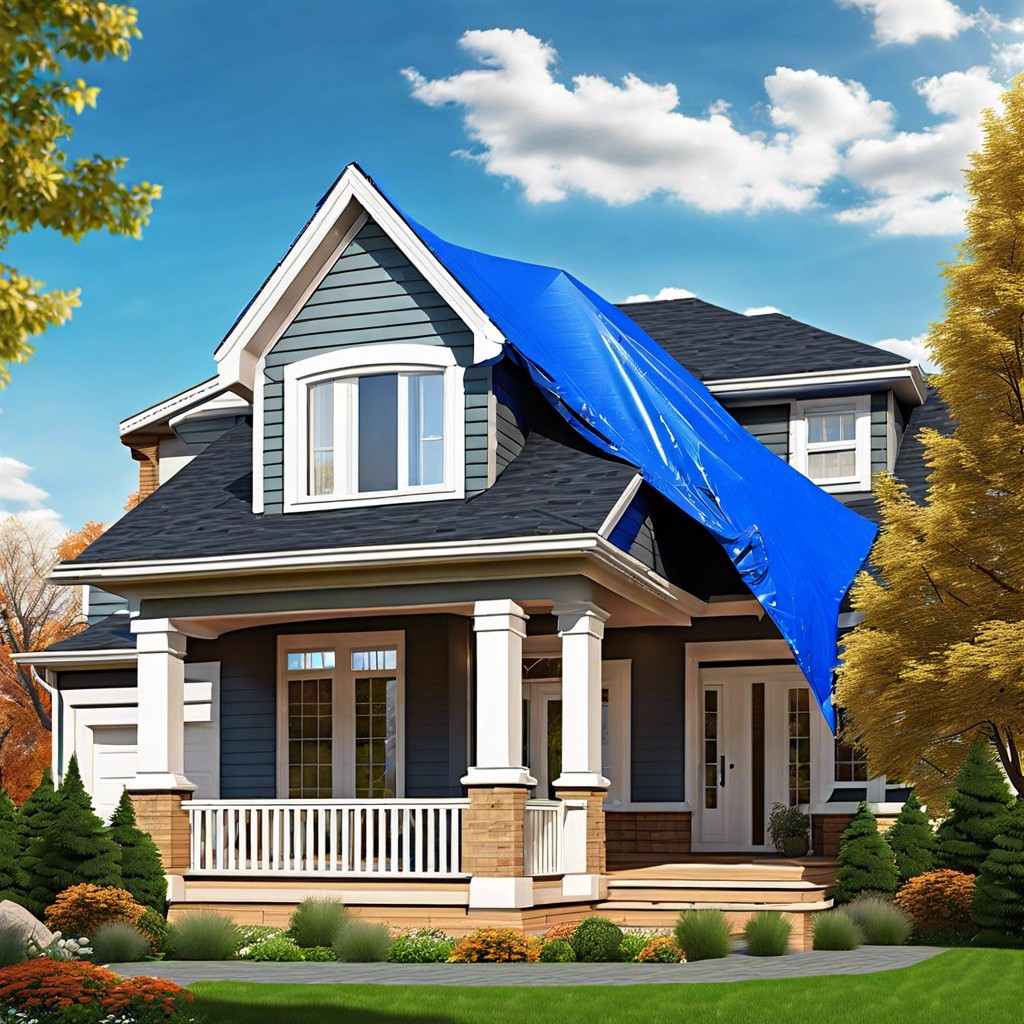
Tarping a roof acts as a temporary safeguard until permanent repairs can be executed. It prevents further damage from water leaks, which can lead to costly repairs in structures and personal belongings. Moreover, it protects the house’s interior from exposure to environmental elements, decreasing the risk of mold and mildew growth—common issues in water-damaged homes. By covering exposed areas, a tarp also helps maintain the home’s temperature, keeping heating and cooling bills in check. In post-disaster scenarios, such as after a storm or fire, tarping can provide necessary security and peace of mind to homeowners, reassuring them that immediate vulnerabilities are addressed as they plan for the next steps.
Necessary Tools and Materials for Roof Tarping
Before you begin the task of tarping your roof, gathering the right tools and materials is crucial. You will need a heavy-duty tarp that is large enough to cover the damaged area and extend over peak of the roof. Check for UV-resistant and waterproof qualities to ensure the tarp can withstand the elements.
Include a minimum of three to four 2x4s, which will secure the tarp down and prevent it from blowing away. These should be long enough to extend about 2 feet past the edge of the tarp on each side.
A utility knife is necessary for cutting the tarp and wood to the correct sizes. Safety goggles and gloves will protect you from potential hazards during the installation process.
Lastly, nails or screws will be essential for affixing the tarp to the supports, ensuring it remains in place. Opt for rust-resistant varieties to avoid further complications.
By preparing these items beforehand, you can streamline the tarping process and effectively protect your home from water damage.
Safety Precautions Before Starting
Before you venture onto your roof, wearing the right gear is crucial. Slip on durable, non-slip shoes to maintain steady footing. A sturdy helmet can protect against unexpected falls or bumps.
Check the weather forecast; avoid working during wet, windy, or stormy conditions. A clear, calm day is your best bet for safe tarping.
Ensure the ladder used is both stable and firmly placed against your home. If possible, work with a partner who can hold the ladder and pass tools as needed.
Be aware of your surroundings, especially power lines or tree branches that could pose risks. Keep a first aid kit handy for any minor accidents, ensuring a prompt response if needed.
By adhering to these precautions, you significantly reduce the risk of injury, making the tarping process smoother and safer.
Step-by-Step Guide to Tarping a Roof
Firstly, locate the damaged area of your roof and clear any debris or loose materials. Assess if the area is dry; a wet surface could make installation tricky and less effective.
Lay the tarp flat over the affected part to cover it completely. Ensure it extends at least 4 feet beyond the damaged area on each side. This extension helps prevent water from leaking into the damaged section.
Secure one edge of the tarp to the roof by sandwiching the tarp’s edge between strips of 2×4 wood and using nails to attach them through the tarp into the roof framing. This creates a more secure, wind-resistant setup.
Continue to secure the tarp by wrapping its opposite edges around another set of 2x4s. Nail these boards to the roof as well, ensuring the tarp is taut and stable, to minimize wind lifting it.
Finally, check all around the tarp to confirm that it’s held down solidly at all edges and corners. Add more nails or wood strips if necessary to keep everything battened down.
This quick fix allows you to manage the situation at hand, keeping water out until permanent repairs can be made.
When to Replace the Tarp With Permanent Repairs
While roof tarps provide a temporary fix, knowing when to transition to permanent repairs is crucial. If you spot any of the following signs, it’s time to call in the professionals:
- Continued Leakage: ** If water seeps in despite the tarp, this indicates that the damage may be more extensive than initially thought.
- Weather Forecast: ** Ahead of harsh weather conditions like heavy rain or wind, securing permanent repairs can prevent further damage.
- Visible Wear and Tear on Tarp: ** If the tarp shows signs of degradation such as tearing or flapping, it no longer offers adequate protection.
- After Insurance Assessment: ** Once your insurance company evaluates the damage, they often provide a timeline for when repairs should commence.
Timely recognition of these indicators helps maintain your home’s integrity and prevents escalating repair costs.
Read More
 How to Clean Solar Panels on Roof Automatically: Simple Steps for Maintenance
 Roof Rake Buying Guide: Choose the Best Model for Your Home
 Metal Roof Repair: Step-by-Step Guide for Quick Fixes
 How to Frame a Roof: Step-by-Step Instructions for Beginners
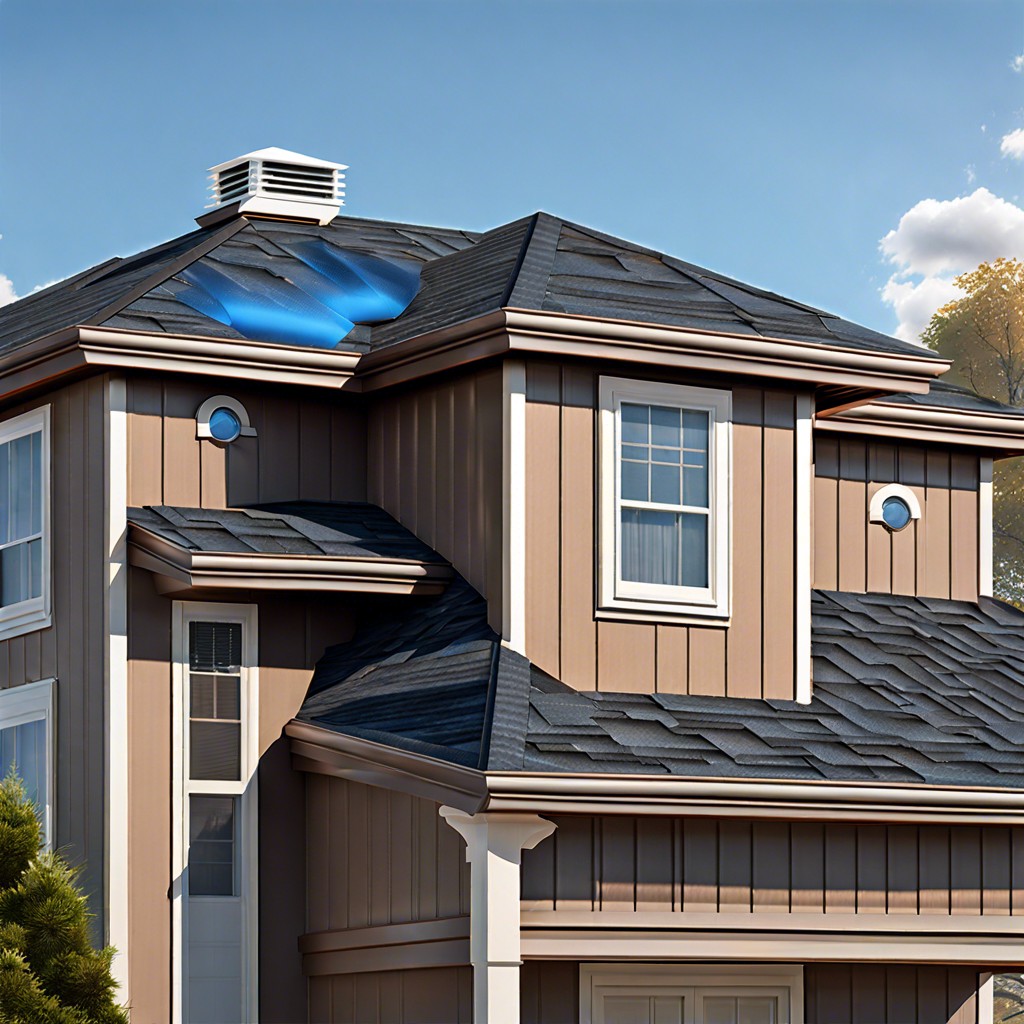 Roof Vent Installation: Step-by-Step Guide for Homeowners