Last updated on
Roof flashing plays a crucial role in waterproofing your home; this article explains its types, importance, and proper installation methods.
Key takeaways:
- Roof flashing prevents water damage and mold growth.
- It protects vulnerable areas of the roof from leaks.
- Different types of flashing protect specific parts of the roof.
- Precise installation techniques ensure a watertight seal.
- Signs of deteriorating flashing indicate the need for replacement.
Definition of Roof Flashing
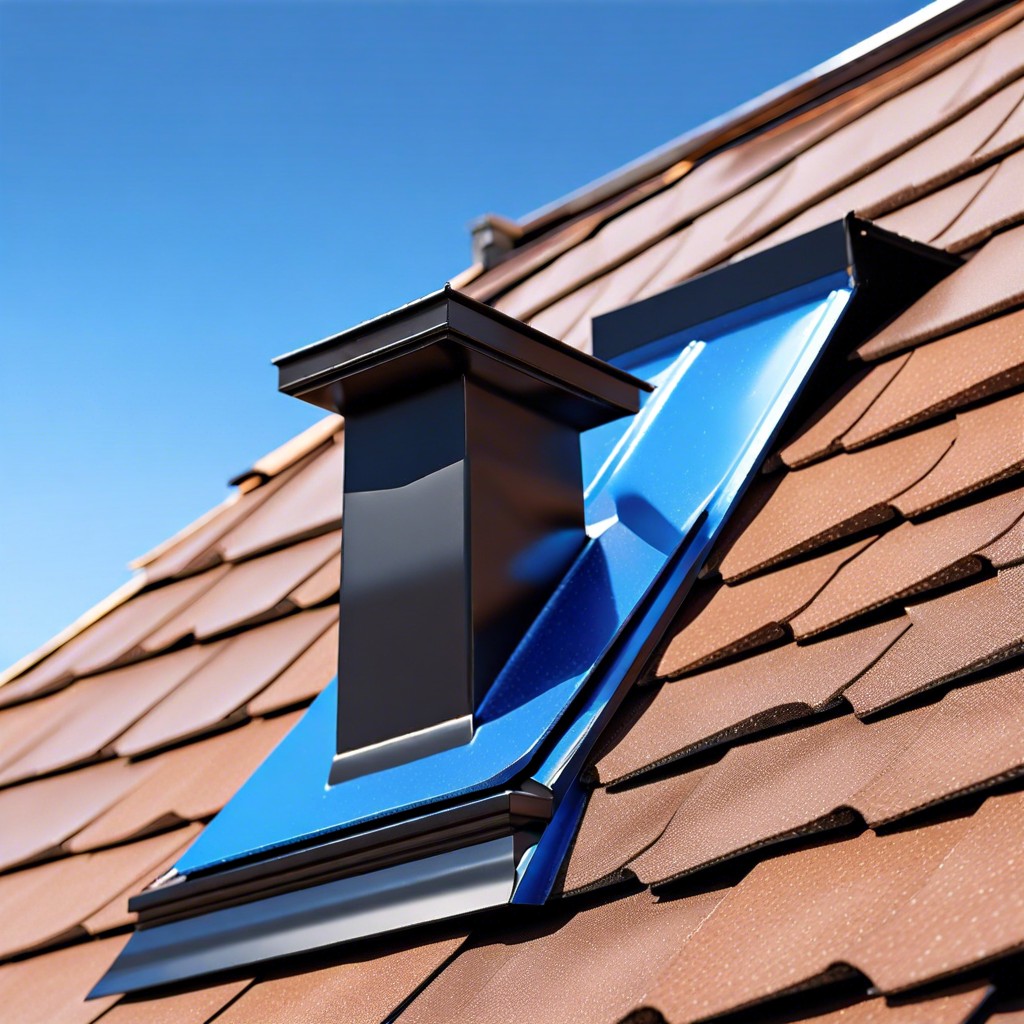
Roof flashing is a critical component used to prevent water from entering a structure at intersections or projections on a roof, such as chimneys, vents, dormers, and valleys. Typically, it is made from materials impervious to water, like galvanized steel, aluminum, or copper, and works by directing water away from these vulnerable areas toward the gutters or off the roof surface.
Effectively, flashing acts as a sealant between the different joints in the roof system. Its main purpose is to maintain a watertight barrier, as these joints are potential entry points for moisture. Over time, this function maintains the integrity of the roof and by extension, the entire building, by preventing water damage and the growth of mold within the structure caused by leaks.
Flashing is therefore essential for the long-term durability of a roof, as it is specifically designed to combat the problems caused by water infiltration which can lead to costly and extensive repairs if left unchecked.
Importance of Roof Flashing
Roof flashing serves as a critical line of defense against water damage in your home. Positioned at the most vulnerable areas of your roof – such as valleys, chimneys, vents, and joints – it effectively channels water away, preventing accumulation that can lead to leaks.
Without proper flashing, water can seep into these junctions, causing rot in wooden structures and promoting mold growth, which can both jeopardize the integrity of your roof and pose health risks. It also plays a vital role in protecting the edges of your roofing material from wind uplift and other environmental factors.
Moreover, roofing flashing is instrumental in extending the lifespan of your roof by mitigating the potential damage that constant water exposure can cause. Its durability against harsh weather maximizes your roof’s performance and can save you from costly repairs down the line. Thus, ensuring your roof is well-equipped with correctly installed flashing isn’t just an option—it’s a necessity for the longevity and safety of your home.
Types of Roof Flashing
There are several distinct varieties of roof flashing, each designed to protect a specific part of the roof. Drip edges, for instance, are installed along the edges of the roof to direct water away from the fascia and into the gutters. Step flashing, on the other hand, is used where a roof meets a wall; it integrates with the shingles and wall siding to prevent water seepage.
Valley flashing protects the areas where two roof planes intersect, creating a valley. These are typically more prone to water collection and thus require robust flashing. Counter flashing, often paired with base flashing, acts as an added layer of protection, particularly around chimneys or roof penetrations to tightly seal the joints.
Vent pipe flashing is designed with a rubber seal to fit around plumbing vents, effectively blocking water from entering around pipe openings. Lastly, kick-out flashing is a critical component that ensures water flows into the gutter rather than down the side of the wall, preventing potential damage to the siding or foundation.
Selection and proper installation of appropriate flashing types are crucial for a roof’s integrity, as each type addresses different potential leak points, contributing to a well-sealed, durable roof.
Installation Techniques
Proper installation of roof flashing is crucial for ensuring a watertight seal at the intersections of roofing materials and projections. Here are some key points regarding installation techniques:
- Surface Preparation: **
- Before installing any type of flashing, the surface must be clean and dry. Any debris, old roofing materials, or loose nails should be removed to create a flat surface that allows for secure flashing attachment.
- Measuring and Cutting: **
- Flashing should be measured precisely and cut to fit the specific area it is meant to protect. Whether it’s chimney flashing, step flashing, or valley flashing, each piece should be tailored to provide maximum coverage without impeding water flow.
- Sealant Application: **
- Use a high-quality exterior sealant or roofing cement to adhere the flashing to the roofing material. This aids in creating an additional barrier against water penetration.
- Nailing: **
- Secure flashing with roofing nails, spacing them at regular intervals. Always ensure nails are driven straight and do not penetrate the material in a way that could cause leaks.
- Overlapping Technique: **
- When installing multiple pieces of flashing, it is important to overlap them correctly. This ensures water flows over the joints rather than seeping in between. The general rule is to overlap the higher piece over the lower one, directing water away from the seam.
- Counter-flashing: **
- Some areas, such as chimneys or walls, require an additional layer of flashing called counter-flashing. This piece is installed over the primary flashing and embedded into the masonry to create a more durable barrier.
- Inspection: **
- After installation, inspect all flashing edges and seams to ensure they are sealed properly. Areas that are prone to gathering water or are under more stress may need extra sealant or additional securing. Regular inspections for these potential vulnerabilities can prevent future leaks and prolong the lifespan of the roof flashing.
Signs You Need Roof Flashing Replacement
Visible deterioration in the material, such as rust on metal flashing or cracked and broken pieces, often signals that replacement is due. Water stains or leaks appearing on interior walls or ceilings, particularly after rainfall, can be a symptom of failing flashing. During routine roof inspections, professionals look for lifted or loose flashing sections, an indicator that the seal has been compromised. Over time, flashing may become warped or bent, leading to gaps between the flashing and roofing materials; this deformation is a clear sign that the flashing is no longer performing its intended task. Mold or mildew growth in the attic or on exterior walls can also hint at compromised flashing, as these fungi thrive in damp conditions commonly caused by water infiltration. It’s crucial to address these signs promptly to prevent more extensive water damage to the structure.
Read More
 How to Clean Solar Panels on Roof Automatically: Simple Steps for Maintenance
 Roof Rake Buying Guide: Choose the Best Model for Your Home
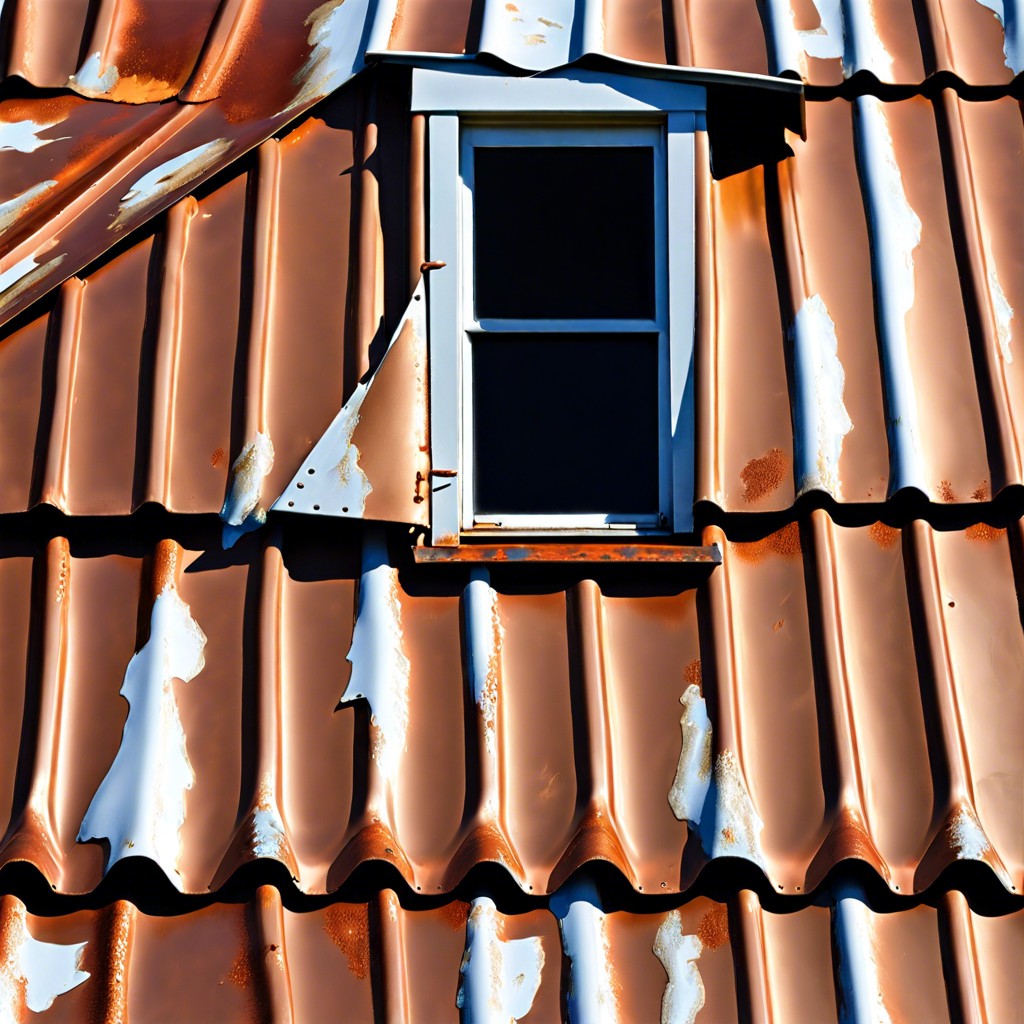 Metal Roof Repair: Step-by-Step Guide for Quick Fixes
 How to Frame a Roof: Step-by-Step Instructions for Beginners
 Roof Tarping: How to Secure Your Home After a Storm