Last updated on
Learn the steps to effectively slope a flat roof for improved drainage and prevent water accumulation issues.
Key takeaways:
- Proper drainage prevents structural damage and extends roof life.
- Steps: evaluate structure, design slope, install framing, seal joints.
- Tools needed: level, tape measure, chalk line, roofing materials.
- Mistakes to avoid: inadequate slope, neglecting structure, skipping drainage.
- Maintain roof by inspecting, clearing debris, and sealing joints.
Importance of Proper Drainage for Flat Roofs

Adequate drainage is crucial for flat roofs to prevent water accumulation that can cause structural damage. Standing water can degrade roofing materials, leading to leaks and deterioration.
Additionally, the weight of pooled water creates a strain on the roof structure, which could result in costly repairs or even collapse. Proper sloping allows for quick runoff, eliminates the risk of water penetration, and extends the life of the roof.
It also minimizes the potential for mold and algae growth, which can compromise the roof’s integrity and indoor air quality. Moreover, ensuring efficient drainage is often a building code requirement, reinforcing its importance in roof construction and maintenance.
Step-by-step Guide to Sloping a Flat Roof
Begin by evaluating the existing flat roof structure to ensure it can accommodate additional sloping. Check for structural integrity, as adding slope will involve extra weight and stress on the roofing system.
Design a tapered insulation system or use pre-manufactured tapered insulation panels to create a gradual slope. The slope must lead toward the drainage points, ideally at a minimum pitch of 1/4 inch per foot to ensure efficient water flow.
Map out the high and lowest points on the roof. The high point will be your starting position, and from there, the insulation panels or supports will taper down to the edges or specific drainage points, such as internal drains or scuppers.
Install additional framing as needed, depending on the chosen method, to support the new slope. This framing can be wooden battens or lightweight metal framing that conforms to the slope layout.
If using the cut-to-fall insulation method, carefully measure and cut the insulation boards to match the slope design. Ensure joints are tightly sealed to prevent thermal bridging and maintain insulation performance.
Lay down a waterproof membrane over the insulation or framing. The membrane must be compatible with the existing roofing system and correctly overlapped and sealed to prevent leaks.
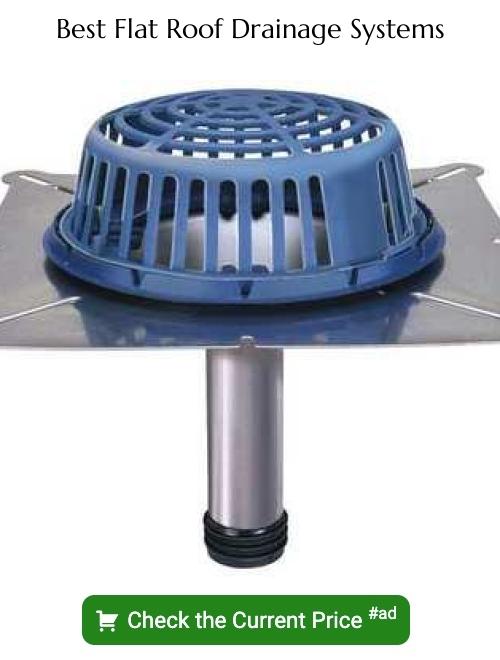
Install flashing and drainage systems. Ensure all edges, junction points, and penetrations are properly sealed and that the water is directed towards the drains, gutters, or downspouts.
Conduct a water test to confirm that the sloping is effective and water is draining as intended, making adjustments if necessary to prevent any pooling areas, which can cause long-term damage to the roof structure.
Tools and Materials Needed for the Job
Ensuring you have the correct tools and materials is crucial before beginning the process of sloping a flat roof for better drainage. Start with:
– Level: To determine the existing slope and measure the desired pitch. – Tape Measure: For precise measurements of your roof area and required material lengths. – Chalk Line: To mark guide lines for the placement of new materials that will create the slope. – Rooftop Paver System or Tapered Insulation: A common solution for creating a slope while also providing insulation. – Roofing Material: Compatible with the sloping method chosen, such as EPDM or TPO if working with a membrane system. – Adhesive/Sealant: To affix new sloping materials to the existing roof structure. – Fasteners: Ensuring they are suitable for your roofing material and provide adequate hold. – Circular Saw: For cutting materials to size if necessary. – Drainage Outlets: Additional drains or scuppers may need to be installed to facilitate the improved water flow. – Protective Gear: Safety glasses, gloves, and sturdy footwear to ensure personal safety during the project.Each of these items plays a role in successfully modifying the pitch of your flat roof, promoting effective water runoff and extending the lifespan of the roofing structure. It’s important to have all materials on hand before starting to streamline the installation process.
Common Mistakes to Avoid When Sloping a Roof
Avoiding inadequate slope gradients is crucial; a minimum pitch of 1/4 inch per foot is necessary for effective water runoff. Using an improper slope can result in pooling water, which can lead to leaks and structural damage over time.
Neglecting the roof’s structure when planning the slope can be detrimental. It’s important to consult with a structural engineer to ensure that the building can support any additional loads created by the new slope.
Skipping the installation of a proper drainage system, such as gutters and downspouts, can undermine the sloping efforts. Ensure that the drainage system complements the slope to carry water away from the roof efficiently.
Failing to seal the roof appropriately after sloping can lead to water ingress. Use a high-quality, durable sealant and apply it in accordance with the manufacturer’s instructions to maintain the integrity of the roof membrane.
Bypassing regular maintenance checks post-sloping will shorten the lifespan of the roof. Conduct routine inspections, especially after severe weather events, to address any issues promptly and to ensure the slope and drainage continue to function as intended.
Maintaining Your Sloped Roof After Installation
Regular inspections are crucial; aim for at least twice a year and after major weather events. Look for ponding water, which can indicate inadequate slope or blocked drainage.
Check and clear debris from gutters, scuppers, and drain outlets to ensure unimpeded water flow. Examine the roof surface and flashings for signs of wear, tear, or damage. Any soft spots or movement in the roof may suggest deterioration that needs attention.
Sealant and caulking around penetrations or joints should be intact and free of cracks; reapply as needed. Trim overhanging tree limbs that can drop leaves or branches onto the roof, potentially causing damage and blocking drainage pathways.
Lastly, keep a maintenance log to track the condition and care of the roof over time, which can be invaluable for warranty purposes and future inspections.
Read More
 How to Clean Solar Panels on Roof Automatically: Simple Steps for Maintenance
 Roof Rake Buying Guide: Choose the Best Model for Your Home
 Metal Roof Repair: Step-by-Step Guide for Quick Fixes
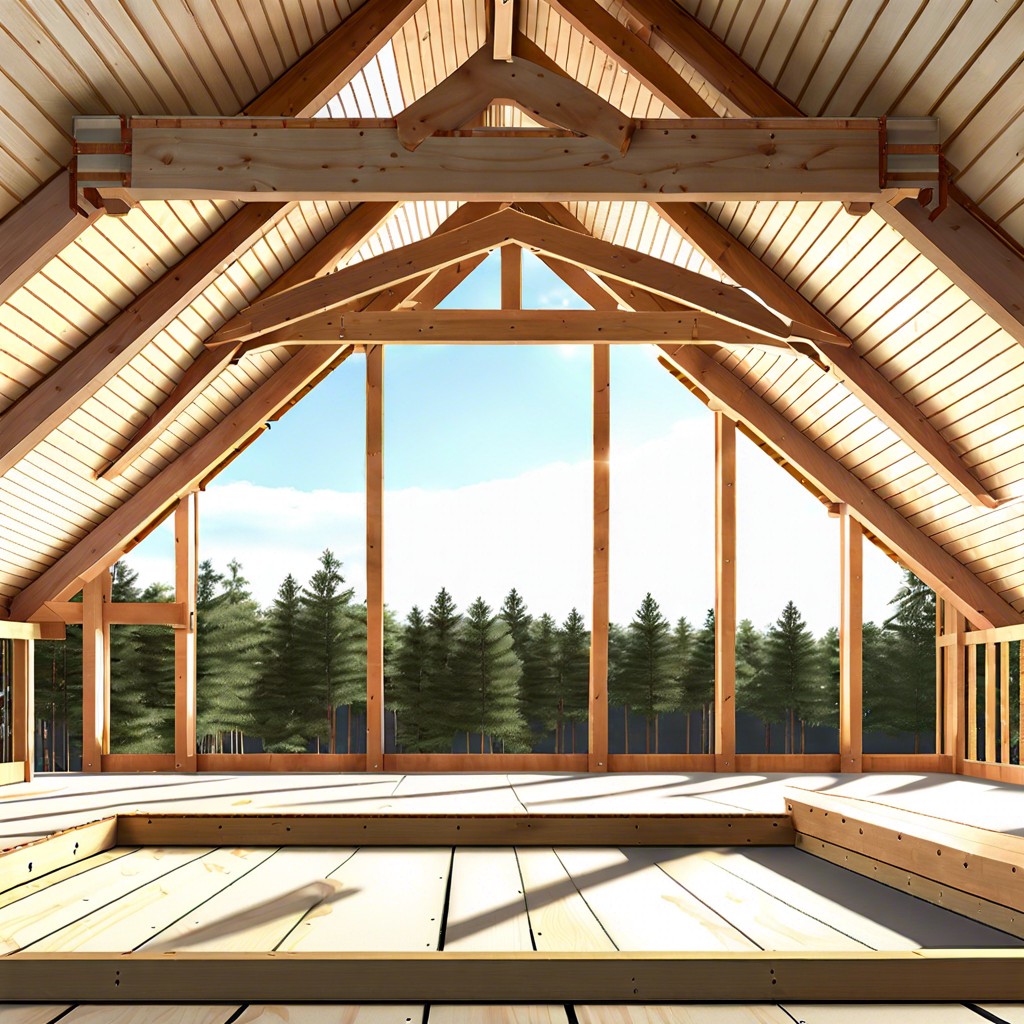 How to Frame a Roof: Step-by-Step Instructions for Beginners
 Roof Tarping: How to Secure Your Home After a Storm