Last updated on
Discover the simple steps to seamlessly attach a patio roof to your existing house, enhancing your outdoor living space while adding charm and functionality.
Are you planning to add a patio roof to your backyard but don’t know where to start? One of the most important things you need to consider is how to attach the patio roof securely to your existing house. This can seem like a daunting task, but with the right knowledge and tools, it’s entirely possible.
In this article, we’ll guide you through the process of attaching a patio roof to an existing house step by step. By following our tips and tricks, you’ll be able to create a beautiful and functional outdoor space that will provide shade and protection from the elements for years to come.
So let’s get started!
Assessing Your Existing House Structure
Before you start attaching a patio roof to your existing house, it’s essential to assess the structure of your home. This will help you determine if it can support the weight of a new addition and ensure that everything is up to code.
Start by examining the exterior walls where you plan on attaching the patio roof ledger board. Look for any signs of damage or rot in these areas, as they may need repair before proceeding with installation.
Next, check out your attic space and look at how your rafters are attached to the top plate of your wall framing system. If there are no visible signs indicating that this connection point is weak or damaged, then chances are good that it will be able to handle additional weight from a new patio roof.
If necessary, consult with an engineer or contractor who specializes in roofing installations for advice on whether modifications should be made before starting work on this project.
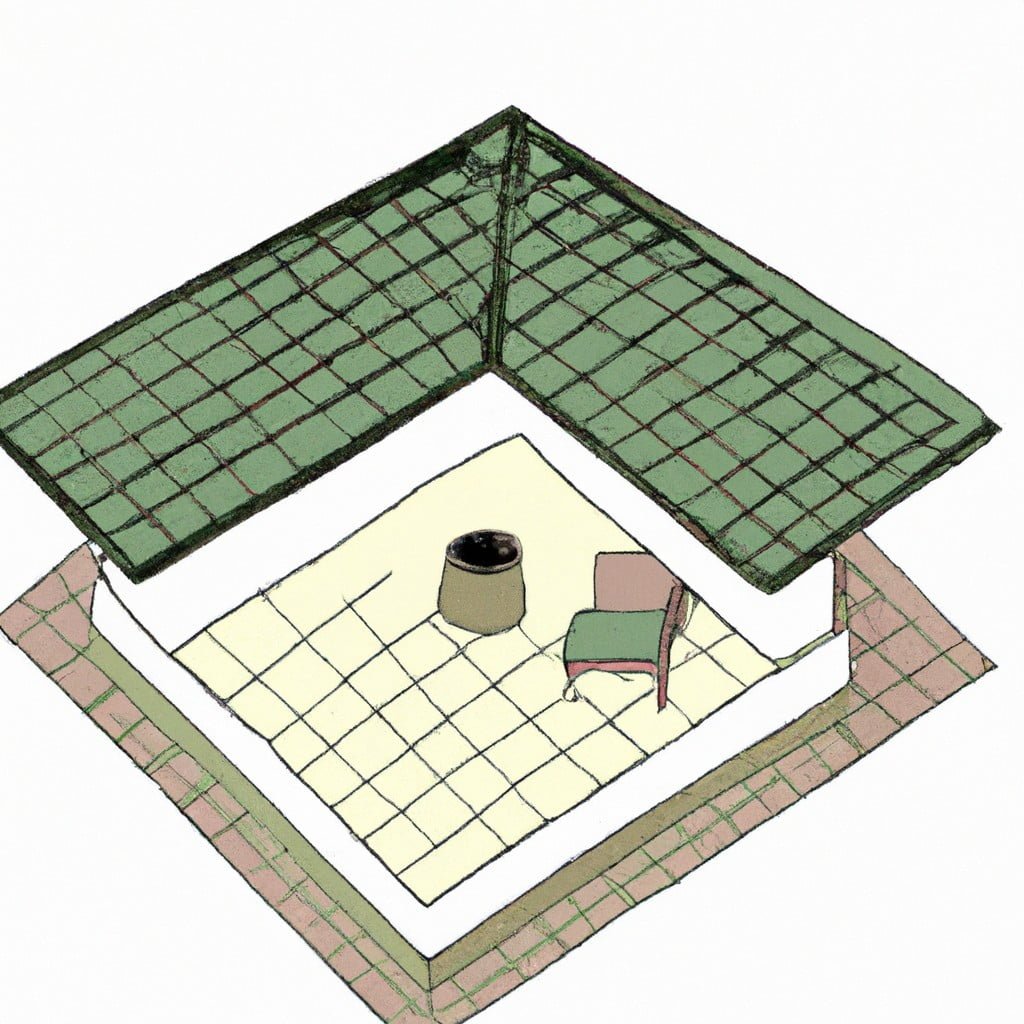
Assessing the Patio Space
This will help you determine the size and type of roof that will work best for your needs. Start by measuring the area where you want to install the patio roof and take note of any obstacles such as trees or power lines that may affect its placement.
Consider how much sun exposure your outdoor living space receives throughout different times of day, as this can impact which materials are suitable for roofing. If you live in an area with high winds or heavy snowfall, make sure to choose a material strong enough to withstand these conditions.
Think about how often you plan on using your outdoor living space and what activities will be taking place under the new roof. Will it be used primarily for dining? Or do you envision hosting large gatherings with plenty of seating?
Choosing the Right Patio Roof Material
The most popular materials include wood, metal, and polycarbonate panels. Each of these materials has its own unique advantages and disadvantages.
Wood is a classic choice for patio roofs as it provides a natural look that blends well with outdoor surroundings. However, wood requires regular maintenance to prevent rotting or warping due to exposure to moisture.
Metal roofing is another option that offers durability and longevity while requiring minimal maintenance. Metal roofs come in various styles such as standing seam or corrugated panels which can add an industrial aesthetic appeal.
Polycarbonate panels are lightweight yet durable making them ideal for DIY projects where ease of installation is important. They also provide excellent UV protection while allowing natural light into your outdoor space.
Obtaining Permits and Approvals
This is an essential step in ensuring that your project meets all safety requirements and building codes. Failure to obtain the proper permits can result in fines or even legal action.
To begin, contact your local government office or visit their website for information on what types of permits are required for adding a patio roof. You may need several different types of permits depending on where you live, including zoning approval, structural engineering approval, electrical permit (if wiring will be added), and more.
Once you have determined which type(s) of permit(s) are needed for your project, fill out the appropriate application forms and submit them along with any required documentation such as plans or drawings. The process can take some time so it’s best to plan ahead before starting construction.
Preparing the House for Attachment
This involves assessing the condition of your home’s exterior and ensuring that it is structurally sound enough to support the weight of a new patio roof. Start by examining any areas where water damage or rot may have occurred, as these issues can weaken the structure over time.
Next, check for any loose or damaged siding or trim around windows and doors that could compromise their integrity. Repairing these areas before attaching a patio roof will help prevent leaks and other problems down the line.
It’s also important to ensure that there are no electrical wires or plumbing pipes in the area where you plan on attaching your new patio roof. If there are, be sure to reroute them before proceeding with installation.
Make sure all necessary permits have been obtained from local authorities before beginning work on your project.
Selecting the Proper Attachment Method
There are several ways to attach a patio roof to an existing house, including ledger boards, anchor bolts or lag screws. The most common method is using a ledger board that attaches directly onto the exterior wall of your home.
When selecting an attachment method, it’s important to consider factors such as wind loads and snow loads in your area. You’ll also need to choose materials that can withstand exposure from outdoor elements like rain and sun.
It’s recommended that you consult with a professional roofing contractor or engineer before making any final decisions on how best to attach your new patio roof securely. They will be able to provide expert advice on which methods are suitable for different types of roofs and structures.
Fastening to Masonry Walls
If your house has a masonry wall, fastening the roof ledger can be a bit more challenging than with other types of walls. However, with proper tools and techniques, it’s entirely possible.
Firstly, you need to determine where exactly on the masonry wall you want to attach the ledger board. Make sure that there are no pipes or wires running behind that area before drilling any holes.
Next up is drilling pilot holes into the brick or concrete using a hammer drill equipped with an appropriate-sized carbide-tipped masonry bit. The depth of these pilot holes should be at least 2 inches deep into solid material for maximum strength.
Afterward comes inserting lead shields (also known as expansion anchors) into each hole until they’re flush against the surface of your wall; then screwing in lag bolts through them tightly enough so they don’t move but not too tight as this could cause damage over time due to thermal expansion/contraction cycles between different materials involved here – wood vs stone/concrete/etcetera).
Installing the Roof Ledger
The ledger board will serve as a support for your patio roof and must be securely attached to the house’s framing. Before installing it, make sure that you have obtained all necessary permits and approvals from local authorities.
To begin installation, mark where you want to attach the ledger on both sides of your home using a chalk line or level. Then cut away any siding or trim in this area with a sawzall or circular saw.
Next, measure out how long you need your ledger board to be by measuring between these two marks on either side of your home. Cut an appropriately sized piece of pressure-treated lumber for use as the roof’s main support beam (ledger).
Flashing a Patio Roof Ledger
Flashing is a thin metal sheet that covers the joint between two surfaces and prevents water from seeping in. It’s crucial to install flashing correctly because if not done right, water can penetrate through the gap and cause damage to your house structure.
To start with flashing installation, first clean any debris or dirt from both surfaces of your existing house wall and patio roof ledger. Then cut a piece of metal flashing long enough to cover at least 6 inches on each side of the joint.
Next, slide one end of the flashing under your existing siding material so that it overlaps with your new roofing material by about an inch or two. Secure this end using nails or screws but avoid over-tightening them as they may warp or bend the metal sheet.
Then fold up another section (about 2-3 inches) along its lengthwise centerline forming an L-shaped profile before sliding this part behind/underneath where you nailed/screwed down previously onto either surface – i.e., into place against both sides’ edges without leaving any gaps between them!.
Establishing Support Posts and Beams
These are essential components of any patio roof as they provide structural stability to your outdoor living space.
The first step in establishing support posts is determining their placement. The distance between each post will depend on several factors such as local building codes requirements or snow load capacity in areas with heavy snowfall.
Once you’ve determined where each post should be placed, mark them using stakes or spray paint.
Next up is selecting materials for your support posts that match both aesthetic preferences and durability needs. Common options include wood (cedar or pressure-treated lumber), steel (galvanized steel), aluminum (lightweight but strong) among others.
After choosing a suitable material for your supports’ construction comes installing beams across these supports at regular intervals along with crossbeams perpendicular to them which will form a grid-like pattern over which roofing sheets can be laid down securely without sagging under weight from rainwater accumulation during rainy seasons.
Designing Patio Roof Support Posts
First and foremost, the size of your patio will determine how many support posts you’ll need. The larger the area, the more support posts required for stability.
Another important factor is choosing the right material for your support posts. Wood is a popular choice due to its natural look and affordability; however, it requires regular maintenance such as painting or staining.
Steel or aluminum are also great options because they’re durable and low-maintenance.
The height of your patio roof will also play a role in determining post design – taller roofs require thicker beams that can handle heavier loads without sagging over time.
Lastly, don’t forget about aesthetics! Your patio should complement your home’s architecture while still reflecting personal style preferences. Consider incorporating decorative elements like carved woodwork or metal accents into post designs for added visual interest.
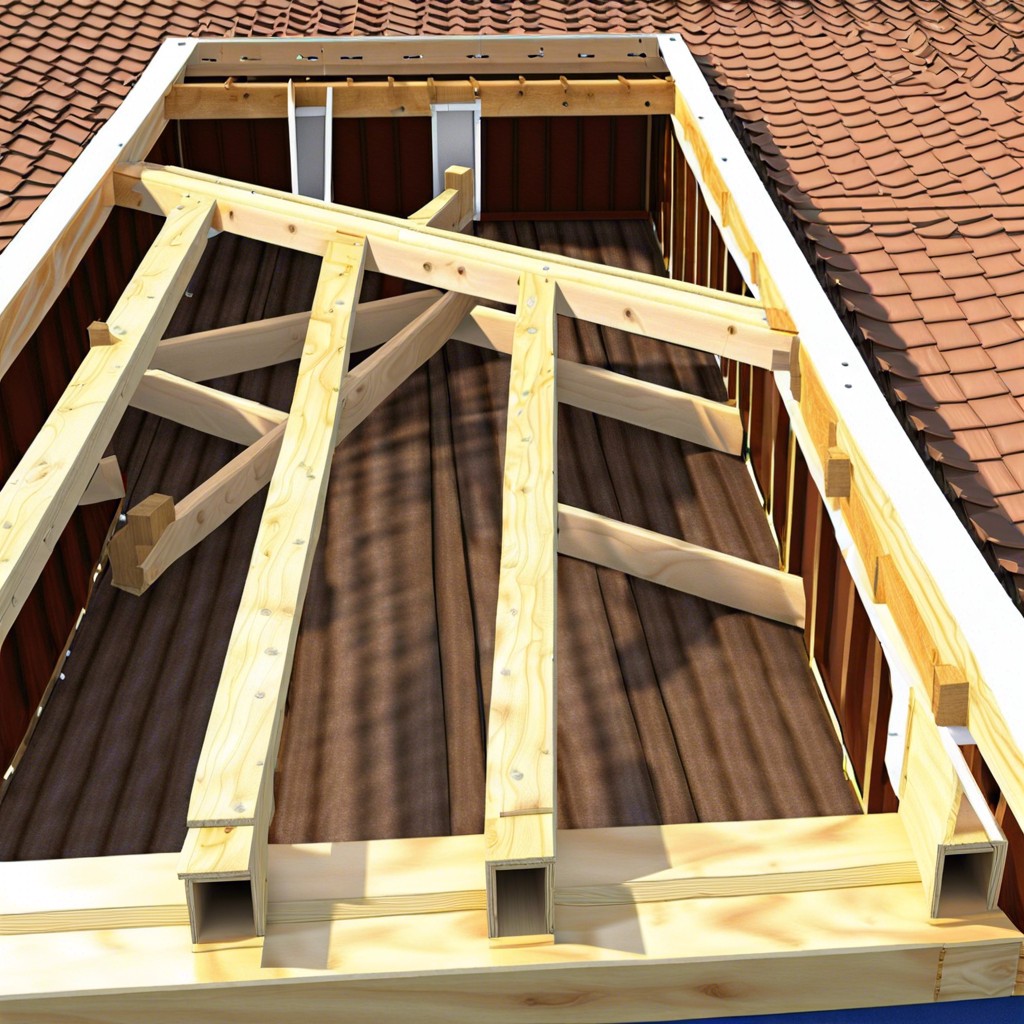
Assembling the Patio Roof Frame
This is where your design plan comes into play. You’ll need to follow your blueprint or sketch carefully, ensuring that all measurements are accurate before cutting any lumber.
Start by assembling the perimeter of the roof frame using 2x6s or 2x8s for larger patios. Cut each piece according to length and angle specifications in your design plan, then attach them together with screws or nails.
Next, add crossbeams between each support post at regular intervals along both sides of the patio roof frame. These will provide additional stability and help distribute weight evenly across all parts of your structure.
Install diagonal braces between each corner post for added strength against wind loads and other external forces that could cause damage over time.
Installing Patio Roof Rafters
These are horizontal members that span from one end of the beam to another, providing a framework for your roofing material. The first step is to measure and cut each rafter according to your design specifications.
Next, position each rafter on top of its corresponding beam with a slight overhang at both ends. Use metal brackets or hurricane ties to secure them in place before nailing them down with galvanized nails.
It’s important that all rafters are installed evenly spaced apart from one another so that they can properly support the weight of your chosen roofing material without sagging or buckling under pressure.
Once all rafters are securely fastened in place, you can move on to installing any additional components such as fascia boards or trim pieces before laying down your selected roofing material.
Securing Roof Sheathing
The sheathing is a layer of plywood or oriented strand board (OSB) that covers and protects your patio from weather elements such as rain, snow, and wind. To secure the sheathing in place, start by measuring and cutting each piece to fit snugly between adjacent rafters.
Next, lay out a row of roofing nails along one edge of each sheet at 6-inch intervals. Then position the first sheet on top of your support beams with its long edge parallel to them so that it overhangs slightly beyond their edges.
Nail down this first sheet using galvanized roofing nails driven through every other nail hole along both edges where they meet up against adjacent sheets or rafter tails until all fasteners are securely embedded into wood members below without splitting any boards apart during installation process.
Attaching the Patio Roof to House
The first step is to install a ledger board along the length of your house where you want to attach your patio roof. This will serve as a secure base for attaching your support posts and beams.
To install the ledger board, mark out where it needs to go on your wall using chalk or pencil lines. Then drill pilot holes into each stud at regular intervals along this line.
Next, use lag bolts that are long enough (at least 3 inches) and thick enough (1/2 inch diameter) to securely fasten through both the ledger board and into each stud behind it.
Make sure that all bolts are level with one another so that they can provide even support across their entire length when weight is applied later on during construction.
Laying the Roofing Material
The type of material you choose will depend on your budget and personal preference. Some popular options include asphalt shingles, metal panels, or tiles.
Before laying any roofing materials, make sure that all necessary flashing has been installed around chimneys and other protrusions from the roof surface. This will help prevent leaks in these areas.
When installing asphalt shingles or metal panels, start at one end of the patio roof and work your way across to ensure a uniform appearance. Be sure to follow manufacturer instructions for proper installation techniques.
If using tile as your roofing material choice be aware that they are heavy so additional support may be needed for this option.
Applying Roofing Material
The type of roofing material you choose will depend on your budget and personal preferences. Some popular options include asphalt shingles, metal panels, or tiles.
Before applying any roofing materials, make sure that all connection points are properly sealed with a high-quality sealant to prevent water from seeping in. Once this is done and everything is dry and clean, start laying out your chosen roofing material according to manufacturer instructions.
If using asphalt shingles or tiles for example; begin at the bottom edge of one side of the roof and work upwards towards the peak while overlapping each row slightly over previous ones until reaching other end where cutting may be necessary for proper fitment.
For metal panels; start by attaching them at one end then working across horizontally before moving up vertically until entire surface area has been covered with no gaps between sheets which can cause leaks later on down line if not addressed during installation process itself!.
Sealing the Connection Points
This will help prevent water from seeping into your home and causing damage. To do this, use a high-quality silicone caulk or roofing cement to seal around the edges of any flashing or metal connectors used in attaching the patio roof ledger board to your house.
Make sure that you apply enough caulk or cement so that there are no gaps between the flashing and siding of your home. You can also add an extra layer of protection by applying a waterproof membrane over these areas before sealing them with caulking.
It’s important not only to focus on sealing connection points but also inspecting them regularly for signs of wear and tear such as cracks, leaks, rusted screws/nails/bolts etc., which could compromise their effectiveness over time.
Installing Gutters and Downspouts
This will help prevent water damage by directing rainwater away from the foundation of your home and patio area. Gutters come in different materials such as aluminum, vinyl or steel, so choose one that suits your budget and style preferences.
To install gutters on a patio roof attached to an existing house, you’ll need brackets that attach directly onto the fascia board of the house. These brackets should be spaced no more than 24 inches apart for maximum support.
Once you have installed all necessary gutter brackets along with downspout outlets at appropriate locations on each end of the gutter run; measure out lengths needed for each section before cutting them using tin snips or a hacksaw blade.
Secure all sections together using connectors provided with your chosen type of gutter material while ensuring they are sloped towards downspouts at least 1/4 inch per foot for proper drainage flow.
Inspecting and Maintaining Your Patio Roof
Regular inspections can help you identify any potential issues before they become major problems. Inspect the roof for signs of wear and tear, such as cracks or leaks in the roofing material or damage to support posts and beams.
To keep your patio roof in good condition, make sure that you clean it regularly by removing debris like leaves, branches, and dirt from the surface. This will prevent water buildup on the surface which could lead to rotting of wood components over time.
Check gutters frequently for clogs caused by debris accumulation as this can cause water overflow onto other parts of your house leading to costly damages.
If you notice any issues during an inspection or cleaning process that require repair work beyond what a homeowner can handle themselves then contact a professional roofer immediately who has experience with patio roofs repairs/maintenance services so they may address these concerns promptly before further damage occurs.
FAQ
Can you build a patio cover attached to house?
Yes, a patio cover can be built attached to a house by using a ledger mounted horizontally to the house to support one end of the patio-roof rafters.
Can you attach patio roof to fascia?
Yes, you can attach a patio roof to fascia, provided that the fascia board is at least two inches thick and has adequate space for the hanger to connect.
What is the best method for attaching a patio roof to an existing house structure?
The best method for attaching a patio roof to an existing house structure is by using a ledger board that securely connects to the house’s framing, ensuring stability and proper support.
What permits or approvals may be required to attach a patio roof to an existing house?
To attach a patio roof to an existing house, you may require building permits and approvals from the local authorities or homeowners’ association.
What are some common materials and designs used for constructing patio roofs attached to houses?
Some common materials and designs used for constructing patio roofs attached to houses include wood, vinyl, aluminum, and polycarbonate, as well as gable, hip, and shed-style designs.
Read More
 Parts of a Roof: Understanding Their Functions and Importance
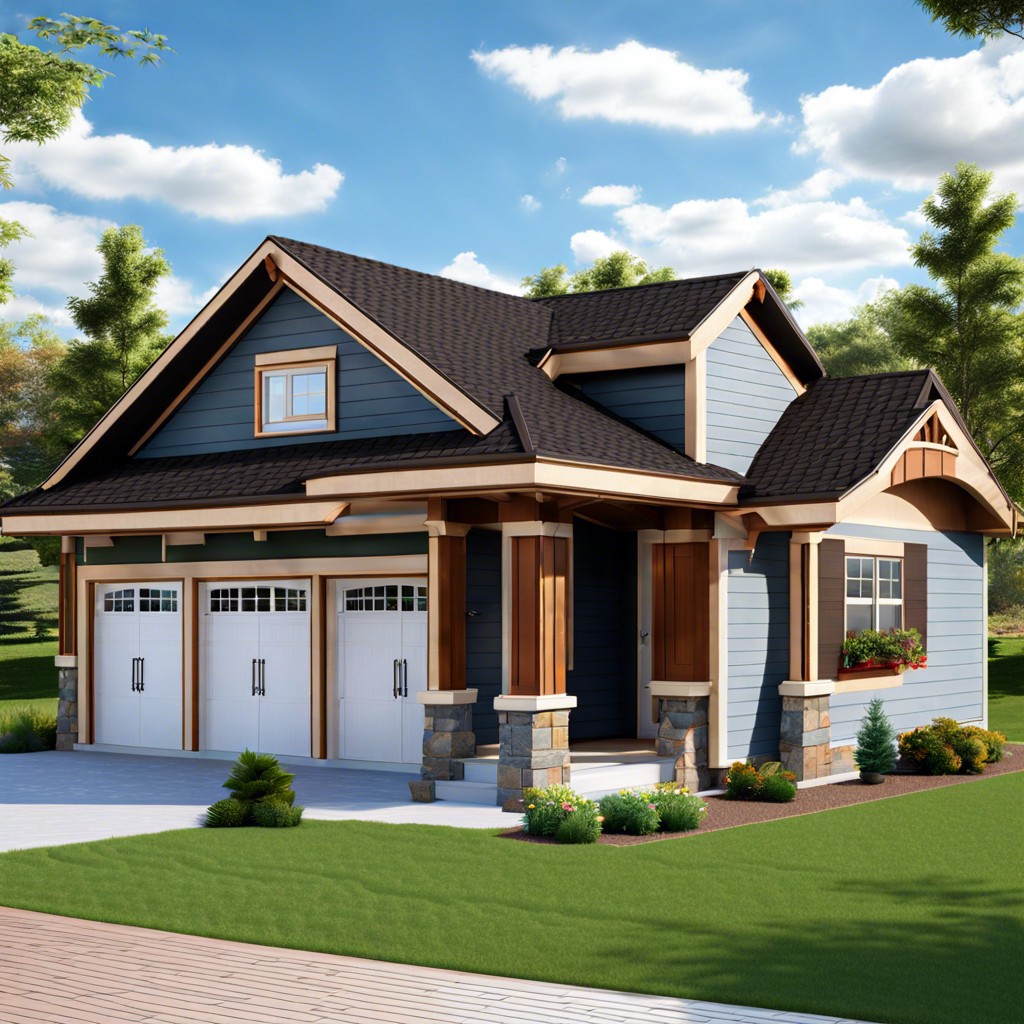 How Much Is a New Roof on a House? Costs & Factors to Consider
 Can You Walk on a Metal Roof Safely? Step-by-Step Guide
 How to Measure for a Metal Roof: Easy Step-by-Step Guide
 How to Negotiate Roof Replacement with Insurance: Steps for Effective Communication