Last updated on
Learn the practical steps for installing metal roofing over existing shingles to give your home a durable and weather-resistant update.
Key takeaways:
- Thoroughly inspect the existing roof for any damage or rot.
- Install furring strips to create a solid foundation for the metal panels.
- Choose the right metal roofing material for your needs and preferences.
- Begin installing the metal panels from the roof’s edge, overlapping them correctly.
- Properly install flashing, ridge caps, and trim for a watertight seal and polished finish.
Preparing/Inspecting the Existing Roof

Before overlaying a metal roof on shingles, thorough preparation is essential to ensure longevity and performance. Begin with a meticulous inspection to check for damp, damaged, or rotting shingles; these must be replaced or covered, as metal roofing directly over compromised material compromises the integrity of the entire structure.
Remove all roof fixtures, such as vents, satellite dishes, or antennas, for a clean working surface. Trim tree branches that overhang the roof to prevent damage and debris accumulation. Ensure the shingles lie flat, as any unevenness can telegraph through the metal and affect its appearance.
Verify the local building codes to confirm whether overlaying metal roofing on shingles is permissible in your area and whether you need a breathable synthetic underlayment for extra moisture protection. Lastly, clear the gutters and downspouts of debris to promote proper drainage after the metal roof installation. Addressing these points paves the way for a secure and efficient metal roofing installation.
Installing Furring Strips
Furring strips act as a solid foundation for your new metal roofing and are essential for airflow and water drainage. Typically, 1×4 or 1×3 lumber is used, spaced 24 inches apart.
Before installation, ensure the strips are treated for outdoor use to prevent rot.
Begin by laying strips horizontally from the bottom edge of the roof, making sure each is level. Secure the strips with long enough screws that penetrate into the roof rafters for a firm hold. This creates a grid framework that elevates the metal panels off the old shingles, reducing the risk of condensation that can lead to mold or rot.
Where the roof pitches or hips intersect, ensure the furring strips are cut and joined neatly to maintain an even surface for the metal roofing. Always remember that precise measurements and careful attention to securing the strips will prevent issues with the final appearance and integrity of your new roof.
Metal Roofing Material Selection
Different metal roofing materials offer unique benefits, and selecting the appropriate one is crucial for a successful installation. Aluminum is lightweight and resistant to corrosion, making it suitable for coastal areas. Galvanized steel, treated with a zinc coating, is cost-effective and durable against rust. Copper, while premium in price, affords longevity and a distinct appearance that ages into a green patina.
The gauge, or thickness, of the metal also impacts performance and aesthetics. Common residential gauges range from 22 to 29, with lower numbers indicating thicker, more durable sheets.
Another consideration is the profile of the metal panels. Options include corrugated, standing seam, and metal shingles. Standing seam systems, with their concealed fasteners, offer a sleek look and are particularly effective in shedding water and snow.
Colors and finishes play a role in both the roof’s visual appeal and its energy efficiency. Lighter colors and reflective coatings can help in reducing heat absorption and potentially lower cooling costs.
Lastly, confirm that your choice of material complies with local building codes and consider the manufacturer’s warranty to ensure long-term protection and satisfaction.
Installing Metal Panels
Begin at the roof’s edge, placing the first metal panel square to the line of the eave and ridge, ensuring accuracy to avoid complications with subsequent panels. Overlap the panel onto the adjacent furring strip and secure it using appropriate fasteners. Avoid overtightening to prevent deformations that could compromise the roof’s integrity.
Continue placing consecutive panels, always overlapping them as specified by the manufacturer, ensuring a consistent alignment that will protect against weather infiltration. Seal panel seams as necessary, either by using the built-in interlocking features of the panel design or through recommended sealing methods.
Apply fasteners systematically, typically at the top and bottom of each panel or according to the pattern suggested by guidelines. Use rubber washers under fastener heads to achieve a watertight seal. Always inspect each panel for proper placement before securing to detect and correct any irregularities early in the installation process.
Flashing and Trim Installation
To ensure a watertight seal and a polished finish, focus on proper placement and secure fastening of flashings and trims.
Edge metal, also known as drip edge, is first installed along the eave edges to direct water away from the fascia.
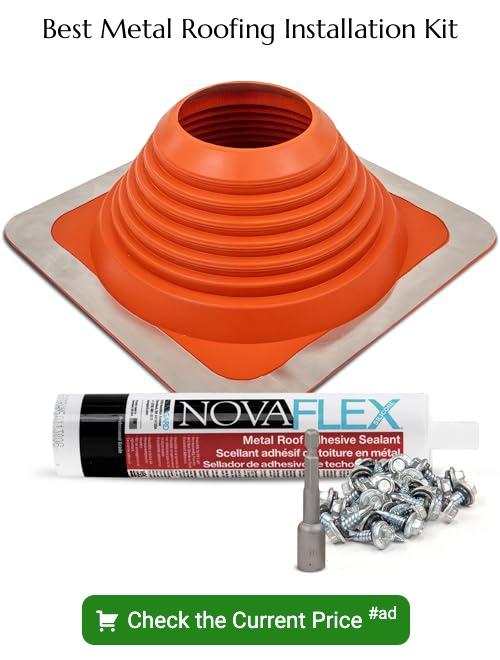
When attaching flashing around chimneys, skylights, and vents, use a liberal amount of roofing sealant beneath for extra protection against water ingress.
Ridge caps are then placed at the peak of the roof, overlapping the panels on either side to prevent wind-driven rain from entering.
Always follow manufacturer guidelines for overlap lengths to maintain warranty coverage.
Trim pieces, meticulously measured and cut, are installed last to cloak the unfinished edges and corners, providing an aesthetic finish while keeping out pests and moisture.


