Last updated on
Removing a satellite dish from your roof can be a straightforward process, and this how-to guide will provide you with the steps to safely and effectively complete the task. To remove a satellite dish from a roof, follow these steps: 1. **Safety Precautions**: Before beginning, ensure your safety by wearing non-slip shoes, using a sturdy ladder, and wearing gloves to protect your hands. If you’re not comfortable working at heights or lack the necessary safety equipment, consider hiring a professional. 2. **Disconnect Cables**: First, disconnect any cables that are attached to the dish. These could be connected to your property’s interior wiring, so be sure to remove them carefully to prevent damage. 3. **Mounting Bracket**: Locate the mounting bracket that secures the dish to the roof. This bracket is typically bolted or screwed into the roof. 4. **Remove Fasteners**: Using an appropriate screwdriver or wrench, remove the fasteners connecting the dish to the mounting bracket. For bolts that are rusted or stuck, apply a penetrating oil to loosen them. 5. **Detach the Dish**: Once you’ve removed all fasteners, gently lift the dish away from the mounting bracket. 6. **Address Roof Penetration**: After removing the dish, ensure that any holes left in your roof are properly sealed to prevent water damage. Use a roofing sealant suitable for your roof type to fill these holes. 7. **Remove the Mounting Bracket**: If the mounting bracket remains on the roof, remove any fasteners and take the bracket down. Seal any resulting holes with roofing sealant as well. 8. **Clean the Area**: Complete the removal by cleaning off any remaining sealant or debris from the area where the dish was mounted. 9. **Proper Disposal**: Instead of throwing it away, consider recycling the dish or repurposing it. While these steps are generally applicable, it’s important to consult any specific guidelines provided by the satellite dish manufacturer or to contact a roofing professional if you’re unsure about any part of the process.
Key takeaways:
- Safety Precautions: Wear non-slip shoes, use a sturdy ladder, and gloves.
- Disconnect Cables: Carefully remove cables connected to the dish.
- Remove Fasteners: Use a screwdriver or wrench to loosen and remove fasteners.
- Detach the Dish: Lift the dish away from the mounting bracket.
- Address Roof Penetration: Seal any holes left in the roof with roofing sealant.
Safety First: Ensuring a Secure Work Environment
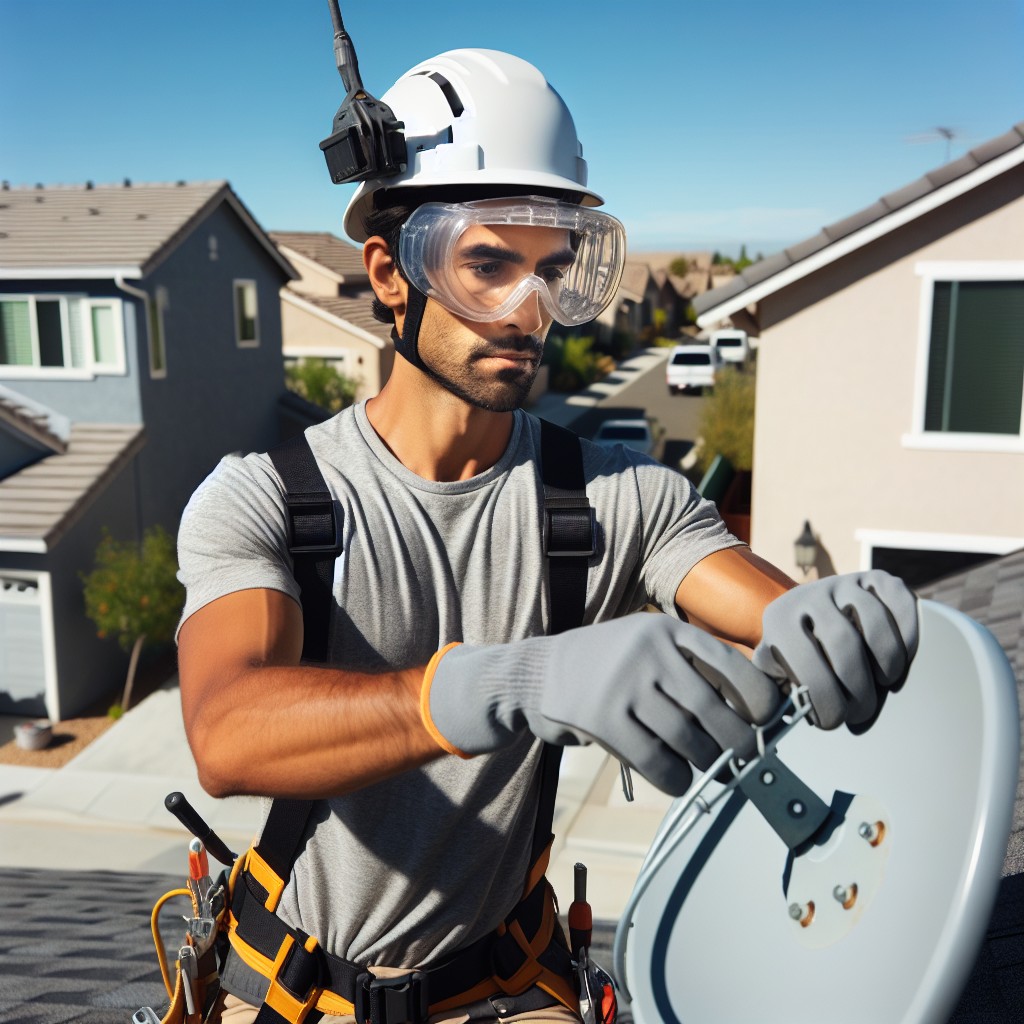
Before ascending the roof, confirm stability by verifying ladder placement and the security of its footing. Wear slip-resistant shoes for traction and consider a safety harness if the pitch of the roof is steep.
Select a dry, calm day for the job to minimize risk. Notify someone of your plans to work on the roof, so they are aware and can offer assistance or respond in case of an emergency.
Keep children and pets away from the work area to avoid distractions and accidental injuries.
Tools and Materials Needed for the Job
Before climbing onto the roof to begin removal, gather the following essential items:
- Adjustable wrench or socket set: To loosen and remove the bolts and nuts securing the dish.
- Drill with bit set: If necessary, to remove any screws.
- Ladder: To safely access the roof.
- Safety harness: To prevent falls when working at height.
- Silicone sealant or roofing tar: For patching any holes left in the roof.
- Weatherproof cap or shingles: To cover and protect the former mounting area.
- Work gloves: To protect your hands from sharp edges and debris.
Ensure all tools are in good working order and that you have the proper personal protective equipment to safeguard against potential hazards.
Power Off the System: Disconnecting Electrical Supply
Before attempting to dismantle the satellite dish, it’s imperative to shut off the electrical power to ensure your safety. Begin by turning off the receiver and unplugging it from the mains.
Next, locate the point where the dish cables enter your house and disconnect them. If there’s a grounding wire, carefully detach it from the dish to eliminate any risk of electrical shock.
This step not only protects you but also your home’s electrical system from potential short circuits as you proceed with the dish removal. Always handle wires with caution and consider taping off exposed ends with electrical tape to prevent accidental contact.
Loosening the Mounting Brackets: The Initial Step in Dish Removal
Start by locating the bolts or screws that secure the dish’s mounting brackets to the roof. These are typically found at the base of the satellite dish. Use an appropriate socket or wrench to carefully loosen, but not fully remove, each bolt. As the fittings may have been exposed to the elements, applying a penetrating oil can help ease the removal process if they are corroded or seized.
Gently rock the dish side to side to test the give in the brackets once the bolts are loosened. This step ensures that all necessary hardware is free before you attempt to lift the satellite dish away from the roof. If the bracket doesn’t move, double-check for any additional securing mechanisms that may have been overlooked.
Remember, it’s critical to maintain balance and avoid applying excessive force that could cause damage to the roofing materials. Patience is key at this stage to ensure a smooth removal.
Sealing the Holes: Preventing Roof Leaks
Once the satellite dish is detached, exposed holes in the roof can become entry points for water, leading to potential leaks. It’s essential to address these immediately to maintain the integrity of your roof. Start by cleaning the area around the holes to make sure the sealant adheres properly. Use a wire brush to remove any debris and dirt.
Choose a high-quality sealant designed for exterior use and compatible with your roofing material. Apply it generously to fill the holes, ensuring you create a waterproof barrier. If the holes are large, consider using roofing cement and a piece of flashing or a shingle to patch the area before sealing.
For shingle roofs, slide the new shingle or flashing under the existing ones to create a seamless barrier against moisture. On metal or flat roofs, spread the sealant over and beyond the hole to ensure complete coverage. Always smooth out the sealant to eliminate any gaps or bubbles.
Finally, allow the sealant to dry according to the manufacturer’s instructions. Check the area during the next rainfall to confirm that the seal is holding up and no water is penetrating the roof.
Related
- How to Vent a Bathroom Fan Through the Roof: Simple Step-by-Step Process
- Metal Roof Repair: Step-by-Step Guide for Quick Fixes
- Remove Snow from Roof: Safe and Effective Methods for Homeowners
- Roof Moss Removal: Step-by-Step Process for a Cleaner Home
- Flat Roof Repair: Step-by-Step Guide to Fix Common Issues Quickly
