Last updated on
Learn the effective methods for removing moss from your roof to ensure its longevity and maintain your home’s aesthetic appeal.
Key takeaways:
- Moss thrives in damp, shaded environments.
- Identify moss by its green, spongy appearance.
- Remove moss by scrubbing and using a moss removal solution.
- Prevent future moss growth by maintaining the roof and improving air flow.
- Consider installing zinc or copper strips and using a moss-resistant treatment.
Understanding Moss Growth
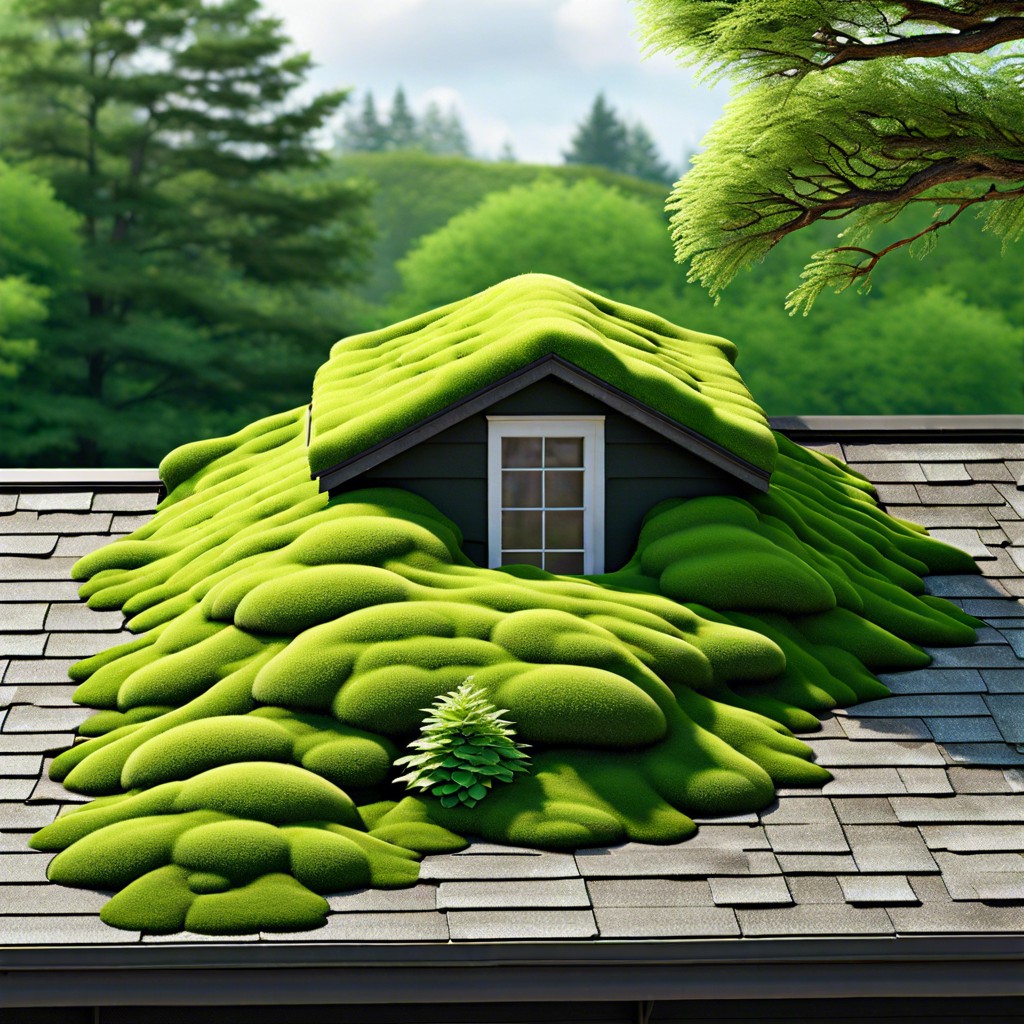
Moss thrives in environments that are damp and shaded. Roofs with northern exposure or those shaded by trees create an ideal setting for moss to grow. The conditions are exacerbated in regions with high rainfall and humidity.
The texture of your roofing materials can also impact moss growth. Rough surfaces, like those of wood or certain shingles, allow for easier moss attachment and can facilitate quicker spread compared to smoother materials.
Another contributing factor to moss growth is debris accumulation. Leaves, twigs, and other organic matter can retain moisture on the roof surface, which not only provides a water source for moss but also decays to become a nutrient source.
Lastly, the age of the roof plays a role. As roofs age, they may become more porous and thus more hospitable to moss seeds, or spores, that are carried by the wind.
Understanding these growth factors is crucial for effectively addressing and preventing the spread of moss on your roof.
Identifying Moss On Your Roof
Moss typically appears as a green or greenish-black spongy layer on roofing materials. It thrives in damp, shaded environments often found on north-facing or tree-shaded roof areas. Unlike algae, which is a more uniform slimy coating, moss has a three-dimensional structure with tiny leaves, which can be seen upon closer inspection.
Look for moss growth in areas that don’t get much sunlight, as constant shade offers an ideal breeding ground for moss spores. Overhanging tree limbs and cluttered gutters can also contribute to the problem by retaining moisture on the roof surface.
Check for patches of moss between shingles or where water flow is slow. These areas are susceptible to moss because they stay wet longer. Remember, moss can lift shingles, compromising their integrity and potentially leading to leaks and structural damage over time.
Use these identifiers to establish whether your roofing issue is indeed moss, as the removal method will differ from treatments for algae or lichen. If moss is caught early enough, the removal process will be significantly easier and less damaging to your roof.
Step-by-Step Guide to Removing Moss
Begin by selecting a dry, overcast day to prevent the solution from evaporating too quickly and to protect your skin from direct sunlight.
Assemble the necessary tools, such as a ladder, protective gloves, safety goggles, non-metallic brush, garden hose, and an appropriate moss removal solution. Use a commercial moss remover or prepare a DIY mixture of equal parts water and bleach.
Position the ladder securely and ascend to the roofline. Starting from the top and working downward, gently scrub off the moss with the brush. Scrubbing downwards ensures you do not lift shingles and cause damage.
Apply the moss removal solution in sections, letting it sit for the time recommended by the product’s instructions to kill any remaining spores. Be mindful of plants and landscaping below, as runoff can be harmful.
Rinse the roof thoroughly with a garden hose, avoiding the use of high-pressure washers, which can damage shingles.
Dispose of the removed moss in a responsible manner, ensuring it does not spread to other areas of your garden or property.
Throughout the process, take precautions to ensure your safety by wearing slip-resistant shoes and using a harness if necessary. Remember, if the roof is steep or you’re unsure about safety, always consult a professional.
Preventing Future Moss Growth
Regular maintenance is key to preventing the regrowth of moss on your roof. Ensure that debris such as leaves, twigs, and branches are periodically cleared away, as they can trap moisture and provide a habitat for moss to thrive.
Trimming overhanging tree branches will reduce the amount of shade on your roof and minimize the damp conditions that moss loves. Increased sunlight can naturally inhibit the growth of moss.
Consider installing zinc or copper strips along the ridge of your roof. These metals release ions when they come into contact with water, creating an environment that is hostile to moss.
Improving air flow and reducing moisture are critical steps in moss prevention. Ensure your attic is properly ventilated, which will help keep the roof surface dry.
Lastly, applying a moss-resistant roof treatment can provide long-term protection against moss growth. Make sure to follow the manufacturer’s instructions for the best results.
By executing these strategies, you can effectively discourage moss from returning, preserving the longevity and appearance of your roof.
Read More
 How to Clean Solar Panels on Roof Automatically: Simple Steps for Maintenance
 Roof Rake Buying Guide: Choose the Best Model for Your Home
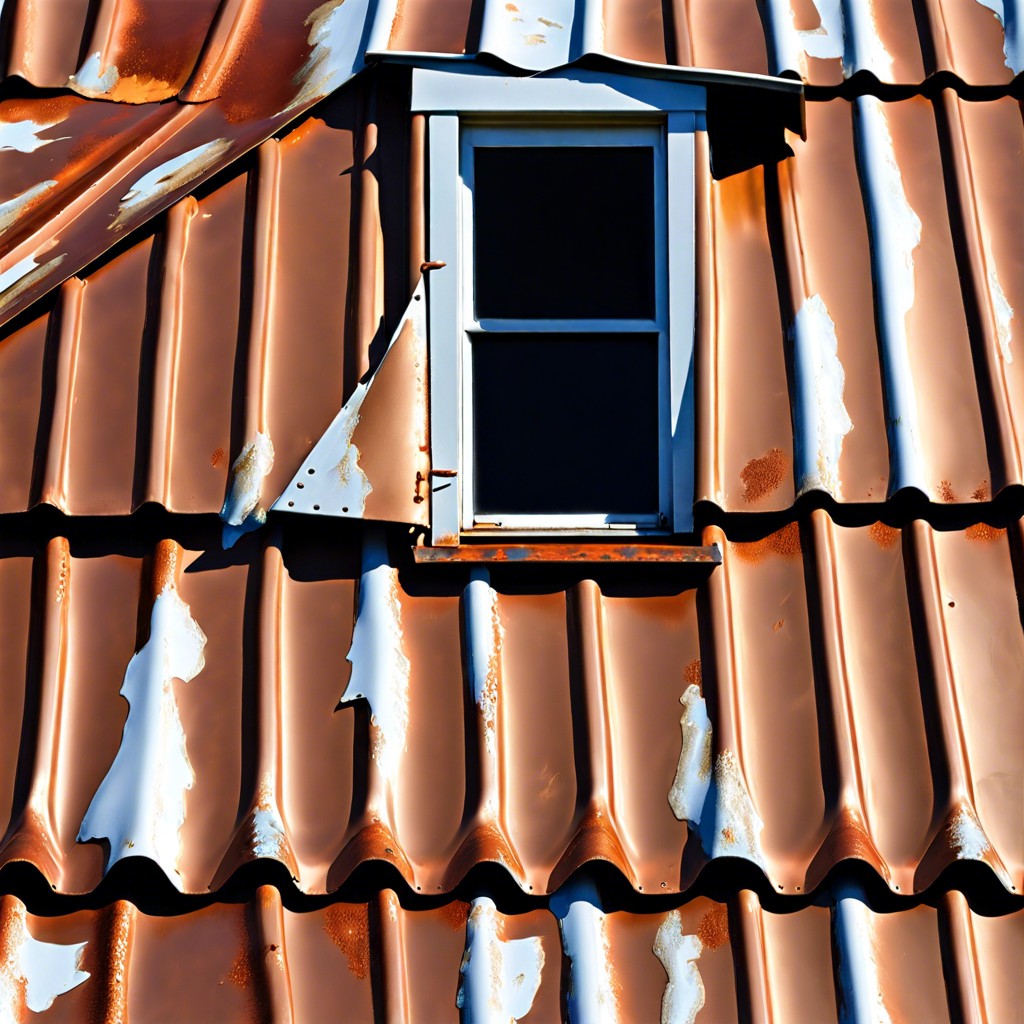 Metal Roof Repair: Step-by-Step Guide for Quick Fixes
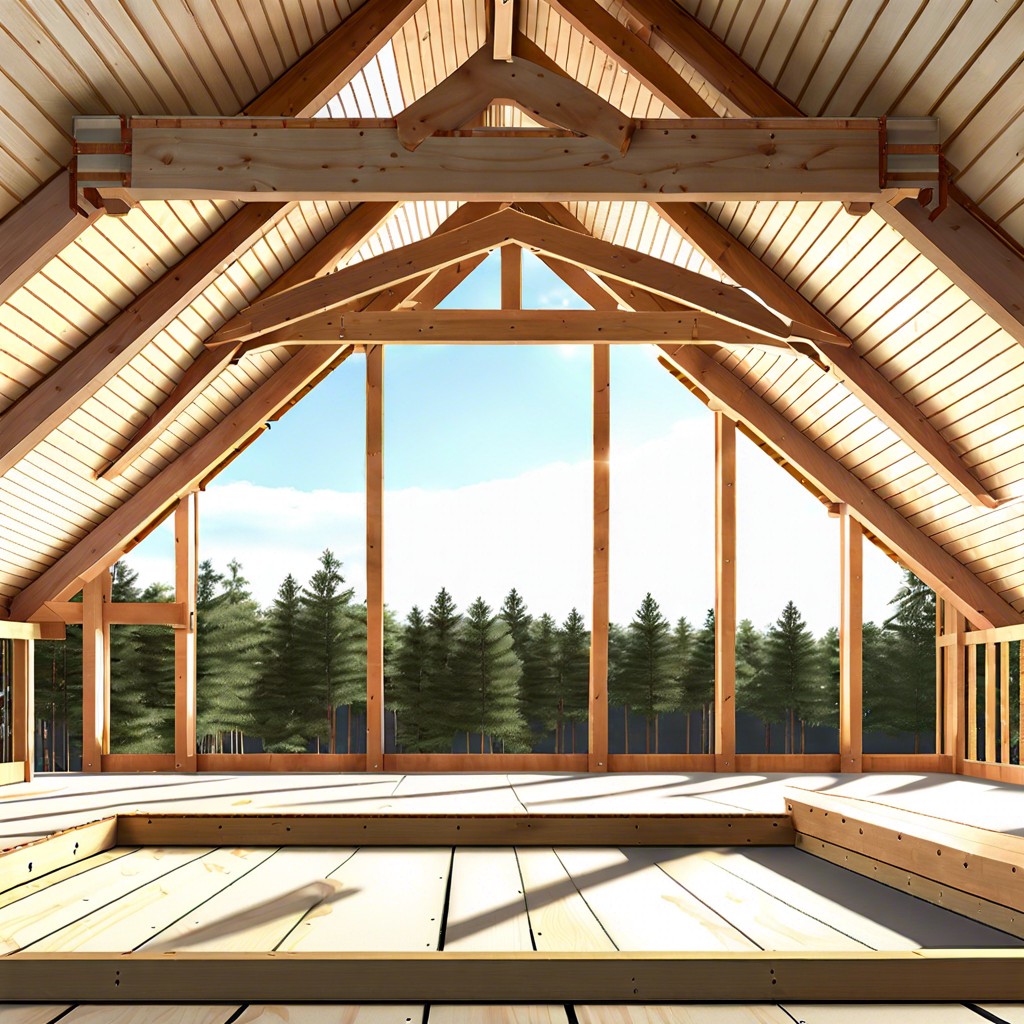 How to Frame a Roof: Step-by-Step Instructions for Beginners
 Roof Tarping: How to Secure Your Home After a Storm