Last updated on
Explore the intricacies of roof patching because understanding this crucial maintenance task can save you significant time and money down the line.
When your home’s first line of defense against the elements starts showing signs of wear, such as missing shingles, persistent leaks, or ice dam formations, it’s crucial to act swiftly to avoid further damage.
Knowing how to select and apply the correct roof patch is essential for maintaining the integrity of your roof.
Whether you’re grappling with an emergency that requires a quick temporary fix or you’re undertaking a more durable, long-term repair, this article provides a comprehensive look at the various roof patch materials—from asphalt to silicone—and outlines the steps needed to ensure a successful application.
Arm yourself with the knowledge to tackle common roofing issues head-on and keep your sanctuary secure.
Key takeaways:
- Different types of roof patches: asphalt, rubberized asphalt, silicone, acrylic, cement, tape patches
- Signs that indicate the need for a roof patch: missing, cracked, or curling shingles, water stains, ice dams
- Temporary vs permanent patching: temporary for immediate water ingress prevention, permanent for lasting repairs
- Common materials used in roof patching: asphalt-based sealants, rubberized patching materials, metal flashing, roofing tape, fabric reinforcement, polyurethane and acrylic compounds
- Steps for applying a roof patch: clean the area, apply patching material, inspect and monitor for effectiveness
Types of Roof Patches
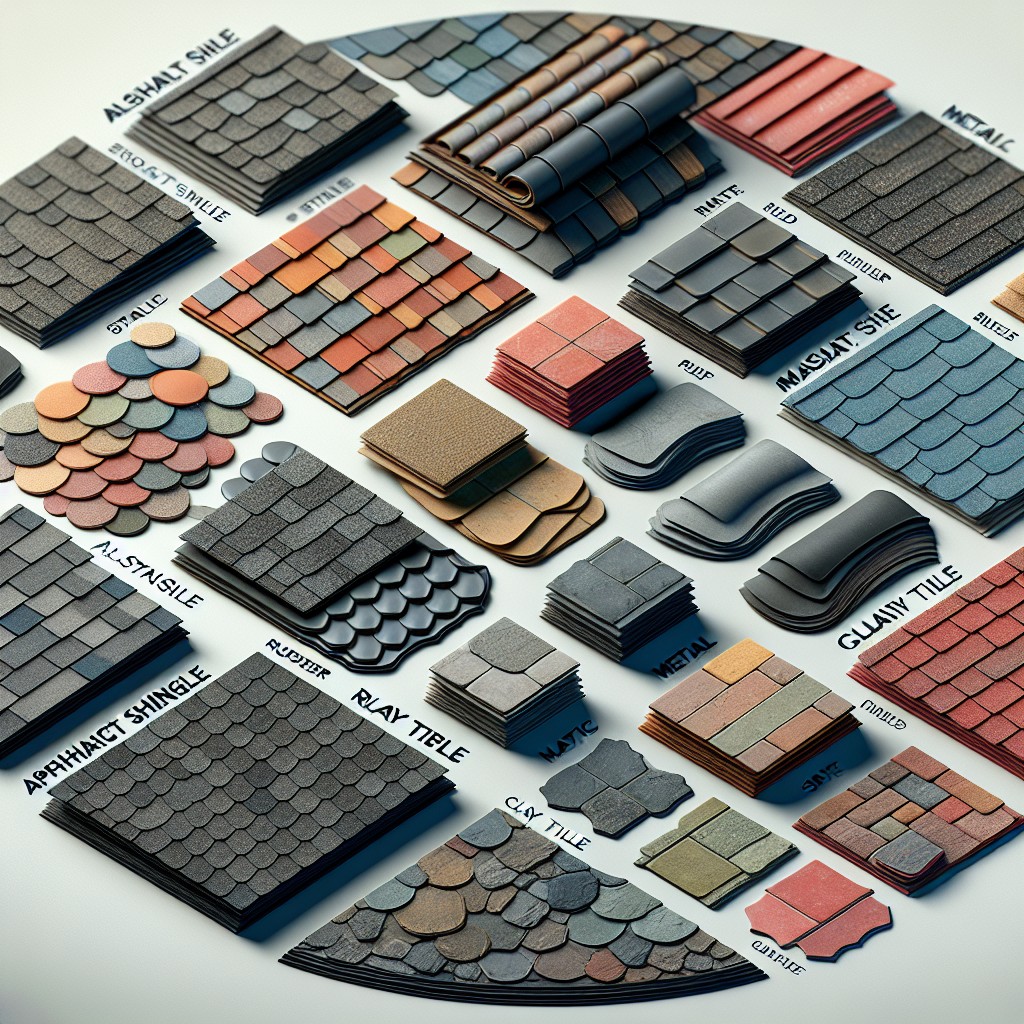
Selecting the appropriate roof patch is essential for effectively addressing leaks and extending the life of a roof. There are several common options:
- Asphalt Patches: Ideal for asphalt shingles, these patches come in either wet or dry forms and offer a straightforward solution for small cracks and holes.
- Rubberized Asphalt: This flexible, waterproof material is excellent for areas with temperature fluctuations and can be used under a variety of roofing materials.
- Silicone: Known for its durability and waterproof properties, silicone patches are effective on metal and flat roofs, providing a lasting seal.
- Acrylic: Best for reflective roofs, acrylic patches are UV-resistant and help maintain energy efficiency.
- Cement: A traditional patching option, roofing cement works well for quick fixes, although it may not match the longevity provided by more modern materials.
- Tape Patches: Designed for ease of use, these adhesive-backed tapes can seal joints and small punctures, suitable for a quick fix in emergency situations.
The choice of patch material should be guided by the existing roof type, the extent of damage, and the desired durability of the repair.
Identifying the Need for a Roof Patch
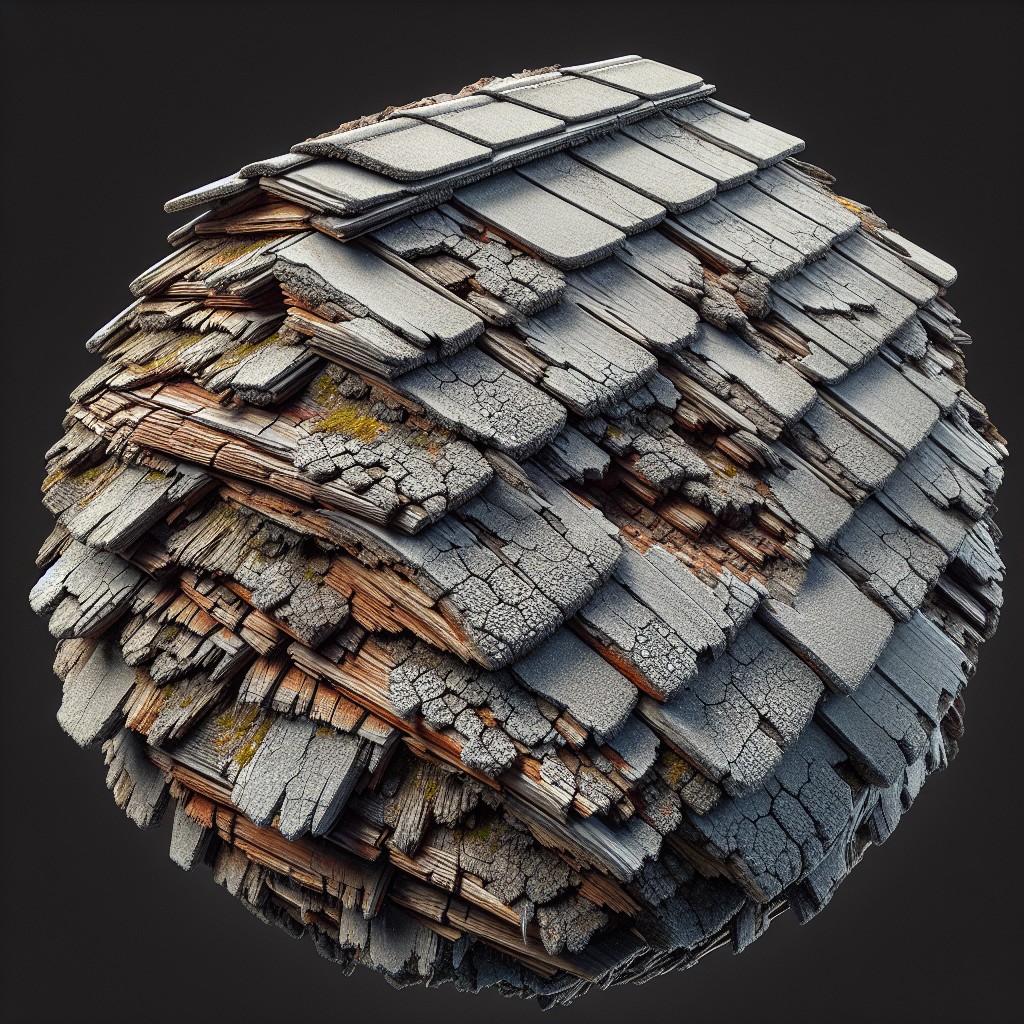
Detecting the signs of roof damage early can prevent more extensive issues. Keep an eye out for missing, cracked, or curling shingles, which indicate that your roof might benefit from a patch. Water stains on ceilings or walls could also suggest that a leak has formed and needs attention. In climates with heavy snowfall or ice, the formation of ice dams can signal the potential for roof damage, and thus, the necessity for a patch.
Examine the roof after severe weather events. Hail can create punctures, and strong winds may tear or remove roofing materials. Inside your attic, daylight coming through the roof or moisture on the insulation are clear signals that your roof’s integrity might be compromised.
Periodic checks should also include a look at the roof flashing, which is often a culprit for leaks. If you find any rust, damage, or signs of separation in these areas, a patch might be necessary to seal those vulnerabilities.
In addition to visual evidence, be alert to auditory clues. Unusual noises, such as dripping, may point to a problem. Even if your roof is not yet leaking, a patch can serve as a proactive measure to fortify areas that show early wear.
Taking action at the first sign of trouble is critical in maintaining the longevity and effectiveness of your roof. Repairing small, localized damages quickly with a roof patch can help avoid the need for more extensive, costly treatments in the future.
Temporary Vs Permanent Roof Patching
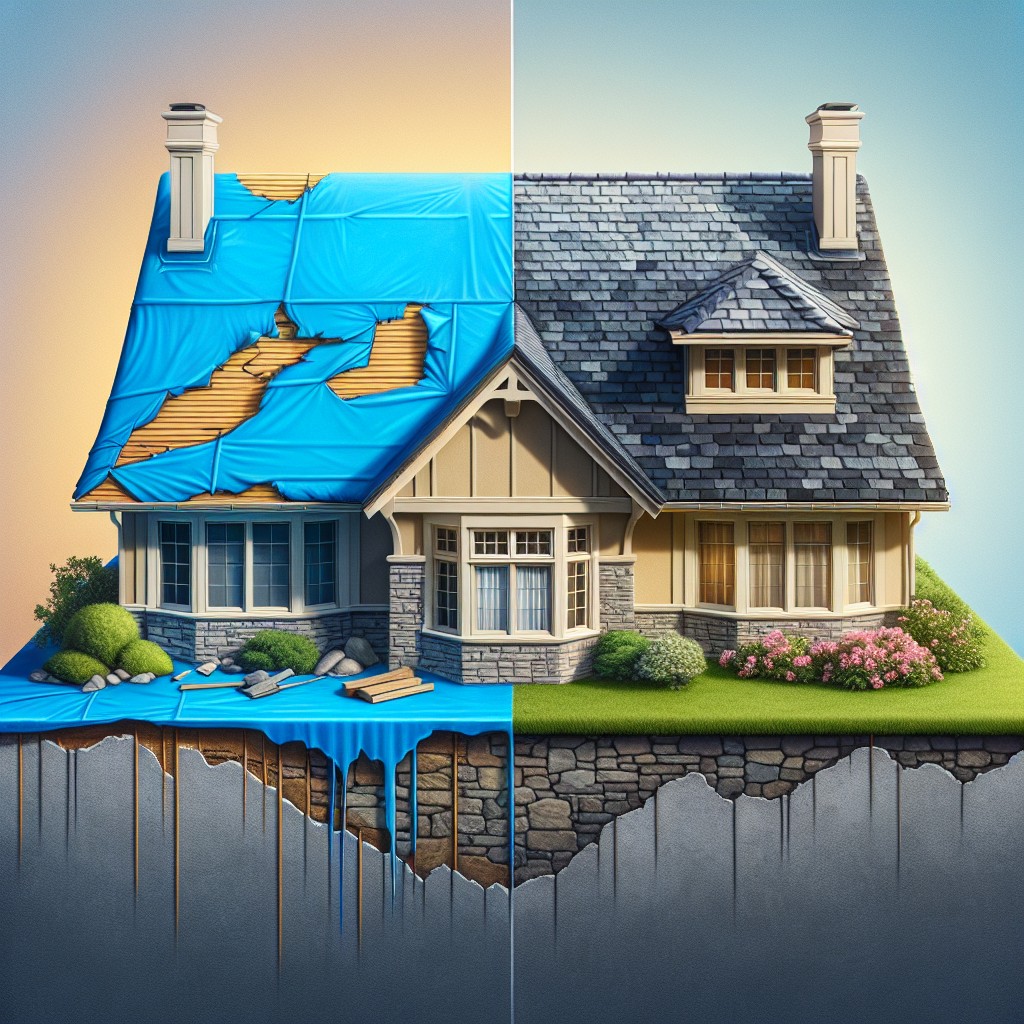
When addressing roof damage, it’s crucial to understand whether a temporary or a permanent fix is more appropriate. A temporary patch is often a quick fix to prevent immediate water ingress, typically done with materials like tarps or duct tape. These solutions are not weather-resistant for extended periods but buy time until lasting repairs can be completed.
Permanent patching, on the other hand, involves more durable materials such as specially designed roofing tapes, sealants, or shingles in line with the existing roofing material. This process requires careful preparation of the damaged area, including cleaning and sometimes priming, before applying the repair materials. Permanent patches are integrated into the roof’s structure, intended to last as long as the surrounding materials.
Deciding between the two methods depends on factors like the extent of the damage, weather conditions, and the timing of planned professional repairs. Immediate conditions might necessitate a temporary patch, while permanent repairs should be scheduled promptly to maintain the integrity of the roof.
Materials Used in Roof Patching
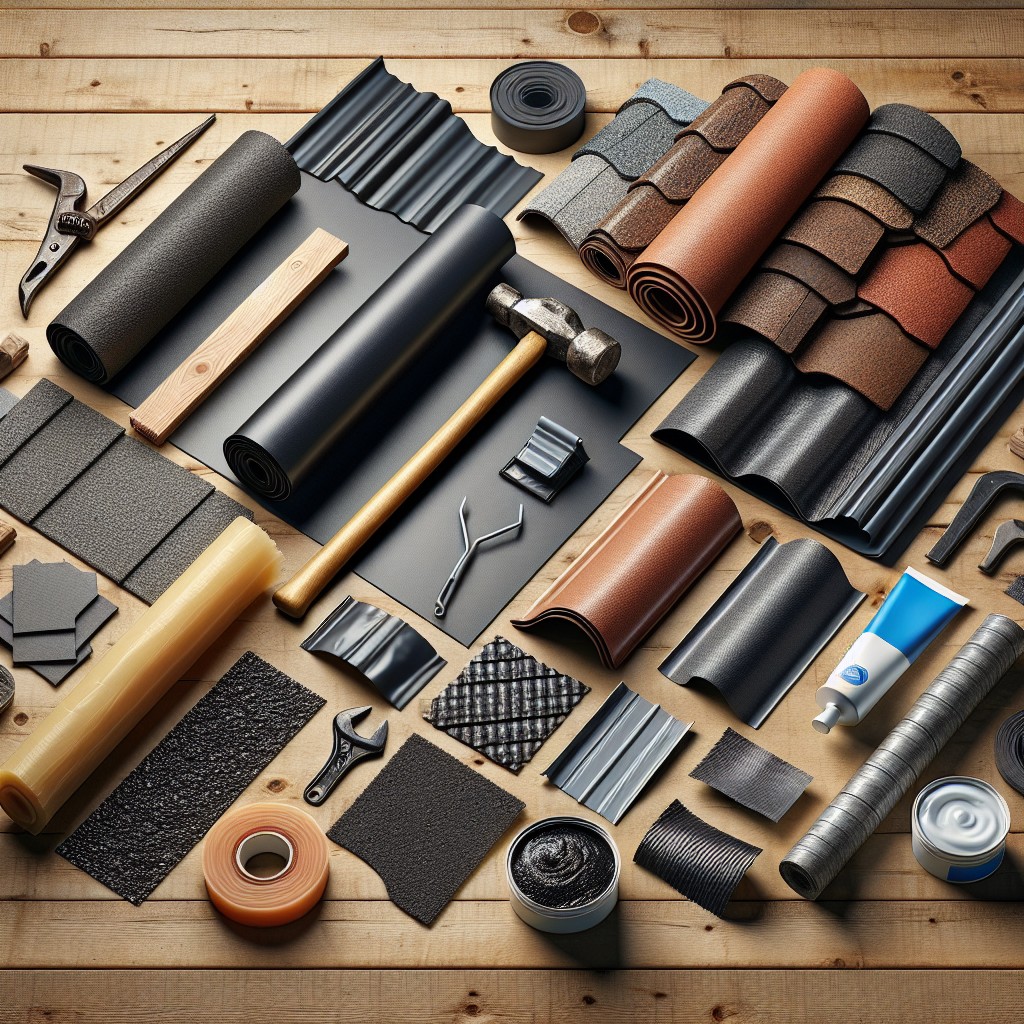
Selecting the right materials is essential for a durable and effective roof patch. Here’s a concise overview of common materials used in this process:
Asphalt-based sealants are widely favored for their flexibility and waterproofing properties. Ideal for shingled residential roofs, these sealants provide a cost-effective and readily available solution.
Rubberized roof patching materials, like EPDM or silicone, offer superb elasticity and longevity, making them suitable for environments with extreme temperature fluctuations.
Metal flashing is often incorporated in roof repairs to bridge gaps or joints, especially on metal or flat commercial roofs, providing an added layer of protection against water infiltration.
Roofing tape has an adhesive backing and comes in rolls. It’s particularly user-friendly for quick fixes, easily conforms to various surfaces, and creates an instant waterproof seal.
Fabric or mesh reinforcement works with patching compounds to reinforce repairs, adding strength and preventing the patch from cracking or breaking down over time.
Polyurethane and acrylic patching compounds are preferred for modified bitumen or single-ply membrane roofs, due to their superior adherence and flexibility.
Always match materials to your specific roofing type and environment for optimal results, and consult with a professional roofer if you’re unsure about the best choice for your situation.
Steps for Applying a Roof Patch
Begin by thoroughly cleaning the area around the leak. Remove any debris and dirt to ensure the patch adheres correctly.
For shingles, carefully lift the damaged shingle and apply a generous amount of roofing cement underneath. Press the shingle down and apply a second layer of cement on top of the shingle. Sprinkle granules over the cement to blend with surrounding shingles.
In the case of flat roofs, spread roofing cement over the leak, extending beyond the damaged area by at least two inches. Cut a piece of roofing fabric to fit and embed it into the cement. Apply another layer of cement over the fabric.
For rubber roofs, clean the area with an epdm cleaner. Apply an epdm primer, then place the self-adhesive rubber patch over the damaged area. Apply pressure to remove air bubbles and ensure a tight seal.
Inspect the patched area to make sure it’s smooth and fully adhered. Avoid foot traffic on the patch for at least 24 hours to allow proper bonding and curing. If working with sealant or tar, refer to the manufacturer’s instructions for drying times.
Regularly monitor the patched areas during subsequent rainfalls to confirm the effectiveness of the repair.
Preparation of the Surface
Before applying a patch, cleaning the damaged area is imperative to ensure adhesion. Remove any debris, dust, or loose particles with a brush or blower. For surfaces plagued by mold or algae growth, use a mixture of water and mild cleaner to treat it. Allow the area to dry thoroughly; moisture trapped beneath a patch can lead to further damage. If there are old patches or loose material, scrape these off as well.
Check the integrity of the roof around the damage. It’s crucial to have a solid foundation for the patch. Sanding may be necessary to smooth out any rough edges or to feather out the repair area, promoting a seamless bond between the new patch and the existing roof material. If you find larger gaps or holes, fill them with a roof repair fabric or suitable substrate before adding the patching compound. This step is critical, as it prevents the patch from sagging or collapsing into voids, ensuring a level repair. Always wear proper safety gear to protect skin and eyes, and to prevent inhalation of dust and debris during preparation.
Application of the Patching Compound
Begin by cleaning the damaged area to remove any debris, ensuring a smooth surface that will allow the patching compound to adhere properly. After stirring the compound as instructed by the manufacturer, apply it generously over the damaged area using a trowel, putty knife, or similar tool suited for the task. Spread the compound beyond the edges of the damage to create a seal that prevents water intrusion.
For effective application, maintain even pressure and strive for a reasonably smooth surface; however, perfection isn’t necessary as the compound will settle and flatten as it dries. It’s crucial to work swiftly but carefully to avoid the compound drying before it’s placed correctly. If the repair requires reinforcing fabric, press it into the wet compound before adding another layer of the patching material over the fabric to ensure a secure bond.
Always check the weather forecast before beginning work to avoid rain or extreme temperatures that can affect curing. Remember that thickness and environmental conditions influence drying time, so adjust the application accordingly.
Use With Reinforcing Fabric
Integrating reinforcing fabric into the patching process is a crucial step to ensure durability. This mesh-like fabric made of polyester or fiberglass acts as an “armature,” providing extra support and tear resistance to the patch.
When applying to a cleaned and primed area, ensure the fabric is embedded smoothly within the patching compound. It should be fully saturated but free of wrinkles or air pockets that could compromise its effectiveness.
Overlapping pieces by at least 2 inches also helps to create a seamless barrier that reinforces the roof’s structural integrity.
Remember to cover the fabric entirely with an additional layer of the compound, creating a uniform surface that melds seamlessly with the existing roof material.
Curing and Drying Time
For the efficacy of a roof patch, proper curing and drying are crucial. This process varies depending on the material and environmental conditions. Asphalt-based patches may take 24 to 48 hours to cure fully on a warm day, but silicone or urethane sealants can take significantly less time, often curing within 12 hours. Moisture-curing materials, however, require the presence of water vapor to cure, which might prolong the process in arid climates.
To expedite the drying time, ensure the patched area isn’t shaded and receives ample sunlight. Ambient temperature plays a role too; cooler temperatures can extend drying times, while excessive heat can cause the patch to become tacky or not set correctly. Always check the manufacturer’s recommendations for ideal curing conditions.
Avoid foot traffic or applying additional layers until the patch has fully cured. Testing the patch by gently pressing a finger on the edge can indicate if it’s still soft or has hardened sufficiently to bear weight or endure additional coating.
Remember that rushing the process can lead to a compromised repair, so patience during curing and drying stages is of utmost importance for a durable and effective roof patch.
Considerations for Different Roof Types
Different roof materials demand distinct approaches to patching. For asphalt shingles, use a shingle-specific adhesive to ensure a seamless seal. On metal roofs, patching requires a material that can flex with the thermal expansion and contraction, such as a urethane-based sealant.
Rubber (EPDM) and thermoplastic olefin (TPO) roofing, commonly found on flat commercial structures, involve patching kits tailored to the material, often involving a primer and a compatible patching membrane. Similarly, for built-up roofs (BUR), the correct grade of asphalt or tar is necessary to meld with the existing bitumen layers.
Slate and tile roofs present unique challenges. Broken tiles should be replaced rather than patched, while cracked slate may be repaired with an appropriately colored sealant. However, replacement is often encouraged for long-term integrity.
Remember that all roof types require proper surface cleaning prior to applying a patch to ensure maximum adhesion and effectiveness. For low-slope and flat roofs, pooling water areas need special attention to prevent future leaks. Always refer to the manufacturer’s instructions for material-specific guidance.
Tips for Ensuring a Long-Lasting Roof Patch
For a roof patch that withstands the test of time, precise application and the choice of high-quality materials are paramount. Consider the following pointers:
- Ensure the area to be patched is thoroughly cleaned and free of debris, moisture, and loose materials. A clean surface promotes better adhesion.
- Select the appropriate patching material that matches your roofing type. Compatibility enhances the effectiveness of the repair.
- Apply the patching compound according to the manufacturer’s instructions. Deviations can reduce the patch’s durability.
- Use roof patching products with UV-resistant properties, particularly if the patched area is subject to direct sunlight.
- For patches larger than a crack or small hole, incorporate a reinforcing fabric into the repair to add strength and prevent future cracking.
- Overlap the patching material beyond the damaged area to create a more secure seal and prevent water ingress.
- Feather the edges of the patch smoothly with the existing roof surface to prevent wind uplift or a buildup of debris.
- Monitor the patched area periodically, especially after severe weather conditions, to ensure its integrity remains intact.
When to Call a Professional
Identifying the threshold between a do-it-yourself fix and the need for professional expertise is crucial in roof repair. Major damages, such as extensive water leaks, large areas of missing shingles, or structural compromise, necessitate a licensed roofer’s intervention.
Similarly, if the roof is under warranty, attempting a DIY patch may void the guarantee. Homeowners should also assess the height and pitch of their roof; steep or high roofs present significant risks and are better left to professionals with the appropriate safety equipment and training.
Lastly, if after a patch the problem persists or worsens, this is a clear indication to seek professional assessment to address any underlying issues that may not be visible to the untrained eye.
Best Patch for White or Aluminum Coatings
Choosing the appropriate patching material is critical for roofs with white or aluminum coatings. White acrylic patching compound is typically best for white roofs as it matches the reflective properties of the original material and maintains the roof’s ability to reflect sunlight, which is fundamental for energy efficiency.
For aluminum-coated roofs, a specialized aluminum roof patch should be used. These patches contain fibers for added strength and are formulated to adhere well to metal surfaces, providing durability against the elements. They also blend seamlessly with the metallic finish, preserving the roof’s aesthetic and functional qualities.
When applying either type of patch, ensure the roof’s surface is clean and dry to promote optimal adhesion. Use a putty knife or trowel to spread the compound smoothly over the damaged area, extending it beyond the edges of the repair for a secure seal. Remember, the longevity of the patch relies heavily on the application technique and the compatibility of the patch material with the existing roof coating.
Maintaining Your Roof After a Patch
Proper maintenance after a repair extends the life of your roof and ensures the patch holds up against the elements. Here are some practical steps:
1. Regular Inspection: Check the patched area periodically, especially after severe weather, to ensure it remains sealed and no new issues have arisen.
2. Keep it Clean: Debris like leaves and twigs can accumulate over time, trapping moisture and potentially compromising the repaired section. Remove such debris to prevent water build-up.
3. Gutter Maintenance: Ensure gutters and downspouts are clean and functioning correctly. Blockages can cause water to pool and damage your roof.
4. Trim Overhanging Branches: Trees can pose a risk to your roof. Keep them trimmed to prevent mechanical damage to the patched area and reduce the likelihood of debris accumulation.
5. Prevent Ice Dams: In cold climates, prevent ice dams through proper insulation and attic ventilation to avert water from seeping under the patch.
6. Address Any Nearby Issues: If other parts of the roof show signs of wear or damage, deal with them promptly to avoid stress on the patched area.
Compliance and Industry Standards
Adhering to compliance and industry standards ensures the durability and safety of a roof patch. Here are a few key points that highlight the importance:
1. Building Codes: Local codes often dictate the types of materials and methods used in roofing. Following these codes is crucial not only for safety and performance but also for legal compliance and validation of homeowner’s insurance.
2. Manufacturer Guidelines: Roofing materials come with specific guidelines for installation. Using the manufacturer-recommended method ensures that the product performs as intended and that any warranties remain in effect.
3. Professional Organizations: Entities such as the National Roofing Contractors Association (NRCA) provide resources and guidelines which reflect industry best practices that should be adhered to for high-quality workmanship.
4. Material Compatibility: Ensure that the patching material is suitable for the existing roof material to avoid chemical reactions or adhesion issues that could compromise the repair.
5. Safety Standards: Occupational Safety and Health Administration (OSHA) regulations outline safety measures for roof repair work to protect those performing the job.
By remaining vigilant of these points, roof repair efforts are more likely to meet the professional standards, ensuring longevity and structural integrity of the roof patch.
Tools Required for Roof Patching
Successful roof patching requires a specific set of tools to ensure the job is done effectively. A sturdy ladder is essential to safely access the roof. Once on the roof, a putty knife or trowel will be used to apply and spread the patching compound. For larger or more complex repairs, a caulk gun may be necessary for the application of sealant.
A pair of scissors or a utility knife is crucial for cutting reinforcing fabric to the correct size. Moreover, a clean paintbrush or a roller can be employed for applying primer, which is important for better adhesion of the patch to the existing roof material.
Ensure you have a measuring tape on hand to precisely measure the damaged area and cut the patching material accordingly. To smooth out the applied patch and remove air bubbles, a hand roller will be needed for effective bonding.
Remember, these tools should be used with care to prevent further damage to the roofing material. Proper handling and application techniques will contribute to a seamless and durable roof patch.
Safety Precautions While Patching a Roof
Adhering to safety precautions is critical when patching a roof to prevent accidents and injuries. Always wear a properly fitted safety harness attached to a secure anchor point, especially when working on steep slopes or at significant heights. Use ladders that extend at least three feet above the edge of the roof for a safe transition, and secure the base to prevent slipping.
It is essential to wear non-slip footwear providing ample traction to reduce the risk of falls. Moreover, clear the work area of debris and tools when not in use to avoid tripping hazards. When handling materials and tools, use gloves to protect hands from sharp edges and harsh substances.
Be mindful of the weather conditions; avoid working on wet roofs or during high winds, which can increase the risk of falls and hamper the effectiveness of the patching process. Keep an updated first-aid kit nearby and a mobile phone accessible to call for help in case of an emergency.
Lastly, be aware of the location of power lines and maintain a safe distance to prevent electrocution. Never touch a power line with any part of your body or tools, and be cautious when maneuvering ladders and long-handled tools to maintain a safe clearance.
Additional Information On Roof Patch Products
When delving deeper into the specifics of roof patch products, it’s vital to understand their unique properties and how these can influence both performance and application techniques. Products vary in composition and may have features that cater to different roofing materials, such as asphalt, rubber, metal, or PVC.
- Flexibility: Some patches are more flexible than others, making them suitable for roofs that experience movement or expansion.
- Adhesion: The adhesive qualities of a patch are crucial to forming a watertight seal. Certain products may require a primer to enhance this property.
- UV Resistance: Patches exposed to sunlight should have UV inhibitors to prevent degradation and maintain longevity.
- Waterproofing: Immediate water exposure after application is an important consideration for some patches, whereas others may need time to set.
- Compatibility: Verify that the patch material is compatible with your existing roof surface to avoid chemical reactions or adhesion issues.
- Durability: Look for patches that offer robust resistance to weathering, extreme temperatures, and punctures.
By comprehending these aspects, homeowners can select a patching product tailored to their specific roofing concerns, ensuring effective and lasting results.
FAQ
What is the best for patching the roof?
The most suitable option for patching a roof is usually liquid rubber due to its simple application and effectiveness, however, for a simpler method, adhesive sealing tape also serves as a practical alternative.
Is it possible to patch a roof?
Yes, it is possible to patch a roof, particularly if the damage is minor or isolated.
Is Flex Seal good for roof leaks?
Yes, Flex Seal is useful for minor roof leaks and vulnerable edges due to its compact size.
What are the key steps in the roof patching process?
The key steps in the roof patching process are identifying the area of damage, cleaning and preparing the damaged area, applying roof patch material, and securing and sealing the patched area.
How frequently should a patched roof be inspected post-repair?
A patched roof should be inspected approximately every six months post-repair to ensure that the patch is still effective.
Are there any specific materials to avoid when patching a roof?
Yes, avoid using materials like Tar and Gravel for patching a roof as they do not adhere well and can create further damage.


