Last updated on
Exploiting the potential of a drip edge roof is crucial because it not only provides a clean finish to your roof but also shields it from numerous potential hazards which we will discuss in this enlightening article.
Drip edges are a small yet crucial component in a well-constructed roofing system, designed to channel water safely away from the vulnerable parts of your home. These inconspicuous metal strips, when properly installed, not only extend the life of your roof by protecting the underlying wood from rot but also fortify your shingles against wind uplift and add a polished look to your roofline.
The selection of materials and profile types for drip edges can significantly influence their effectiveness and durability. This article delves into the intricate details of how different drip edge materials and designs can impact your roof’s health, and why expert installation is paramount in safeguarding your home from water damage.
Key takeaways:
- Drip edges guide water off the roof and protect wood.
- Drip edges reinforce shingles and provide a finished look.
- Different materials have different advantages and considerations.
- Different profile types affect how water is directed away from the roof.
- Proper installation is essential to prevent water damage.
What’s the Purpose of Roof Drip Edges?
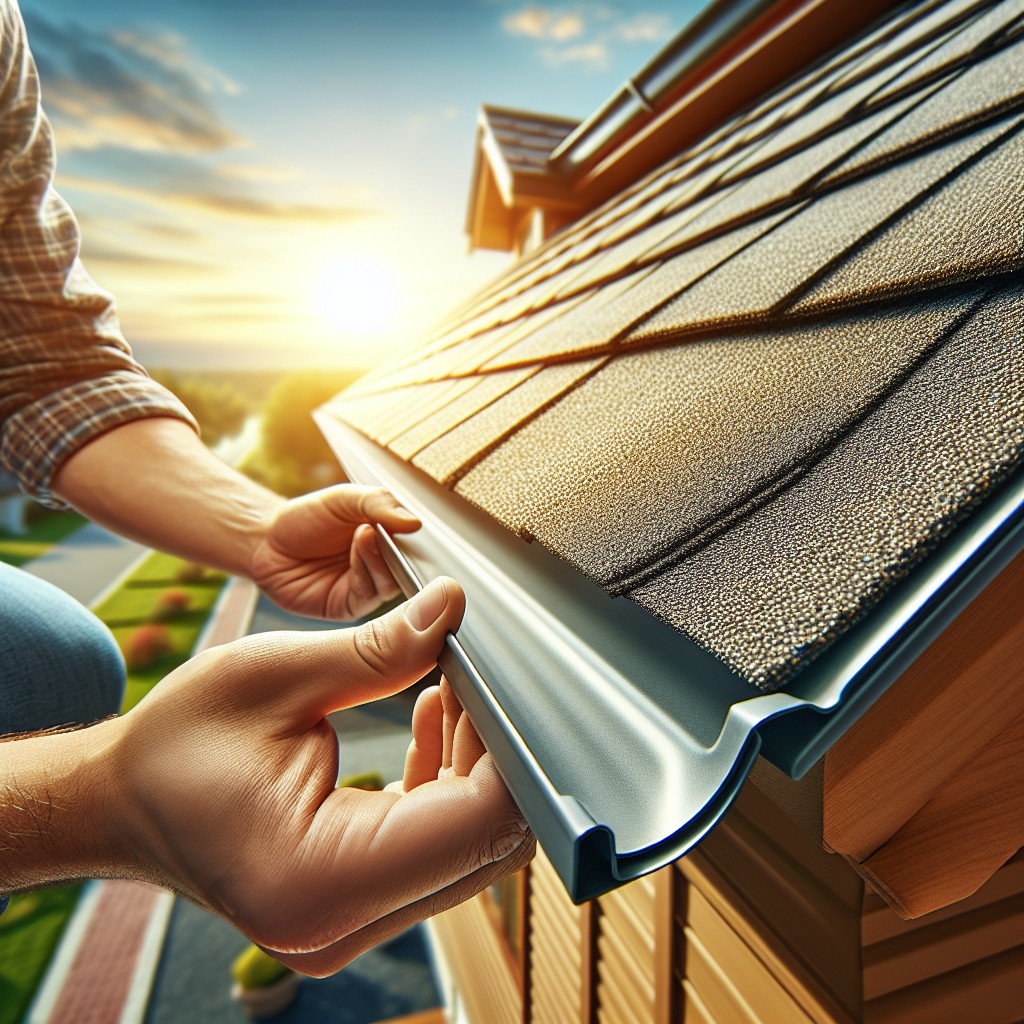
Drip edges are critical components designed to guide water off the roof and into the gutters, thus protecting the underlying wood and fascia from potential water damage.
They prevent water from seeping under roofing materials at the edges, a common entry point due to capillary action.
These metal flashings also support and reinforce the roof’s shingles at their most vulnerable points, helping to maintain the roof’s integrity and longevity.
Moreover, they provide a neat, finished look to the roofline and help in the prevention of wind-driven rain from infiltrating under the roof’s edge, safeguarding the attic and interior spaces from moisture-related issues.
Proper installation is essential, as improper placement or securing can lead to the drip edge’s ineffectiveness, potentially compromising the building’s structure.
Ensuring that drip edges are part of your roofing system is a fundamental step towards a well-protected home.
Drip Edge Material Types
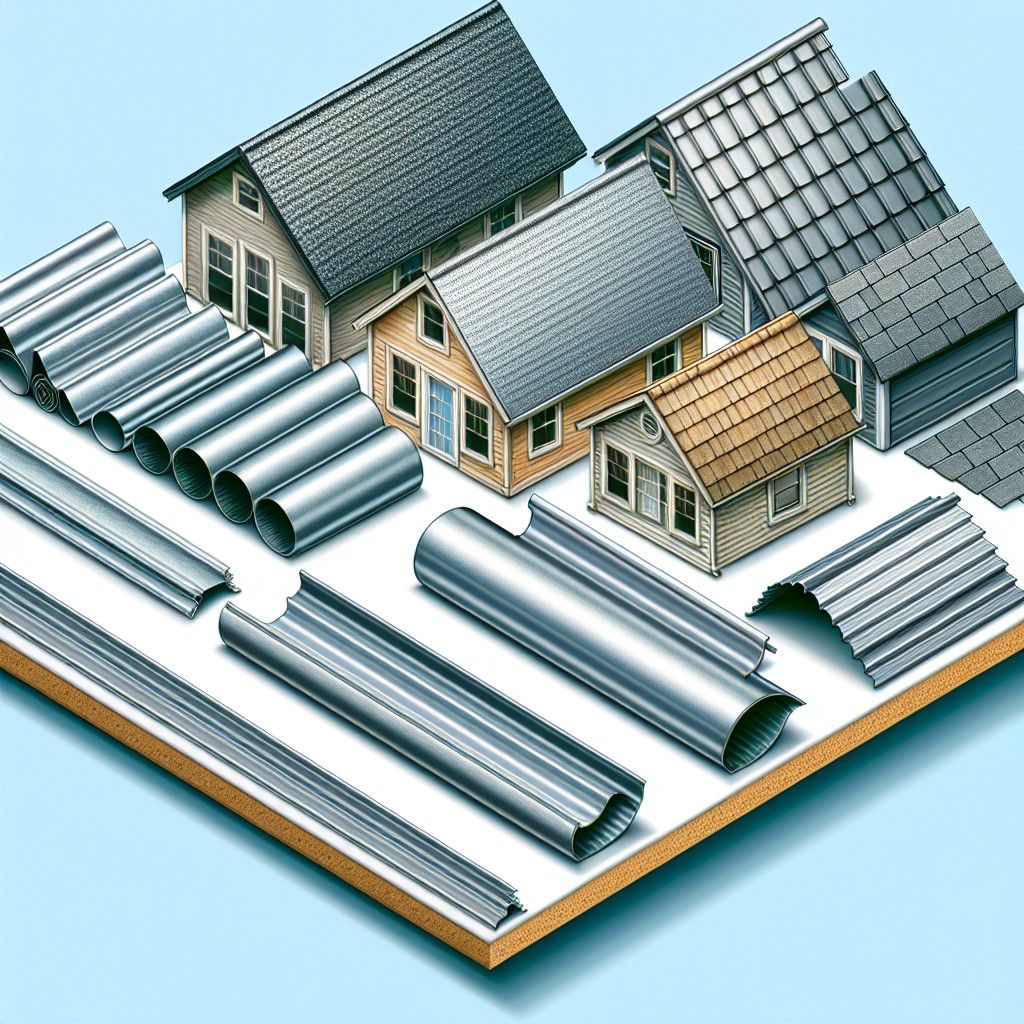
Roof drip edges are available in various materials, each with distinct advantages and considerations. Aluminum is a popular choice due to its cost-effectiveness and resistance to corrosion. It is lightweight and easy to shape, making it suitable for most residential applications. However, aluminum may not be ideal for coastal areas where salt spray can accelerate corrosion.
Galvanized steel, known for its durability, is another common selection. It stands up well against physical damage and is less prone to bending during installation. But without proper coating, galvanized steel can rust over time.
Copper presents a high-end option with natural corrosion resistance, providing a stylish aesthetic that develops a green patina as it ages. Although copper is more expensive, it boasts a longer lifespan and requires minimal maintenance.
Vinyl drip edges, typically the least expensive, offer ease of installation and come in various colors. While vinyl won’t corrode, it is not as heat resistant as metal options and may crack or become brittle over time.
Choosing the right material involves assessing the local climate, roof design, aesthetic preferences, and budget. Each material provides a safeguard against water infiltration at roof edges but varies in longevity, price, and installation requirements.
Drip Edge Profile Types
Understanding the various profiles of drip edges is essential for a proper roof installation. The profile refers to the shape of the drip edge, which affects how water is directed away from the roof.
- Type C: Often referred to as the “L-style,” this profile is simplistic – a 90-degree angle bent to hook the roof decking, suitable for most residential homes.
- Type D: Known as the “T-style,” this option includes a fold outward at the bottom, forming a T-shape, providing extra protection against water intrusion by encouraging runoff further from the fascia.
- Type F: The “gutter apron” style extends further to guide water into the gutter system effectively, an ideal choice when retrofitting an existing roof that lacks adequate guttering.
- Hemmed Drip Edge: Features a hemmed bottom edge which helps to stiffen the drip edge and prevent it from cutting into the underlayment, enhancing durability.
Selecting the right profile hinges on your specific roof structure, local climate, and aesthetic preferences. Consult with a roofing professional to determine the most suitable profile for your installation.
How to Install a Drip Edge
Installing a drip edge involves several key steps to ensure proper roof protection and adherence to building codes. Begin by measuring the lengths of your roof edges to determine the amount of drip edge needed. Purchase a bit extra to account for any mistakes or adjustments.
Begin installation at the bottom of the roof, before laying underlayment. The drip edge should overhang the roof slightly to ensure water drips clear of the fascia and into the gutters. Secure the drip edge with roofing nails spaced approximately 12 inches apart, and ensure the nails penetrate the roof decking for a firm hold.
Overlap successive pieces by at least two inches for continuous protection, and for corners, cut the top edge of the drip edge at a 45-degree angle so pieces fit snugly together. On raked edges, after the underlayment is laid, install a second layer of drip edge to clamp the underlayment down and provide added weatherproofing.
Always ensure the drip edge integrates properly with other roofing elements, such as flashing, to maintain the integrity of the roofing system and prevent potential water intrusion.
How to Replace a Drip Edge On an Existing Roof
Replacing a drip edge on an existing roof begins with the careful removal of the old drip edge. Use a flat pry bar to gently lift the shingles and nails securing the old drip edge. Avoid damaging the shingles and underlying roofing felt.
Once removed, measure the length of the eave and cut the new drip edge to size, allowing for a 1-2 inch overlap at each joint for continuous water flow. Before installation, check that the wood along the eaves is not rotted and replace any damaged sections.
Install the new drip edge underneath the roofing felt along the eaves and on top of the felt along the rake. This method channels water away from the fascia and into the gutters, preventing water damage.
Use roofing nails to secure the drip edge, spacing them every 12 to 16 inches. When joining segments, ensure the higher piece overlaps the lower one to promote proper water runoff.
Finally, carefully lay down the shingles over the drip edge. If the shingles are damaged or worn, consider replacing them to ensure a fully protected roofline.
Always follow local building codes and manufacturer’s guidelines to guarantee correct installation and maintain the integrity of your roof.
Changes in the Roofing Industry and What They Mean for Homeowners
Advancements in technology and materials have significantly impacted the roofing industry, providing homeowners with enhanced options for durability, energy efficiency, and aesthetics.
- New materials such as synthetic underlayment offer better waterproofing and longevity compared to traditional felt paper.
- Energy-efficient shingles designed to reflect sunlight can help reduce cooling costs and may qualify for energy rebates.
- Green roofing options, including solar shingles and living roofs, have emerged, giving eco-conscious homeowners sustainable alternatives.
- Improved ventilation systems, such as ridge vents, are designed to extend the life of a roof by reducing heat and moisture buildup in attics.
- Automation in manufacturing has led to consistent quality in roofing materials and components, ensuring higher standards and longer warranties.
- Recycle and reuse programs for old roofing materials are becoming more common, lessening the environmental impact of roof replacements.
These industry changes signify a leap forward in value and performance for residential roofing, making this an opportune time for homeowners to consider updates or enhancements to their roofing systems.
Ridge Vents or Box Vents: Which Should You Use?
Selecting the right ventilation for your attic space is crucial in maintaining the longevity of your roof. Ridge vents run along the peak of the roof, offering a sleek and almost invisible appearance. They provide consistent ventilation along the entire ridge, allowing for even air flow out of the attic. This can be particularly beneficial in maintaining a uniform temperature across the roof and reducing the risk of ice dam formation in colder climates.
Conversely, box vents are individual units often installed near the ridge. Multiple box vents are frequently required to achieve the same level of ventilation as a ridge vent system. They are more visible than ridge vents, but they can be an effective solution for roofs with ridges that are not long enough to accommodate a full ridge vent system.
When deciding between the two, consider the following factors:
- Roof Design: Ridge vents require a ridge line to be effective, so hip roofs and other designs without extended ridges may be better served by box vents.
- Aesthetic Preference: If the appearance of your roof is a significant concern, the low profile of ridge vents might be preferred.
- Ventilation Needs: Evaluate the attic size and ventilation requirements – larger attics may need the more comprehensive coverage provided by ridge vents.
- Existing Roofing: Upgrading the attic ventilation during a re-roofing project may be more cost-effective and simpler with ridge vents, which can be incorporated into the new roof design.
How to Determine If a Roof Deck Has Wood Rot and How to Replace Roof Sheathing
Detecting wood rot in a roof deck typically involves a visual inspection as well as tactile assessments. Look for signs such as:
- Discoloration or staining on the underside of the roof decking, visible from the attic.
- Soft spots or a spongy feeling when pressing on the wood, which could indicate decay.
- Musty odors in the attic, suggesting the presence of mold or mildew associated with rot.
Upon identifying wood rot, replacing affected roof sheathing is crucial to maintain roof integrity:
- Safely remove shingles, underlayment, and any fasteners above the damaged sheathing.
- Cut out the deteriorated section of the roof deck using a circular saw, ensuring to cut only as deep as the thickness of the sheathing to avoid damaging structures underneath.
- Measure and cut a new piece of sheathing to fit the opening, using the same type of wood as the original deck for consistency.
- Secure the new sheathing in place using nails or screws, fastening it to the rafters or trusses.
- Ensure the replaced sheathing lies flush with the surrounding panels to avoid unevenness that could affect subsequent roofing layers.
Keep in mind, if widespread rot is present, it is often advisable to consult a professional roofer to assess the full extent of the damage and ensure a comprehensive restoration.
FAQ
Is a drip edge necessary on a roof?
Yes, a drip edge is indeed necessary on a roof as it forms a crucial component of the roofing system and is required by building codes.
Are flashing and drip edge the same thing?
No, flashing and drip edge are not the same; while flashing is used around chimneys, vents, dormers, and roof valleys to prevent water infiltration, drip edge is a specific type of flashing installed on the roof’s edge to divert water away from the fascia and soffit.
Can you replace drip edge without removing shingles?
Yes, you can replace a drip edge without removing the shingles by gently lifting up the shingles along the lower edge and using a flat pry bar to remove the nails holding the eave strip to the decking.
Is there a difference between drip edge and rake edge?
Yes, there is a difference between a drip edge and a rake edge, with the primary distinction being the installation method and rake edges being favored in climates experiencing heavy snowfall and ice; drip edge materials like fiberglass are generally not used for roofs but instead over windows and doors.
How do you install a drip edge on an existing roof?
To install a drip edge on an existing roof, securely nail the drip edge over the edge of the roof after placing it between the roof deck and the roof covering, ensuring it overlaps the roof shingles.
What materials are commonly used for drip edges?
Commonly used materials for drip edges include aluminum, galvanized steel, and copper.
Can a badly installed drip edge cause significant damage to a house?
Yes, a poorly installed drip edge can cause significant damage to a house by allowing water to seep under the shingles, leading to wood rot and potential leaks.


