Last updated on
This article provides a detailed guide on roof jacks, encompassing their functions, pros and cons, installation procedures, upkeep, and commonly raised inquiries.
Key takeaways:
- Roof jacks provide stable platform for working on roofs
- Roof jacks are versatile and compatible with various roof pitches and materials
- Advantages of roof jacks include safety, efficiency, and accessibility
- Disadvantages of roof jacks include installation risks and potential damage
- Maintenance tips for roof jacks include regular inspection, cleaning, and resealing
What Is A Roof Jack?

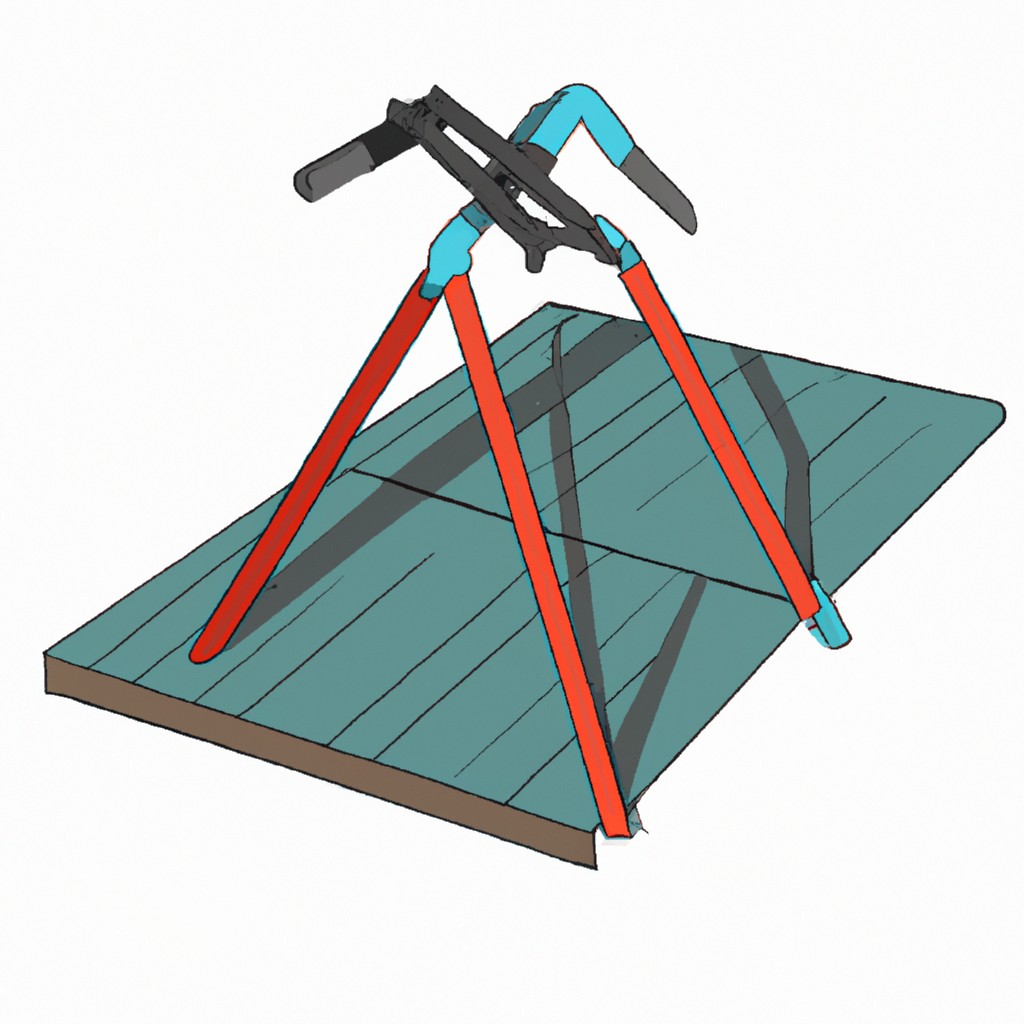
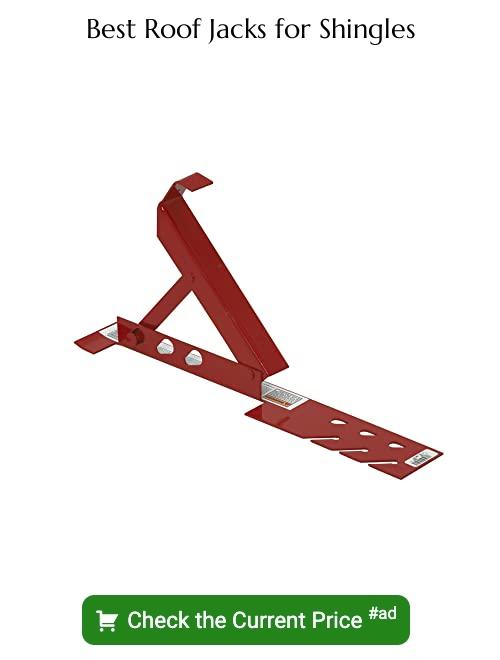
A roof jack is a sturdy, metal bracket or support system used during construction or roofing repairs. It serves as a stable platform, typically attached to the roof’s sheathing, allowing workers to position planks or scaffolding for easy and safe access to steep-sloped roofs.
- Design and Material: Roof jacks are generally made of steel or aluminum for enhanced strength and durability.
- Placement: They are installed in a series, side by side, to create a continuous work area.
- Compatibility: The design accommodates various roof pitches and is compatible with different roofing materials.
- Support: When properly set up, roof jacks provide a secure anchor point for ladders and fall-protection systems, contributing to overall job safety.
- Versatility: Beyond supporting workers, they can also assist in holding up roofing materials like shingles or tools needed during installation or repairs.
- Removability: After the completion of roofing work, roof jacks can be removed, leaving only minimal markings or nail holes that can be sealed to maintain roof integrity.
Advantages and Disadvantages of Roof Jacks
Understanding both the benefits and limitations of roof jacks is crucial for homeowners and professionals alike, ensuring informed decisions when it comes to roofing projects.
Advantages of Roof Jacks:
- Safety: They provide a stable platform for roofers, reducing the risk of falls during repair or installation work.
- Efficiency: Work can be completed more quickly when a sturdy footing is available to contractors on the roof.
- Versatility: Roof jacks cater to various roofing materials and pitches, adapting to the specific needs of each job.
- Accessibility: They allow easier access to difficult or steep roof areas, widening the scope of possible repairs and installations.
Disadvantages of Roof Jacks:
- Installation Risk: Improper setup can lead to damage to roofing materials, and potentially cause leaks if not correctly sealed.
- Physical Damage: The pressure exerted by the jack’s plank can sometimes bend or break weaker roofing components, especially in older structures.
- Removal Issues: If not removed with care, roof jacks can leave holes or marks that need subsequent repair, adding to the project timeline and cost.
How To Install A Roof Jack
Begin by selecting the appropriate location for installation, ensuring it aligns with a rafter underneath the roofing material. This provides maximum support for the roof jack.
Remove the necessary roofing shingles or tiles carefully in the selected area to expose the roof deck.
Place the roof jack against the roof decking so that its upper edge slides under the row of shingles or other roofing material above, creating a water-resistant barrier.
Secure the roof jack to the rafter using roofing nails, fastening through the pre-drilled holes in the flange of the jack. Use a minimum of four nails to ensure stability.
Apply a bead of roofing sealant around the edge of the roof jack to further prevent water infiltration.
Replace the removed shingles or roofing material, trimming them if necessary to fit snugly around the roof jack.
For roofing projects that span several days, consider attaching a plank to the roof jacks to provide a stable platform for walking or placing tools.
Maintaining Your Roof Jack: Tips for Longevity and Efficiency
Regular inspection is key to ensuring your roof jack remains in good condition and performs effectively. It’s recommended to check these components at least twice a year, ideally during spring and fall, to identify any signs of wear or damage early on. Look for rust, loose flashing, or rubber boots that may have cracked or deteriorated due to weather exposure.
Keep the area around roof jacks clean and free from debris. Leaves, branches, and other materials can accumulate, leading to moisture retention and potentially promoting rust or decay that can compromise the roof jack’s integrity.
Apply sealant when necessary. Over time, the sealant around the base of the roof jack can wear away. A quality roofing sealant should be used to reseal any gaps or cracks that develop, ensuring a watertight barrier is maintained.
Tighten and replace fasteners if they become loose or corroded. The fasteners that secure the roof jack to the roofing material can loosen over time due to thermal expansion and contraction. Inspect these and tighten or replace as needed to prevent water intrusion or dislodgement during high winds.
Monitor for changes in roofing materials. Roof jacks are installed in conjunction with roofing materials that can expand, contract, or degrade. Any changes in the roofing material should prompt an inspection of the roof jack to ensure it continues to fit properly and function as intended.
Invest in periodic professional inspections. While routine homeowner maintenance is important, hiring a professional to inspect your roof can reveal issues that may not be obvious to the untrained eye. Experts can make recommendations for repairs or replacements that will extend the lifespan of your roof jacks.
By adhering to these maintenance practices, you can enhance the longevity and efficiency of your roof jacks and safeguard your home against potential water damage.
Related
- How to Keep from Sliding on a Metal Roof: Comprehensive Guide for Safety Measures
- How to Install a Roof Vent: Simple Steps for Efficient Home Improvement
- How to Reseal RV Roof: A Step-by-Step Guide for Efficient Roof Maintenance
- Roof Shingles Repair: Step-by-Step Guide for Homeowners
- How to Replace Roof Shingles: A Step-by-Step Guide

